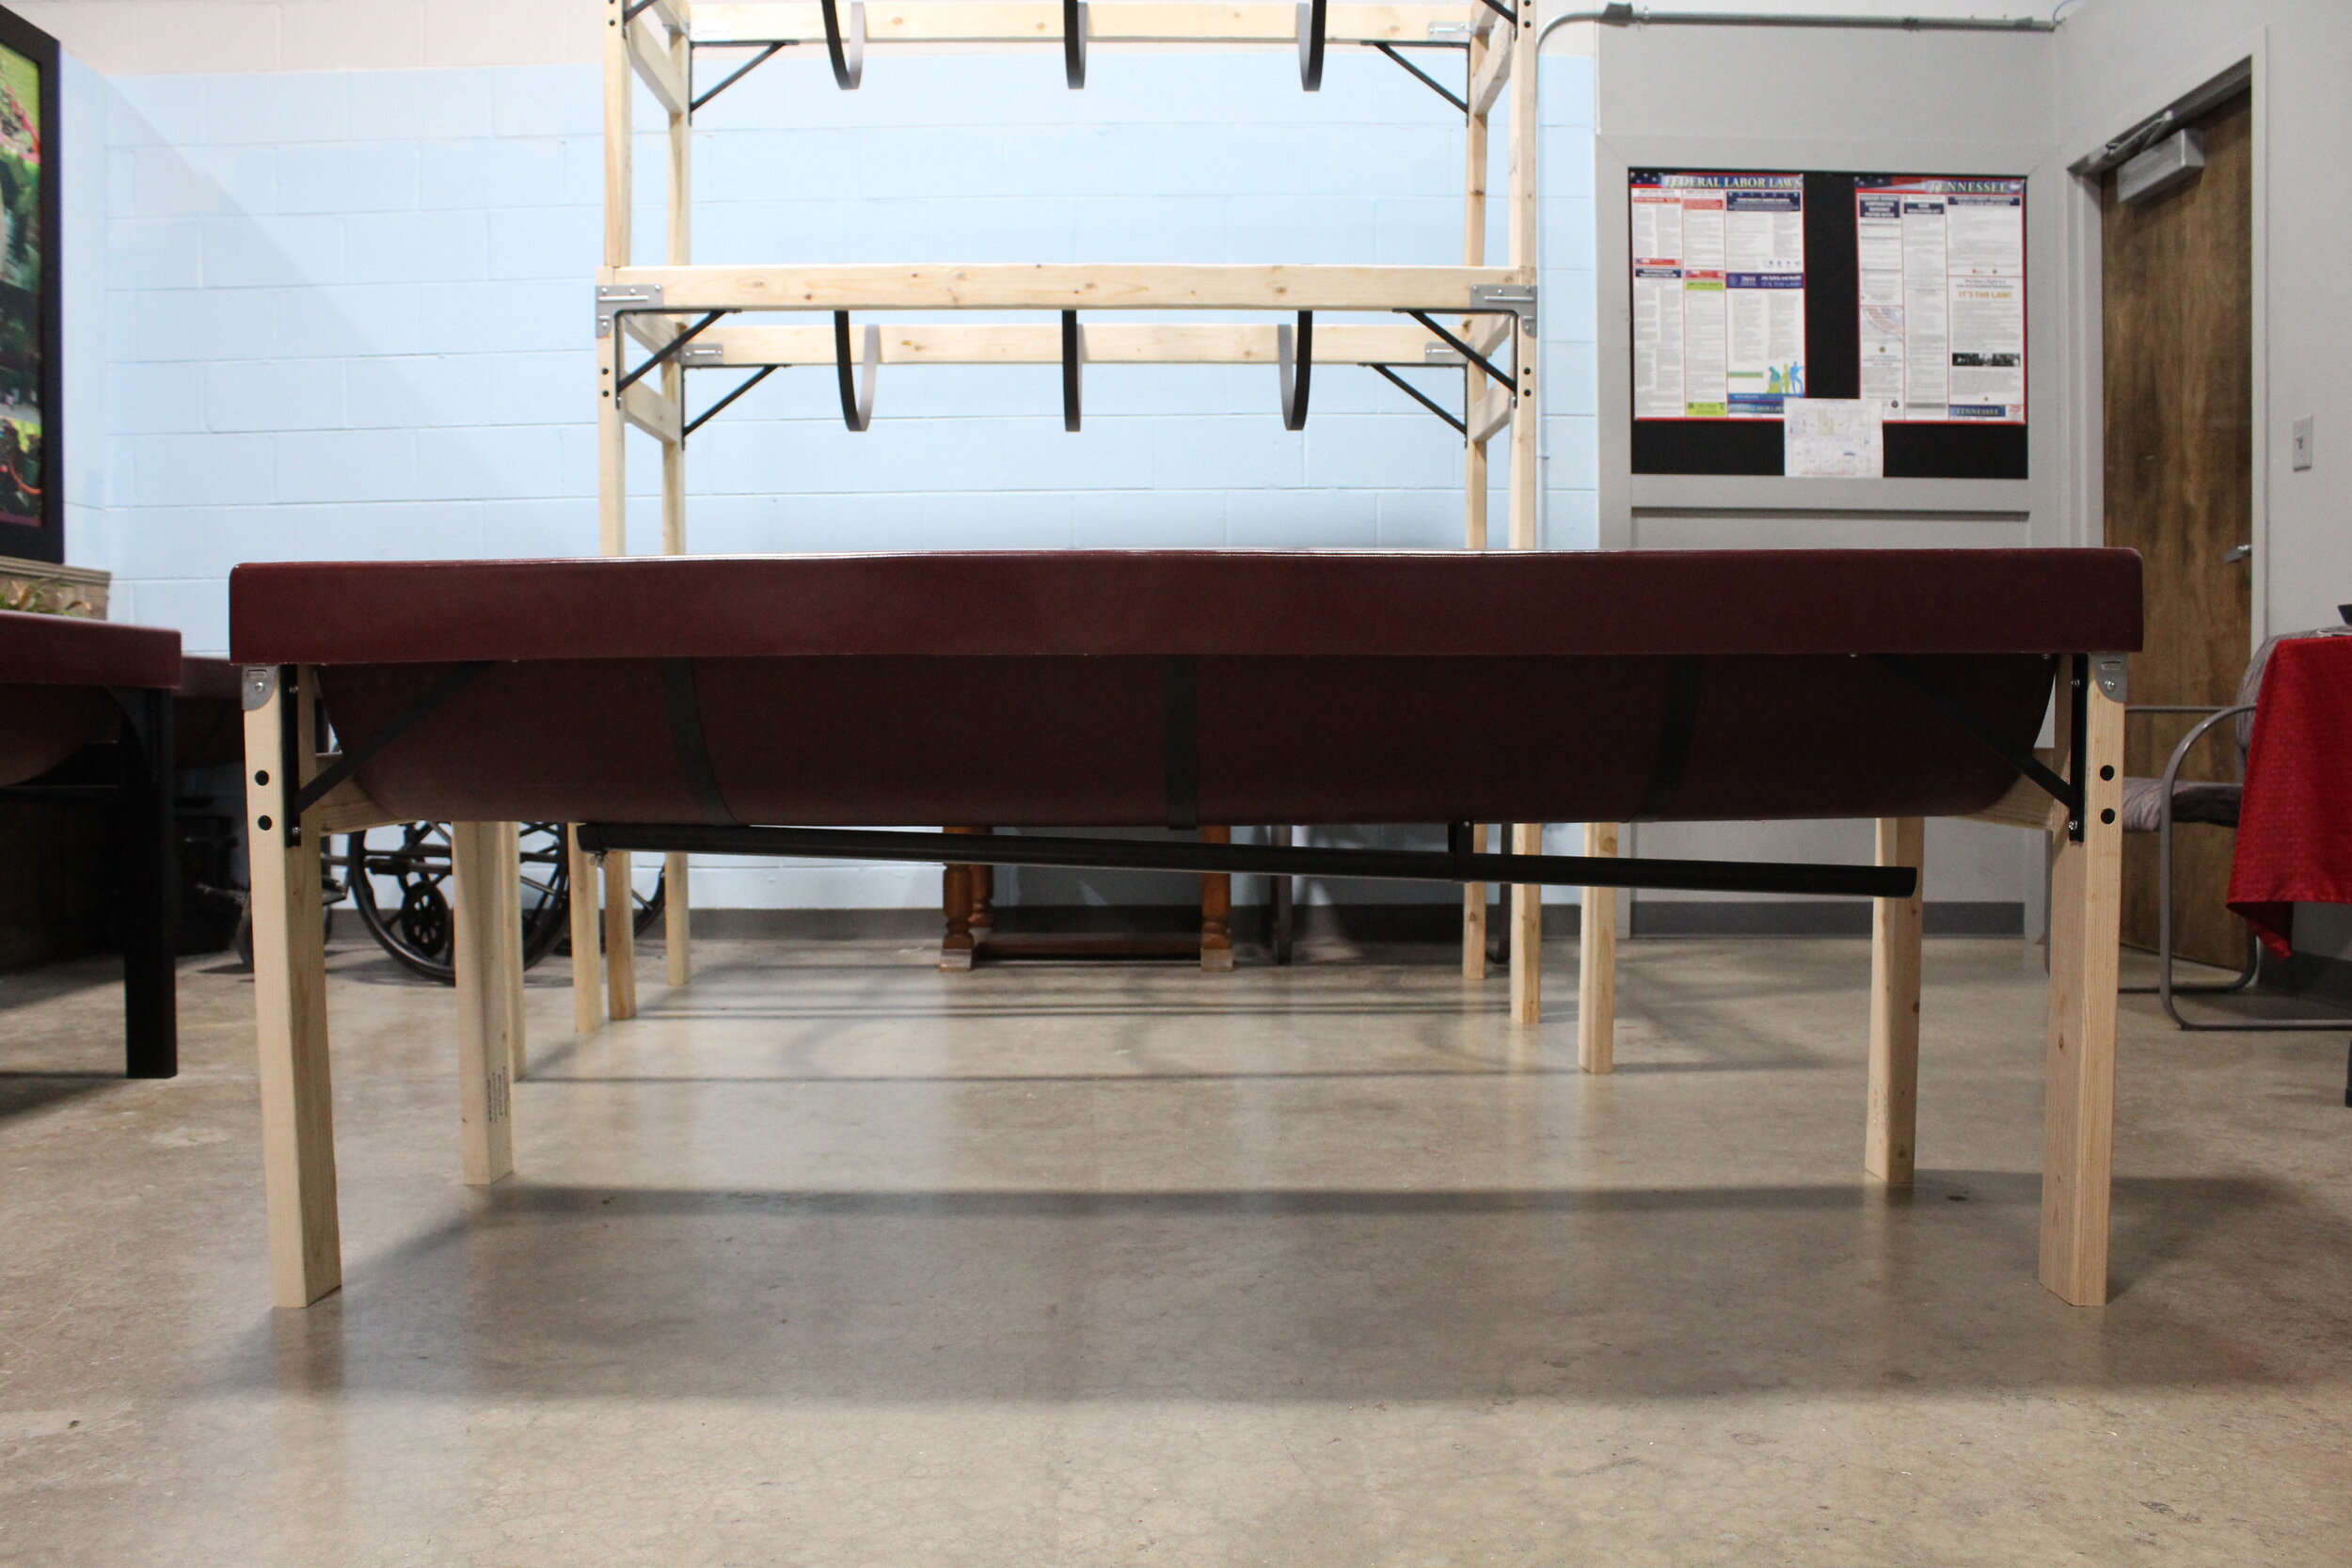
Kit Garden Assembly
If you are planning to put your garden outside, we recommend that you either seal or paint the the wood pieces of your garden. You can either paint the wood before or after the garden is assembled. If you choose to paint the wood, we recommend using a sealer and exterior latex paint.
Before you get started building your kit garden, there are a few things you’ll need:
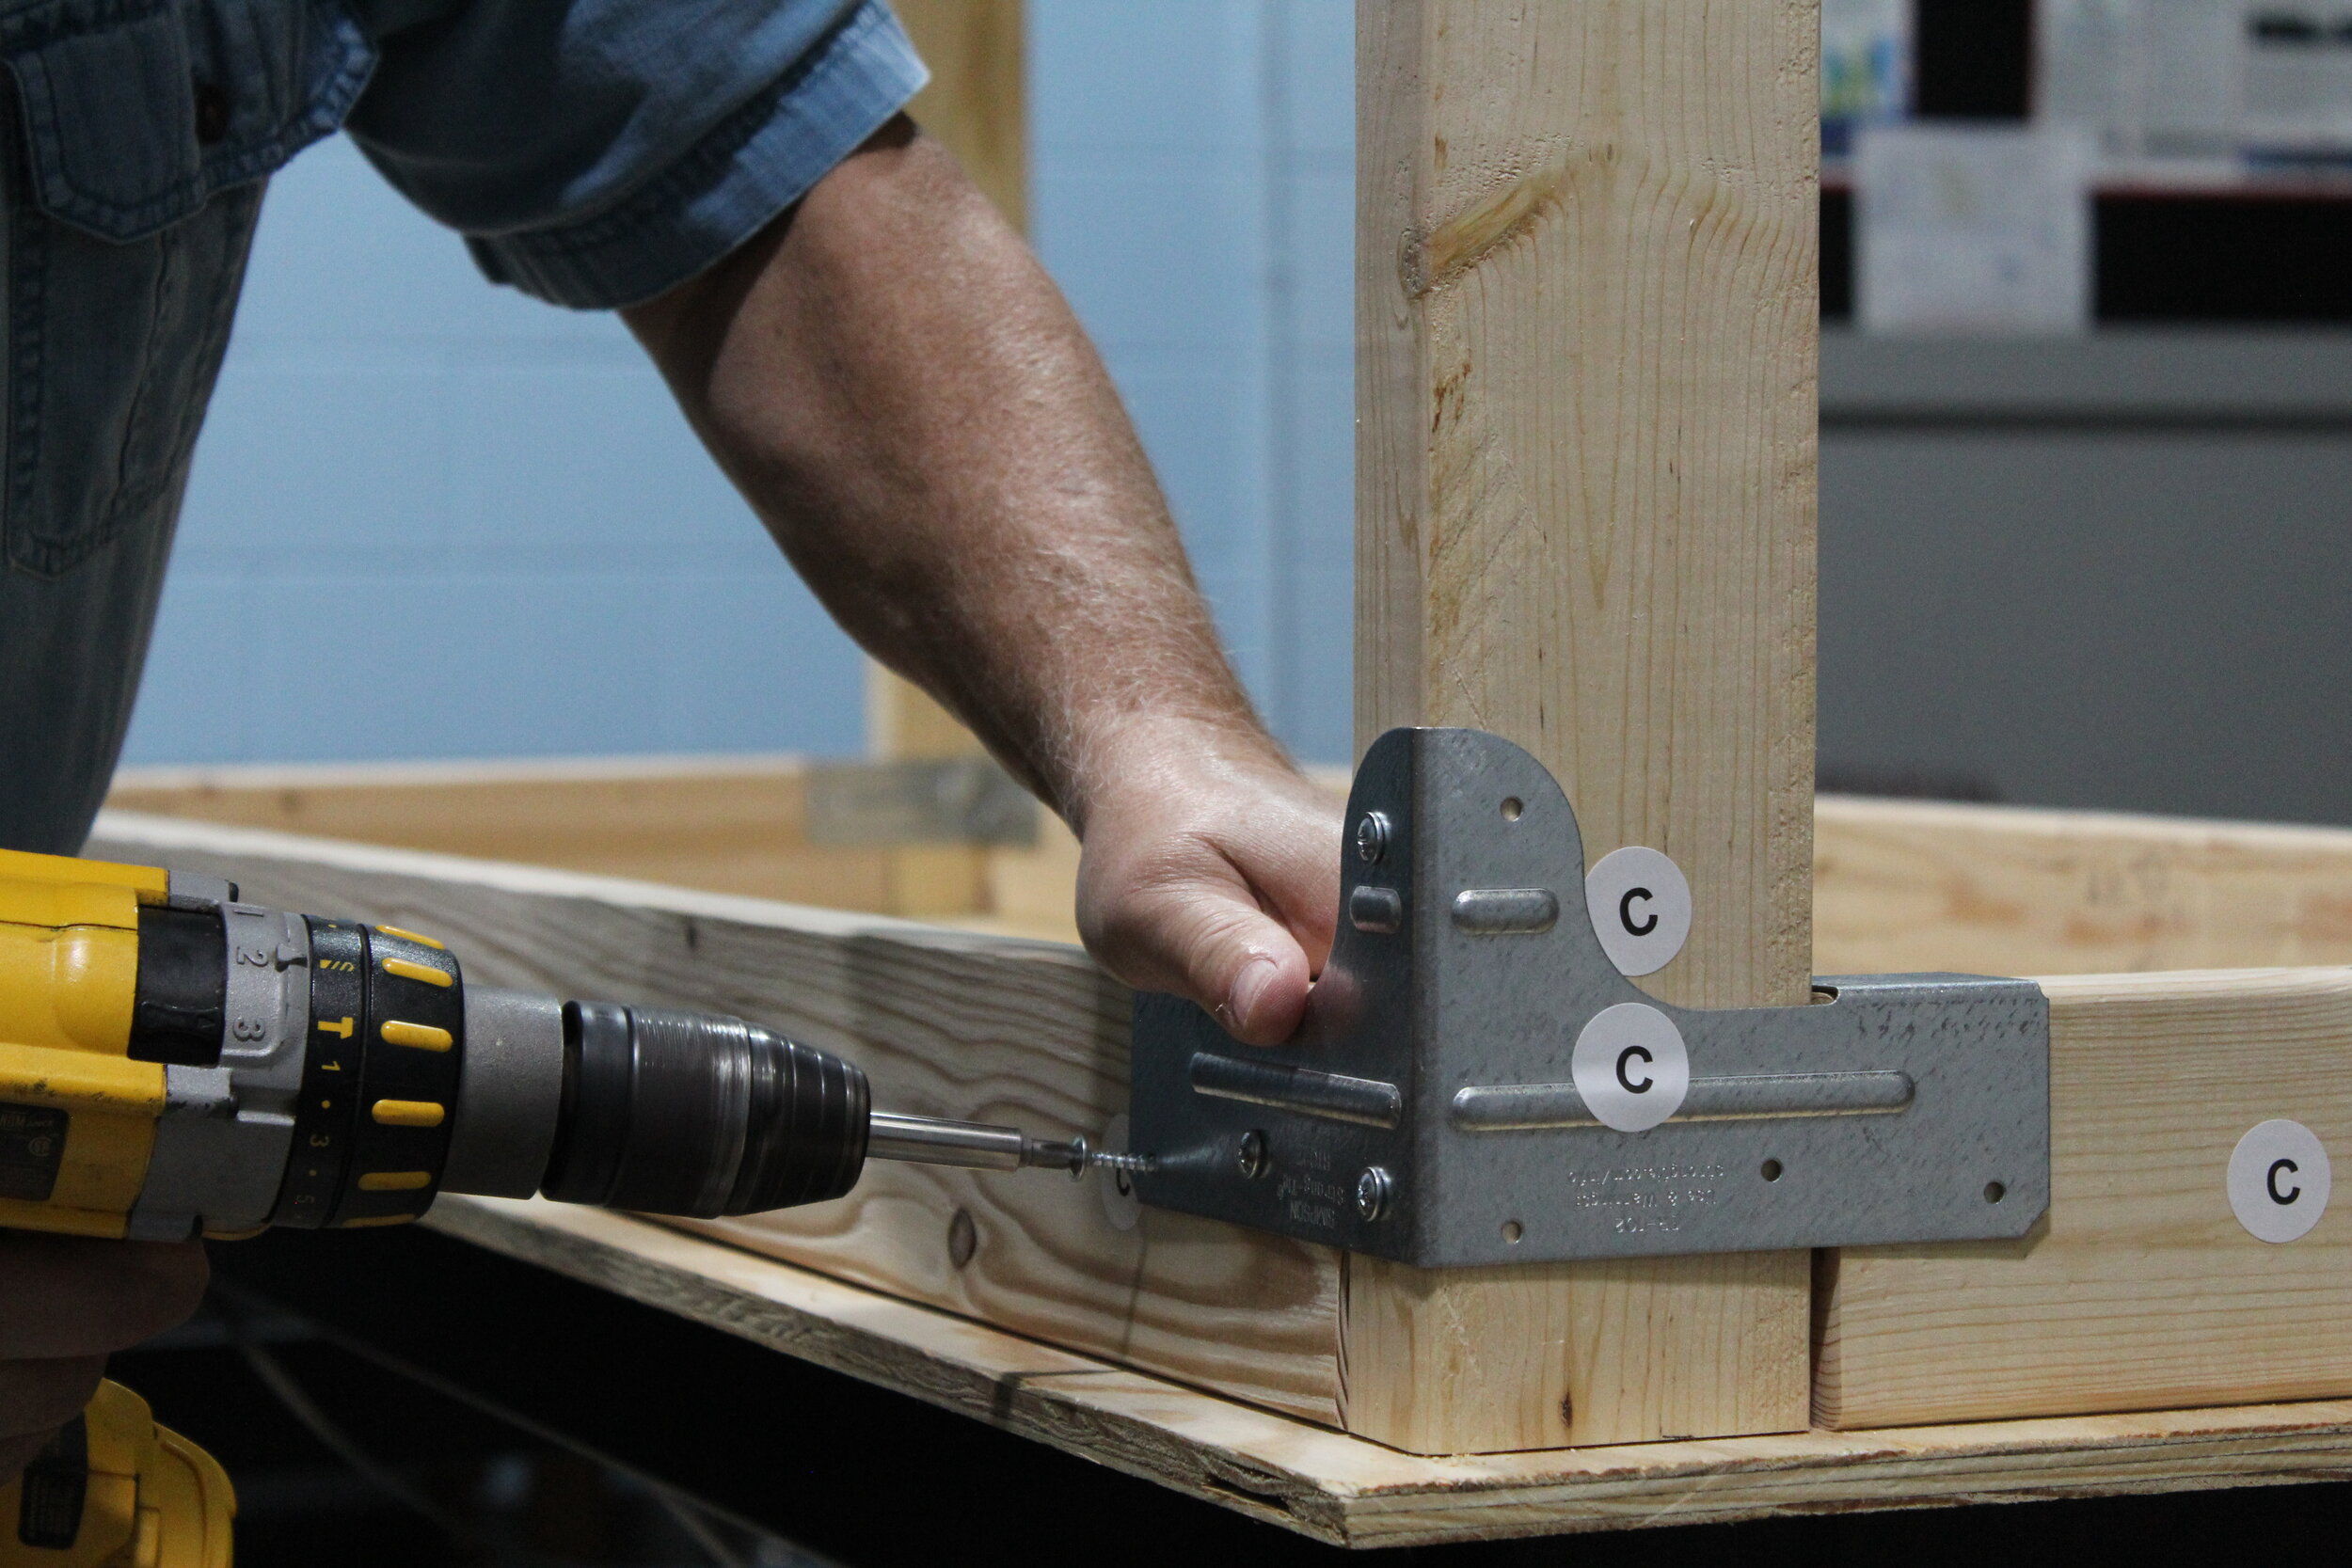
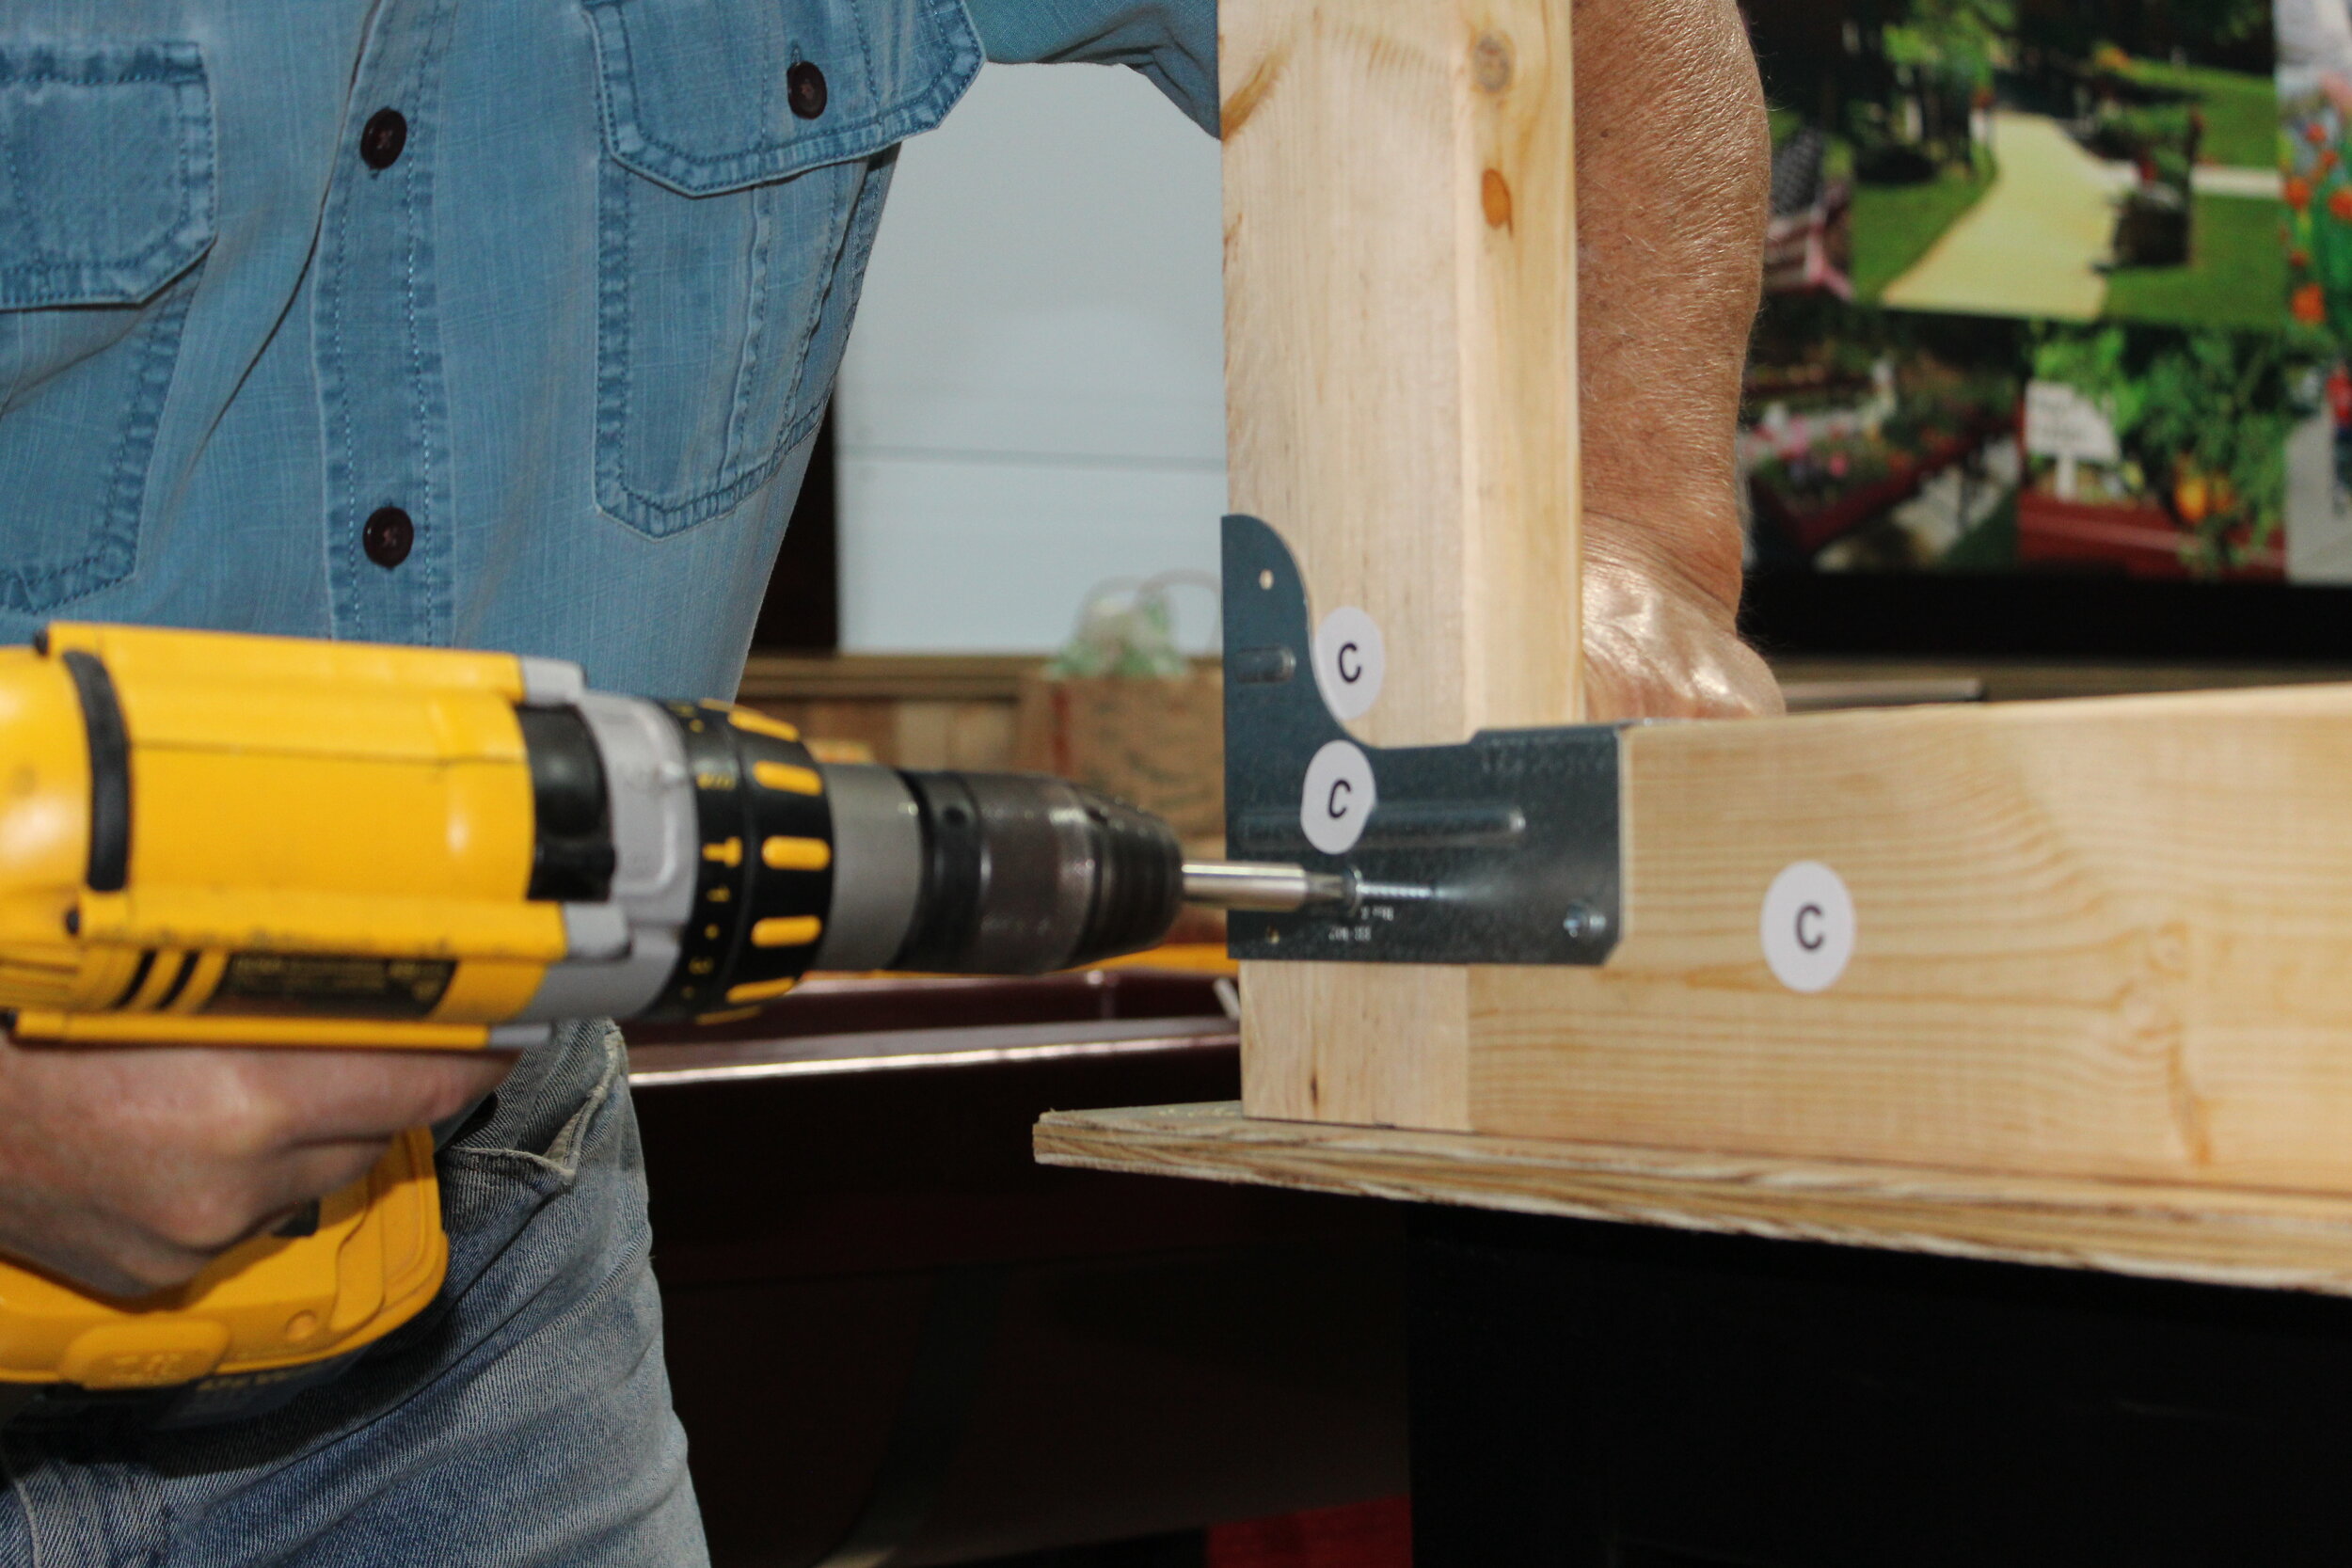
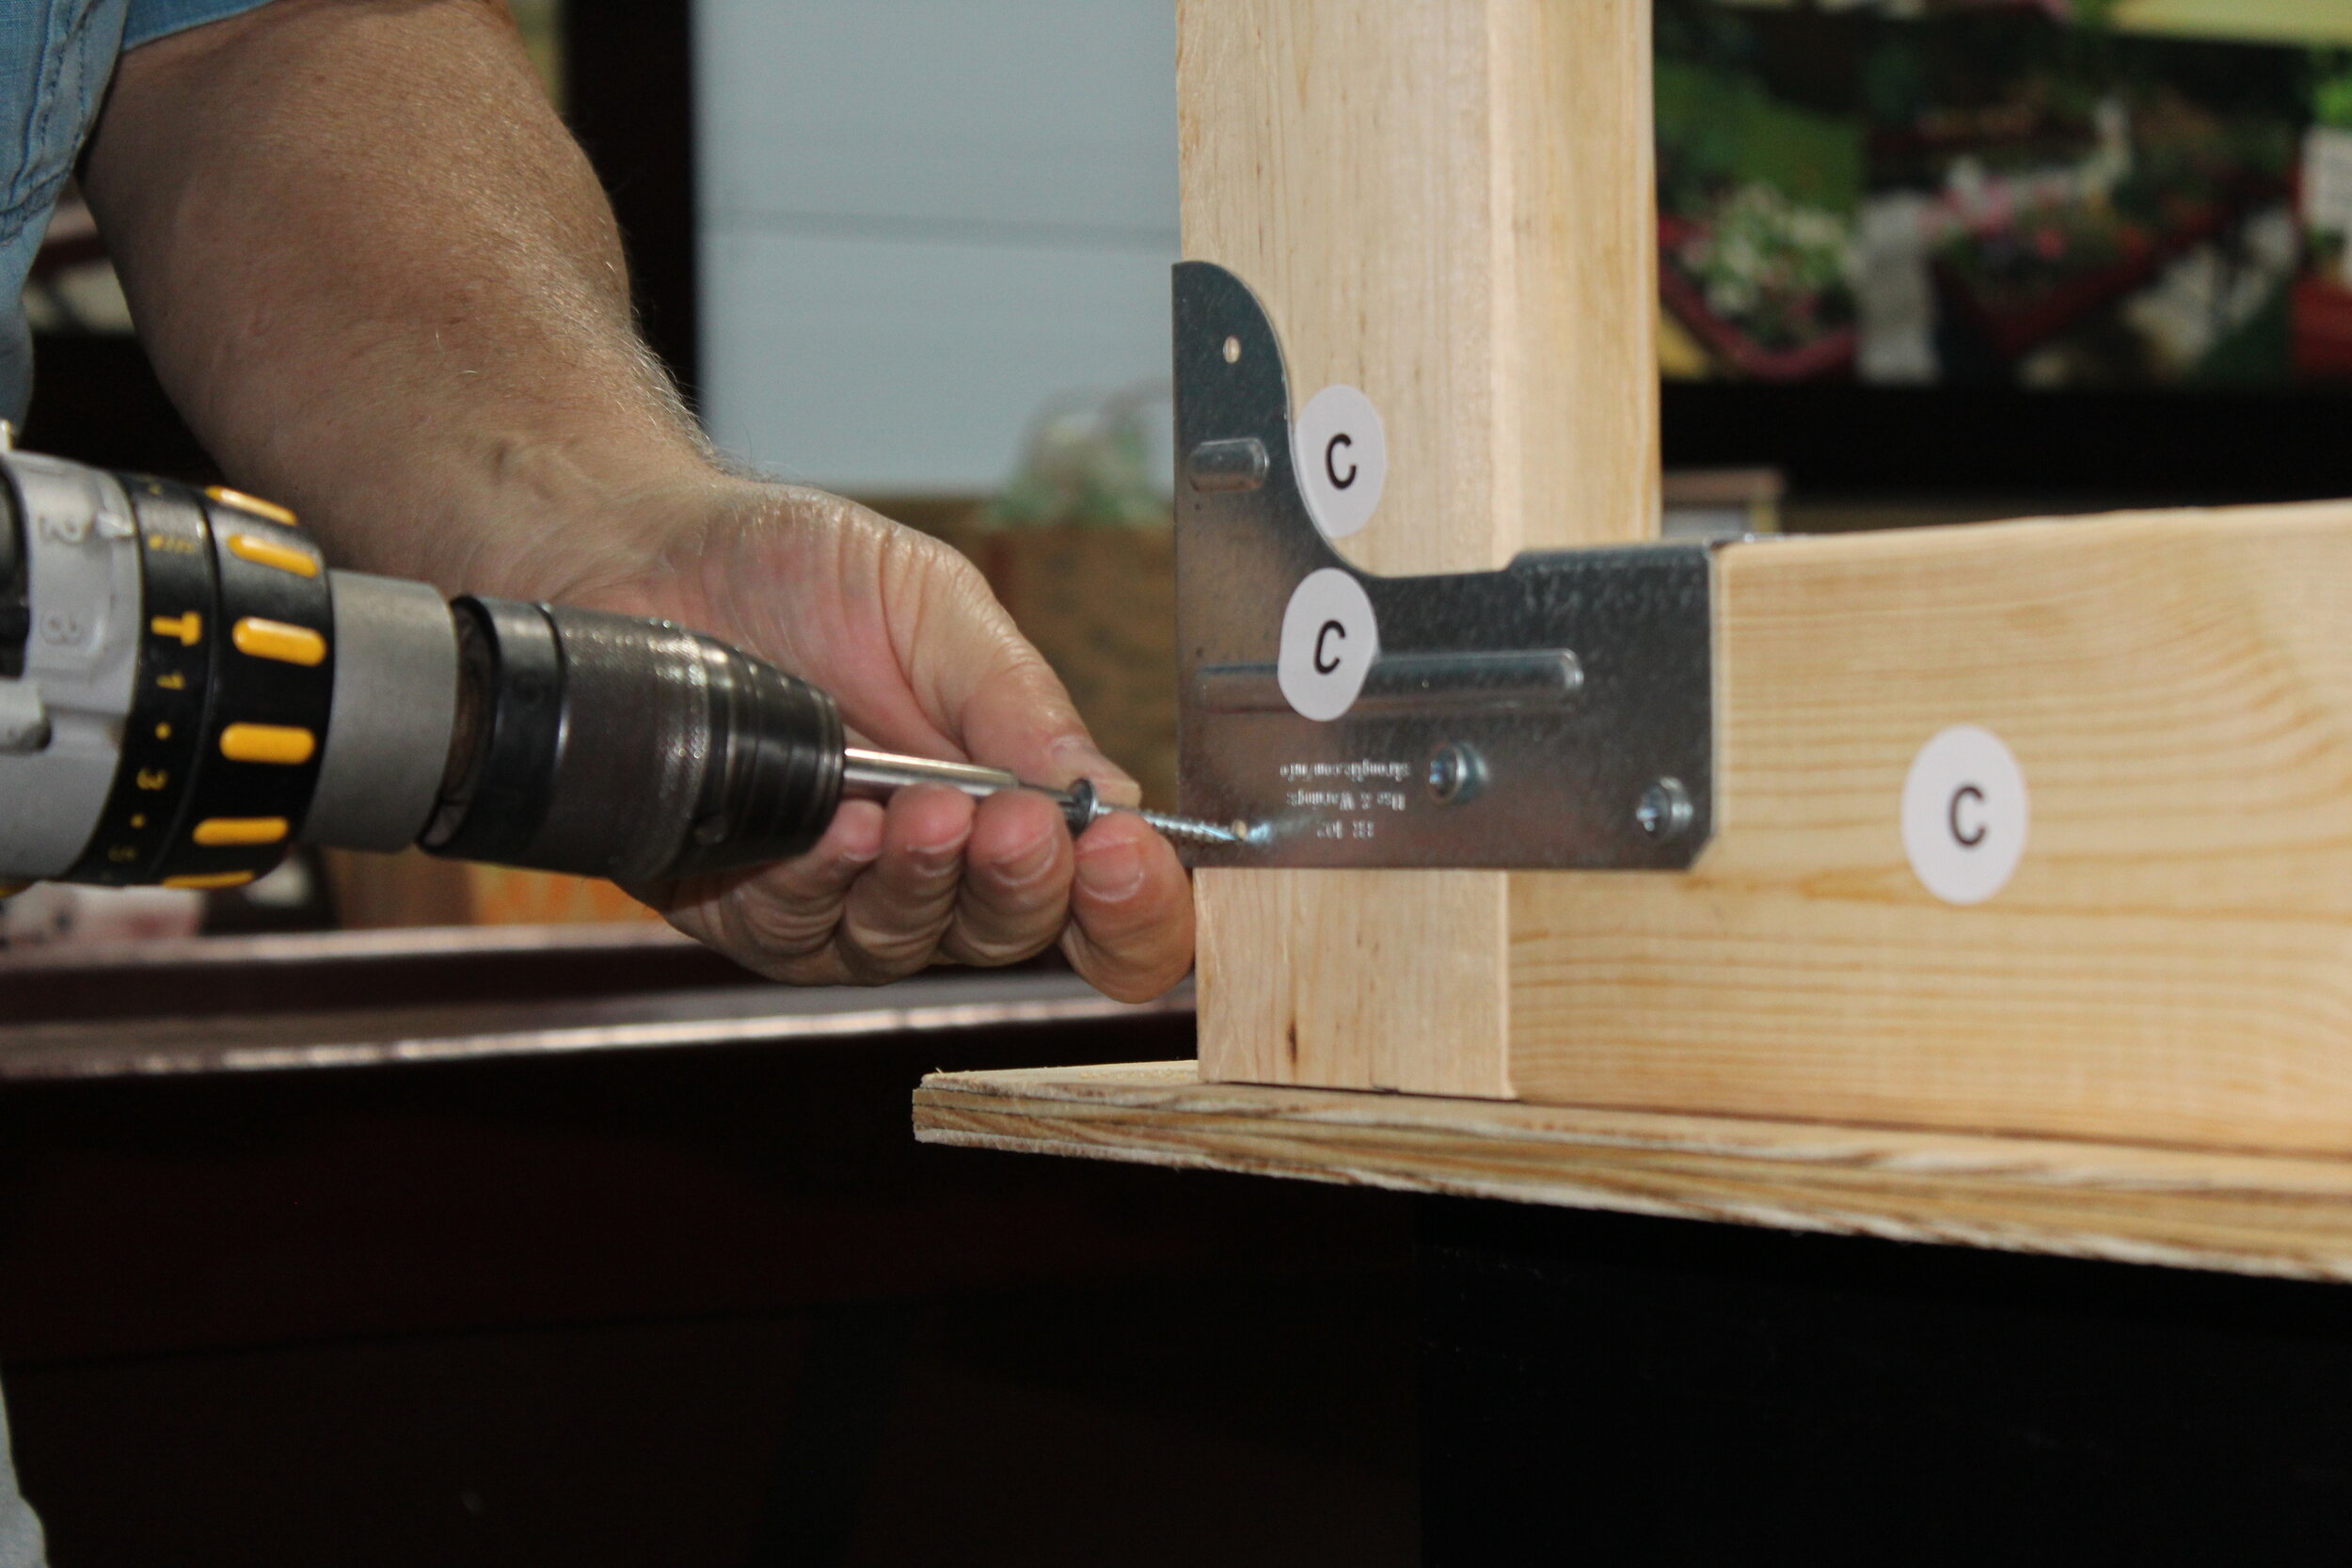
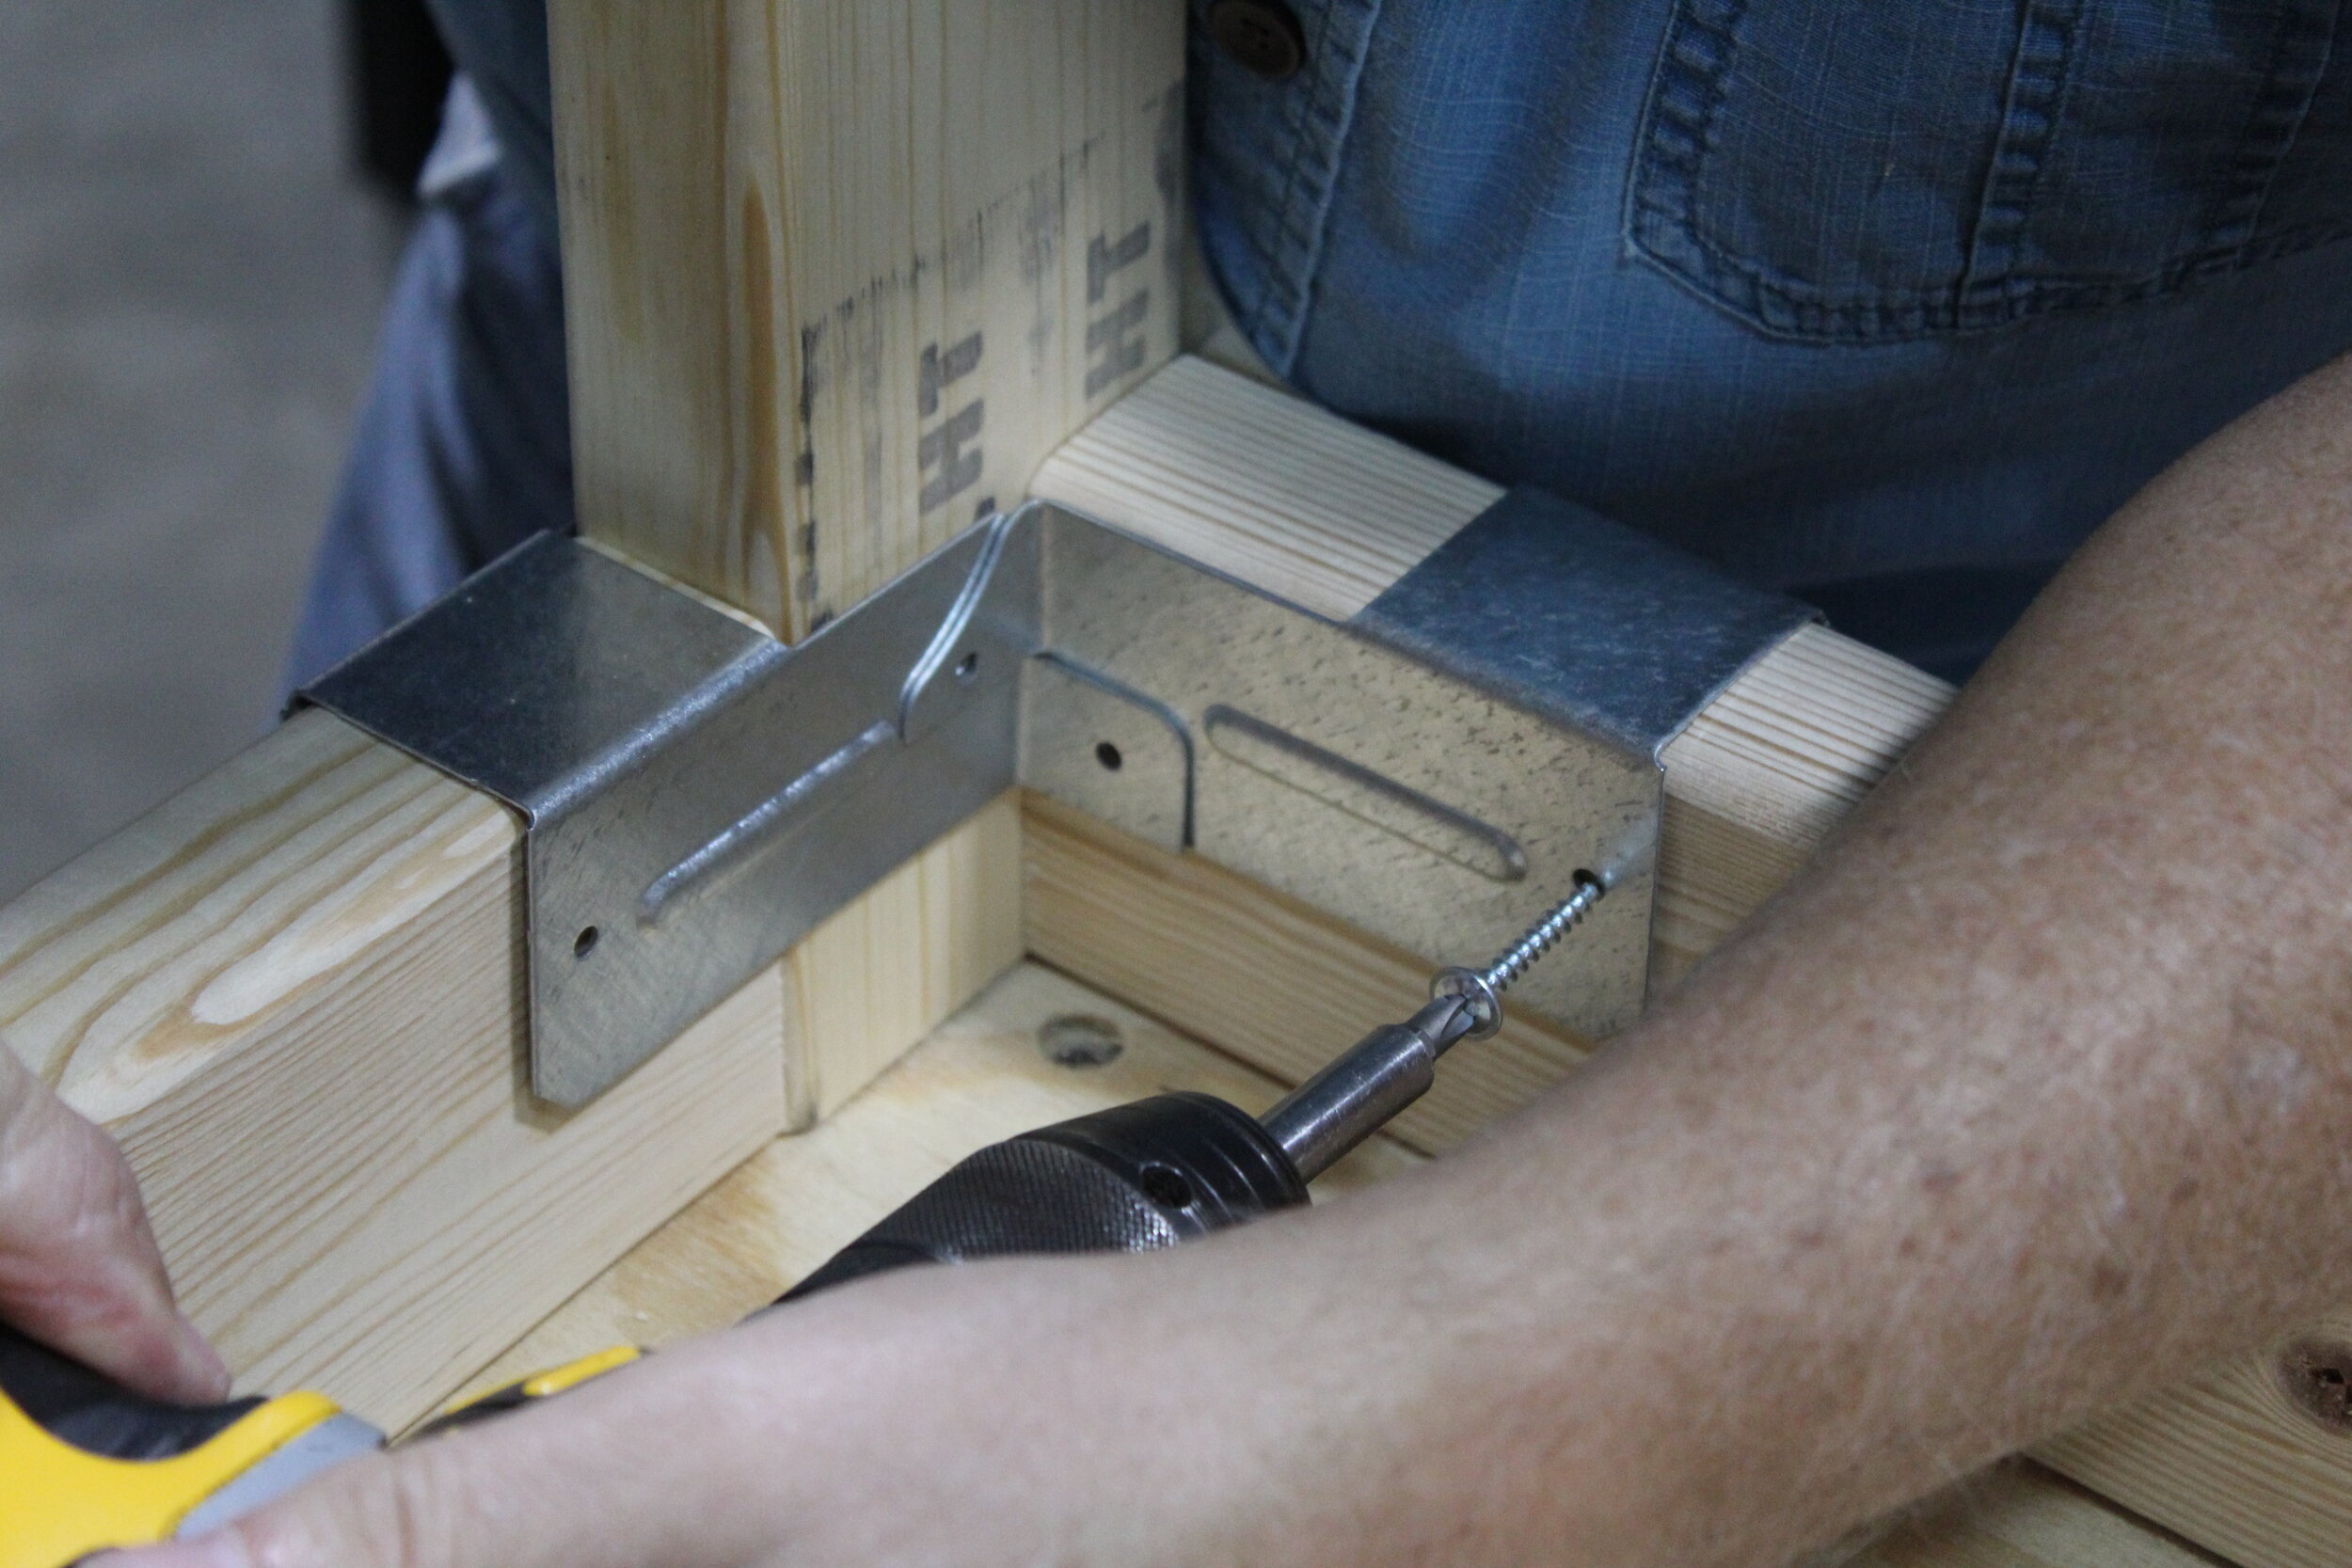
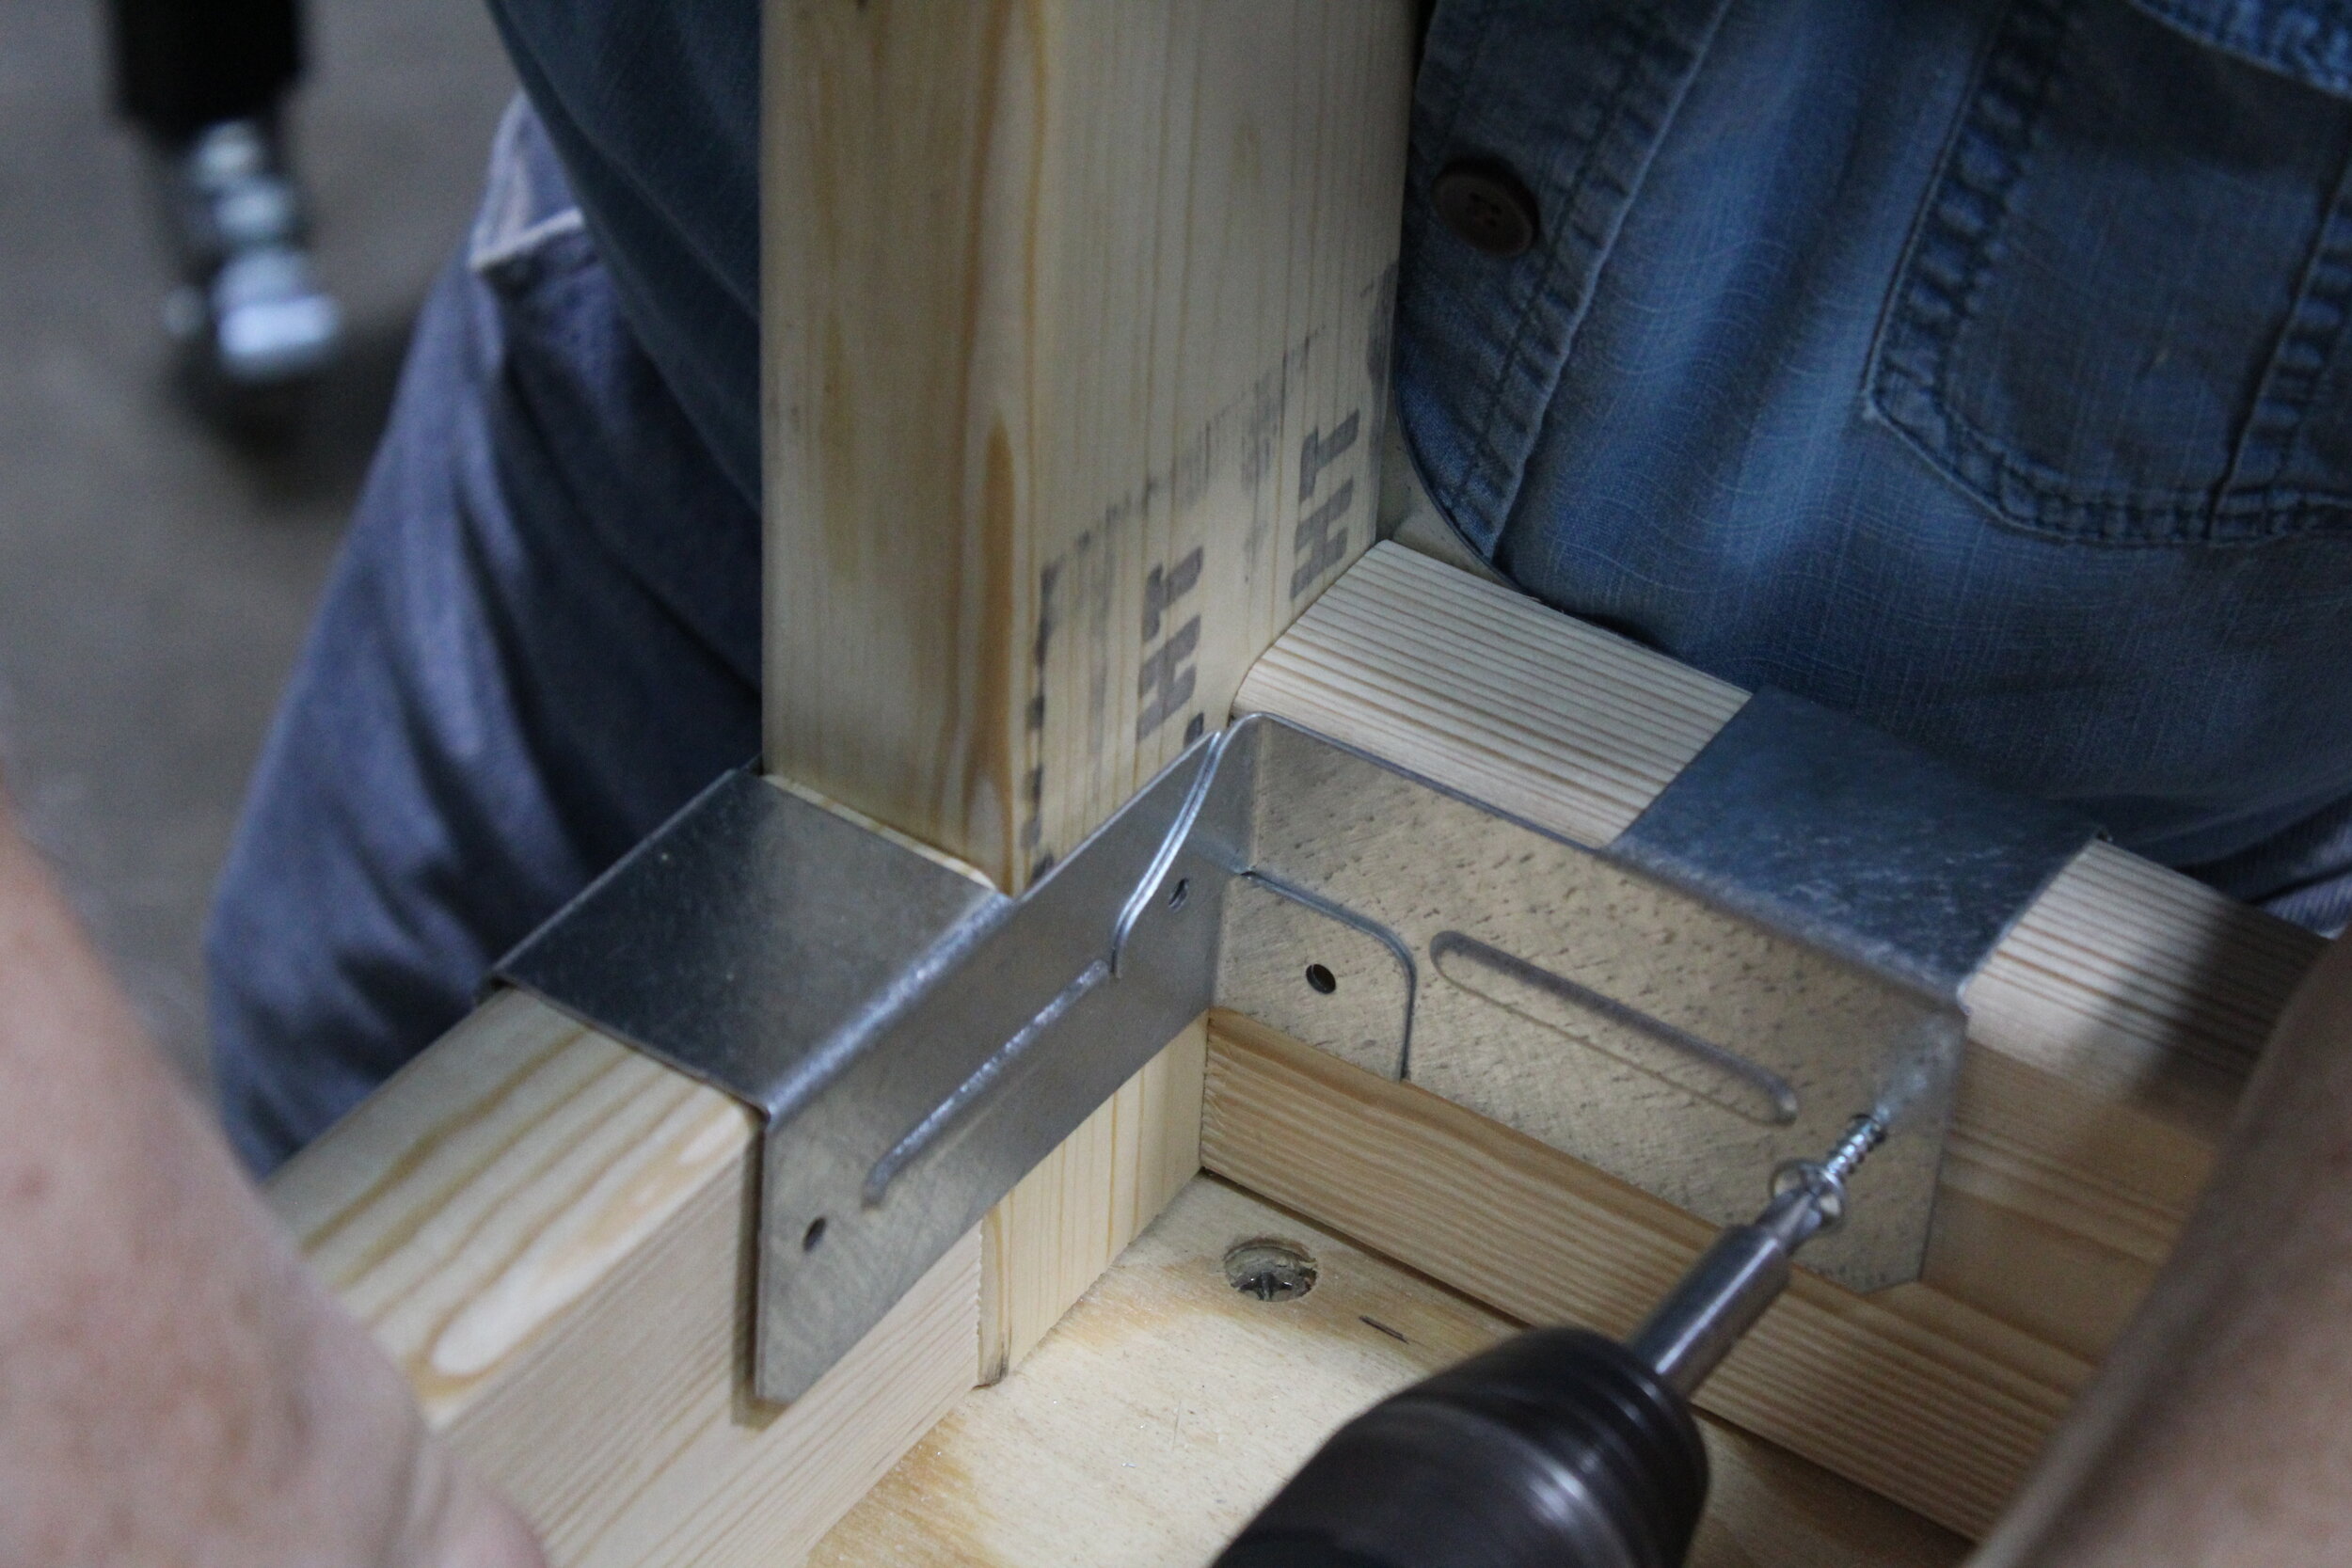
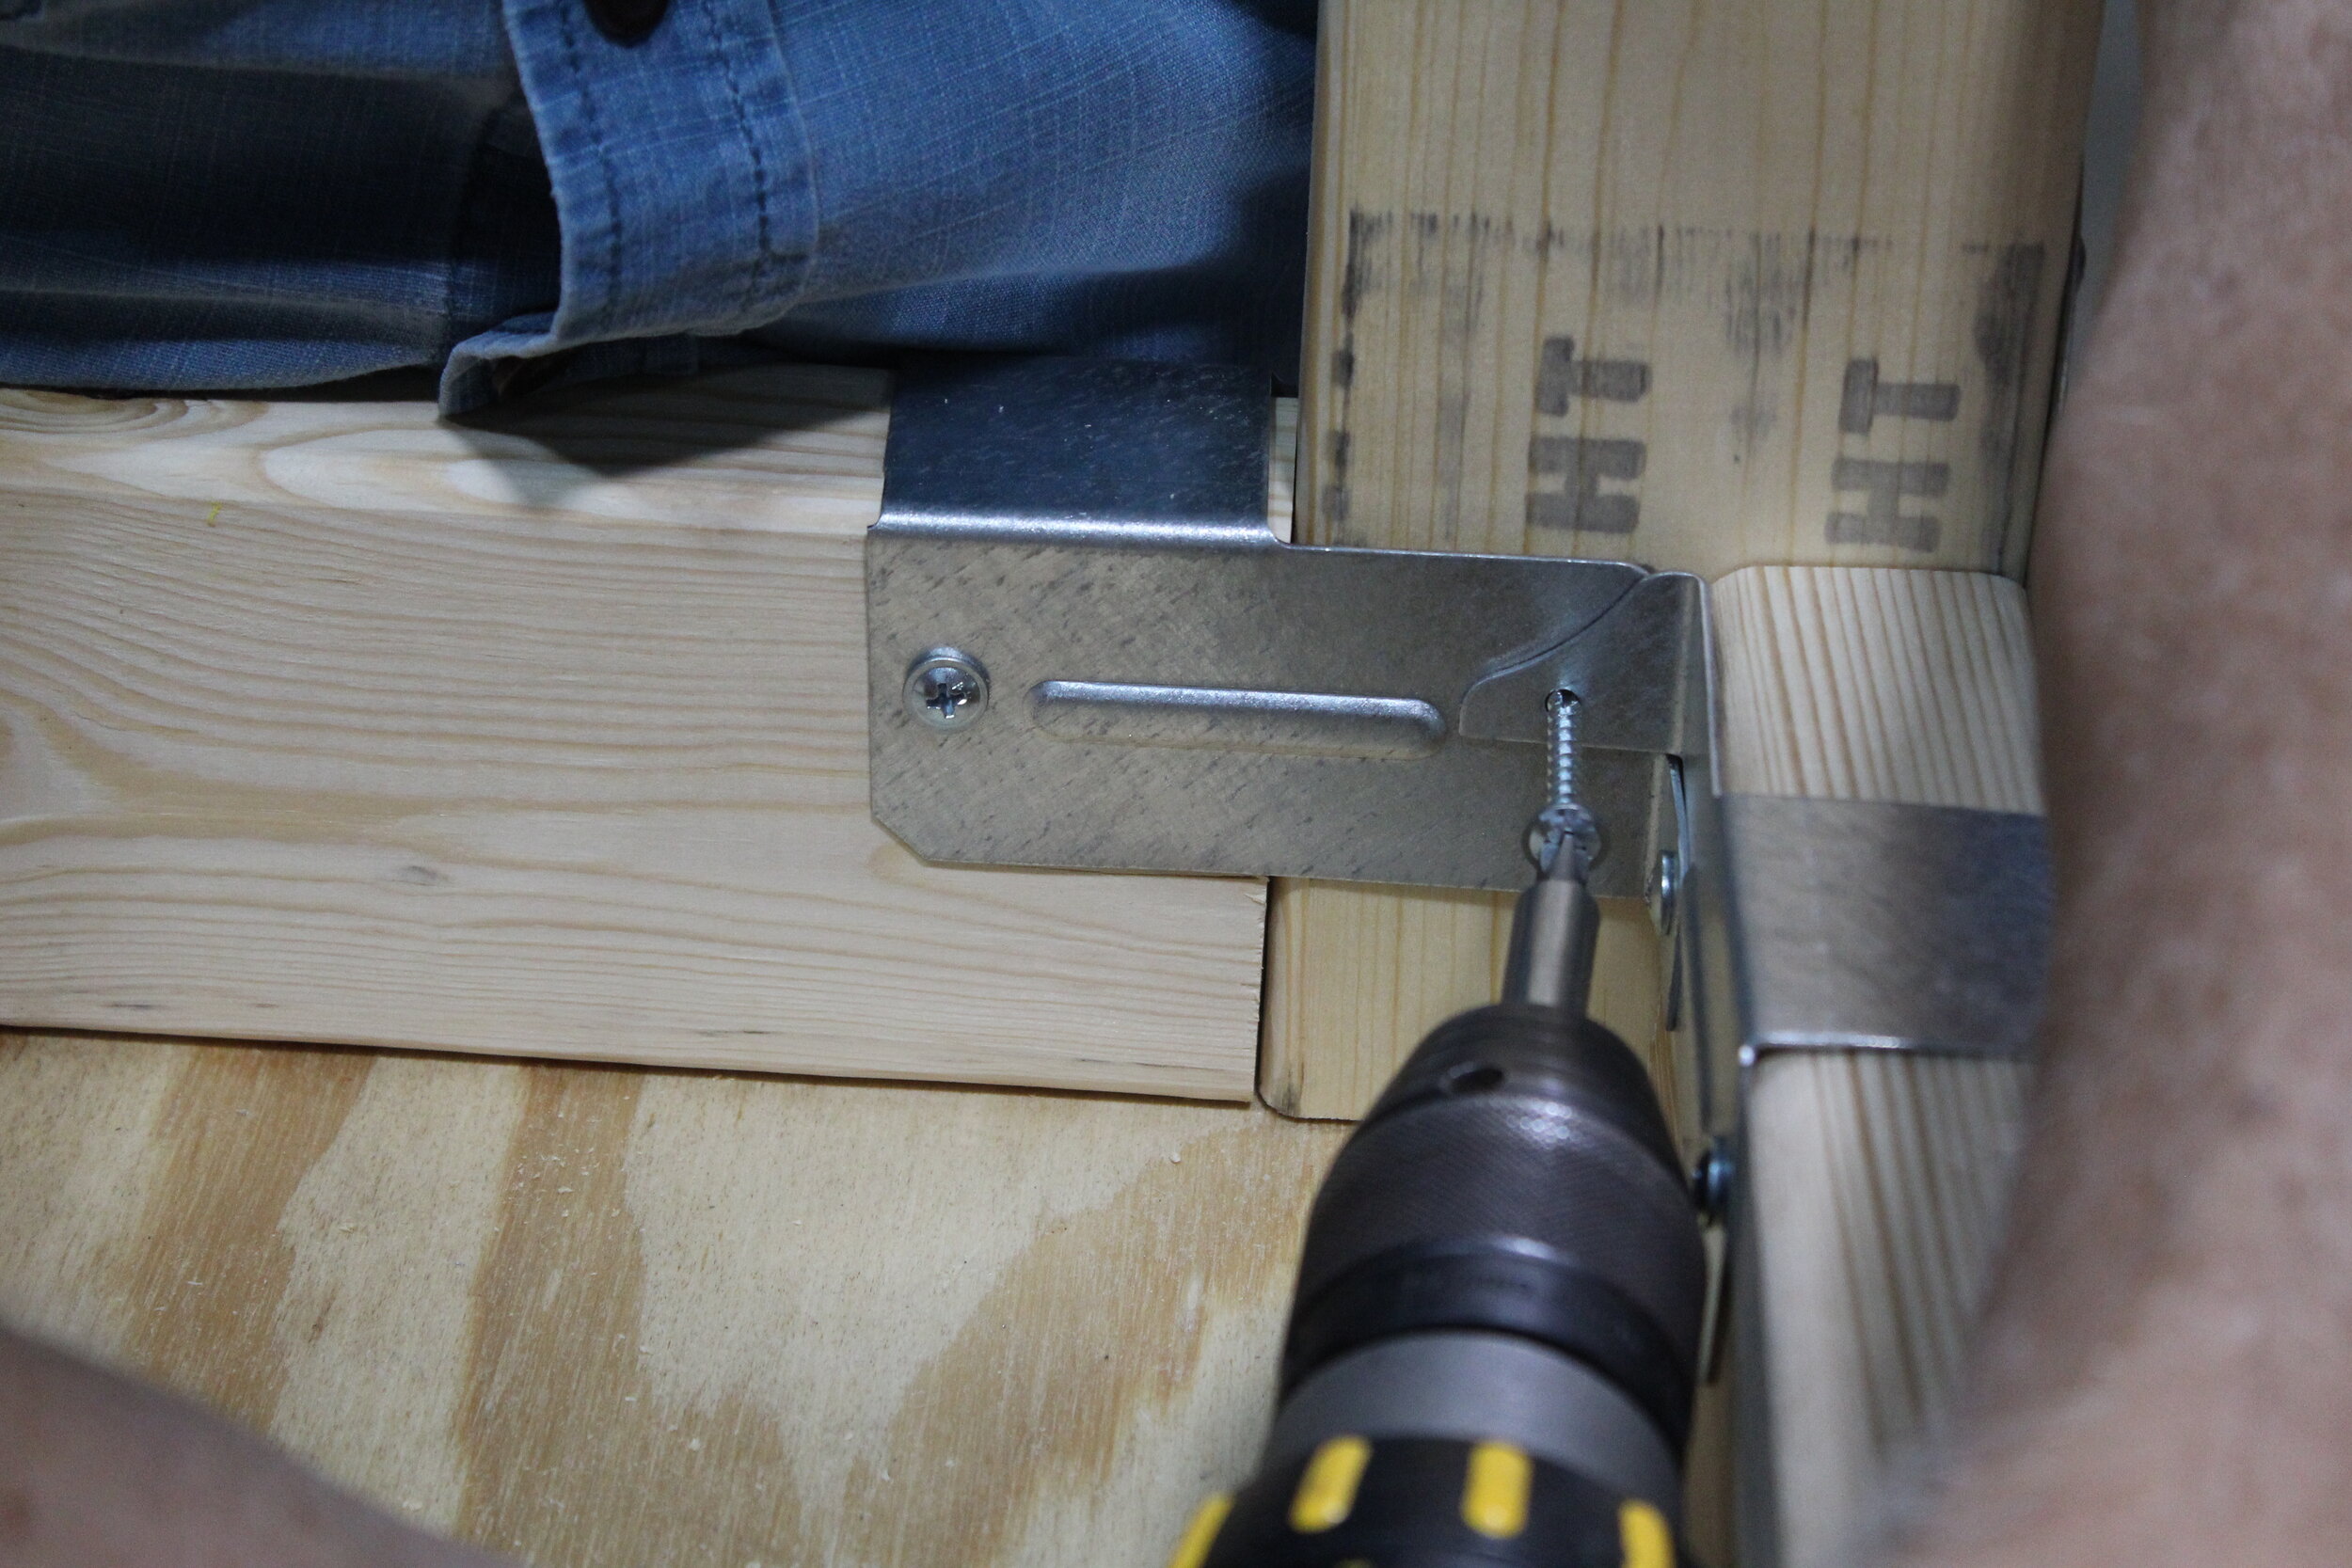
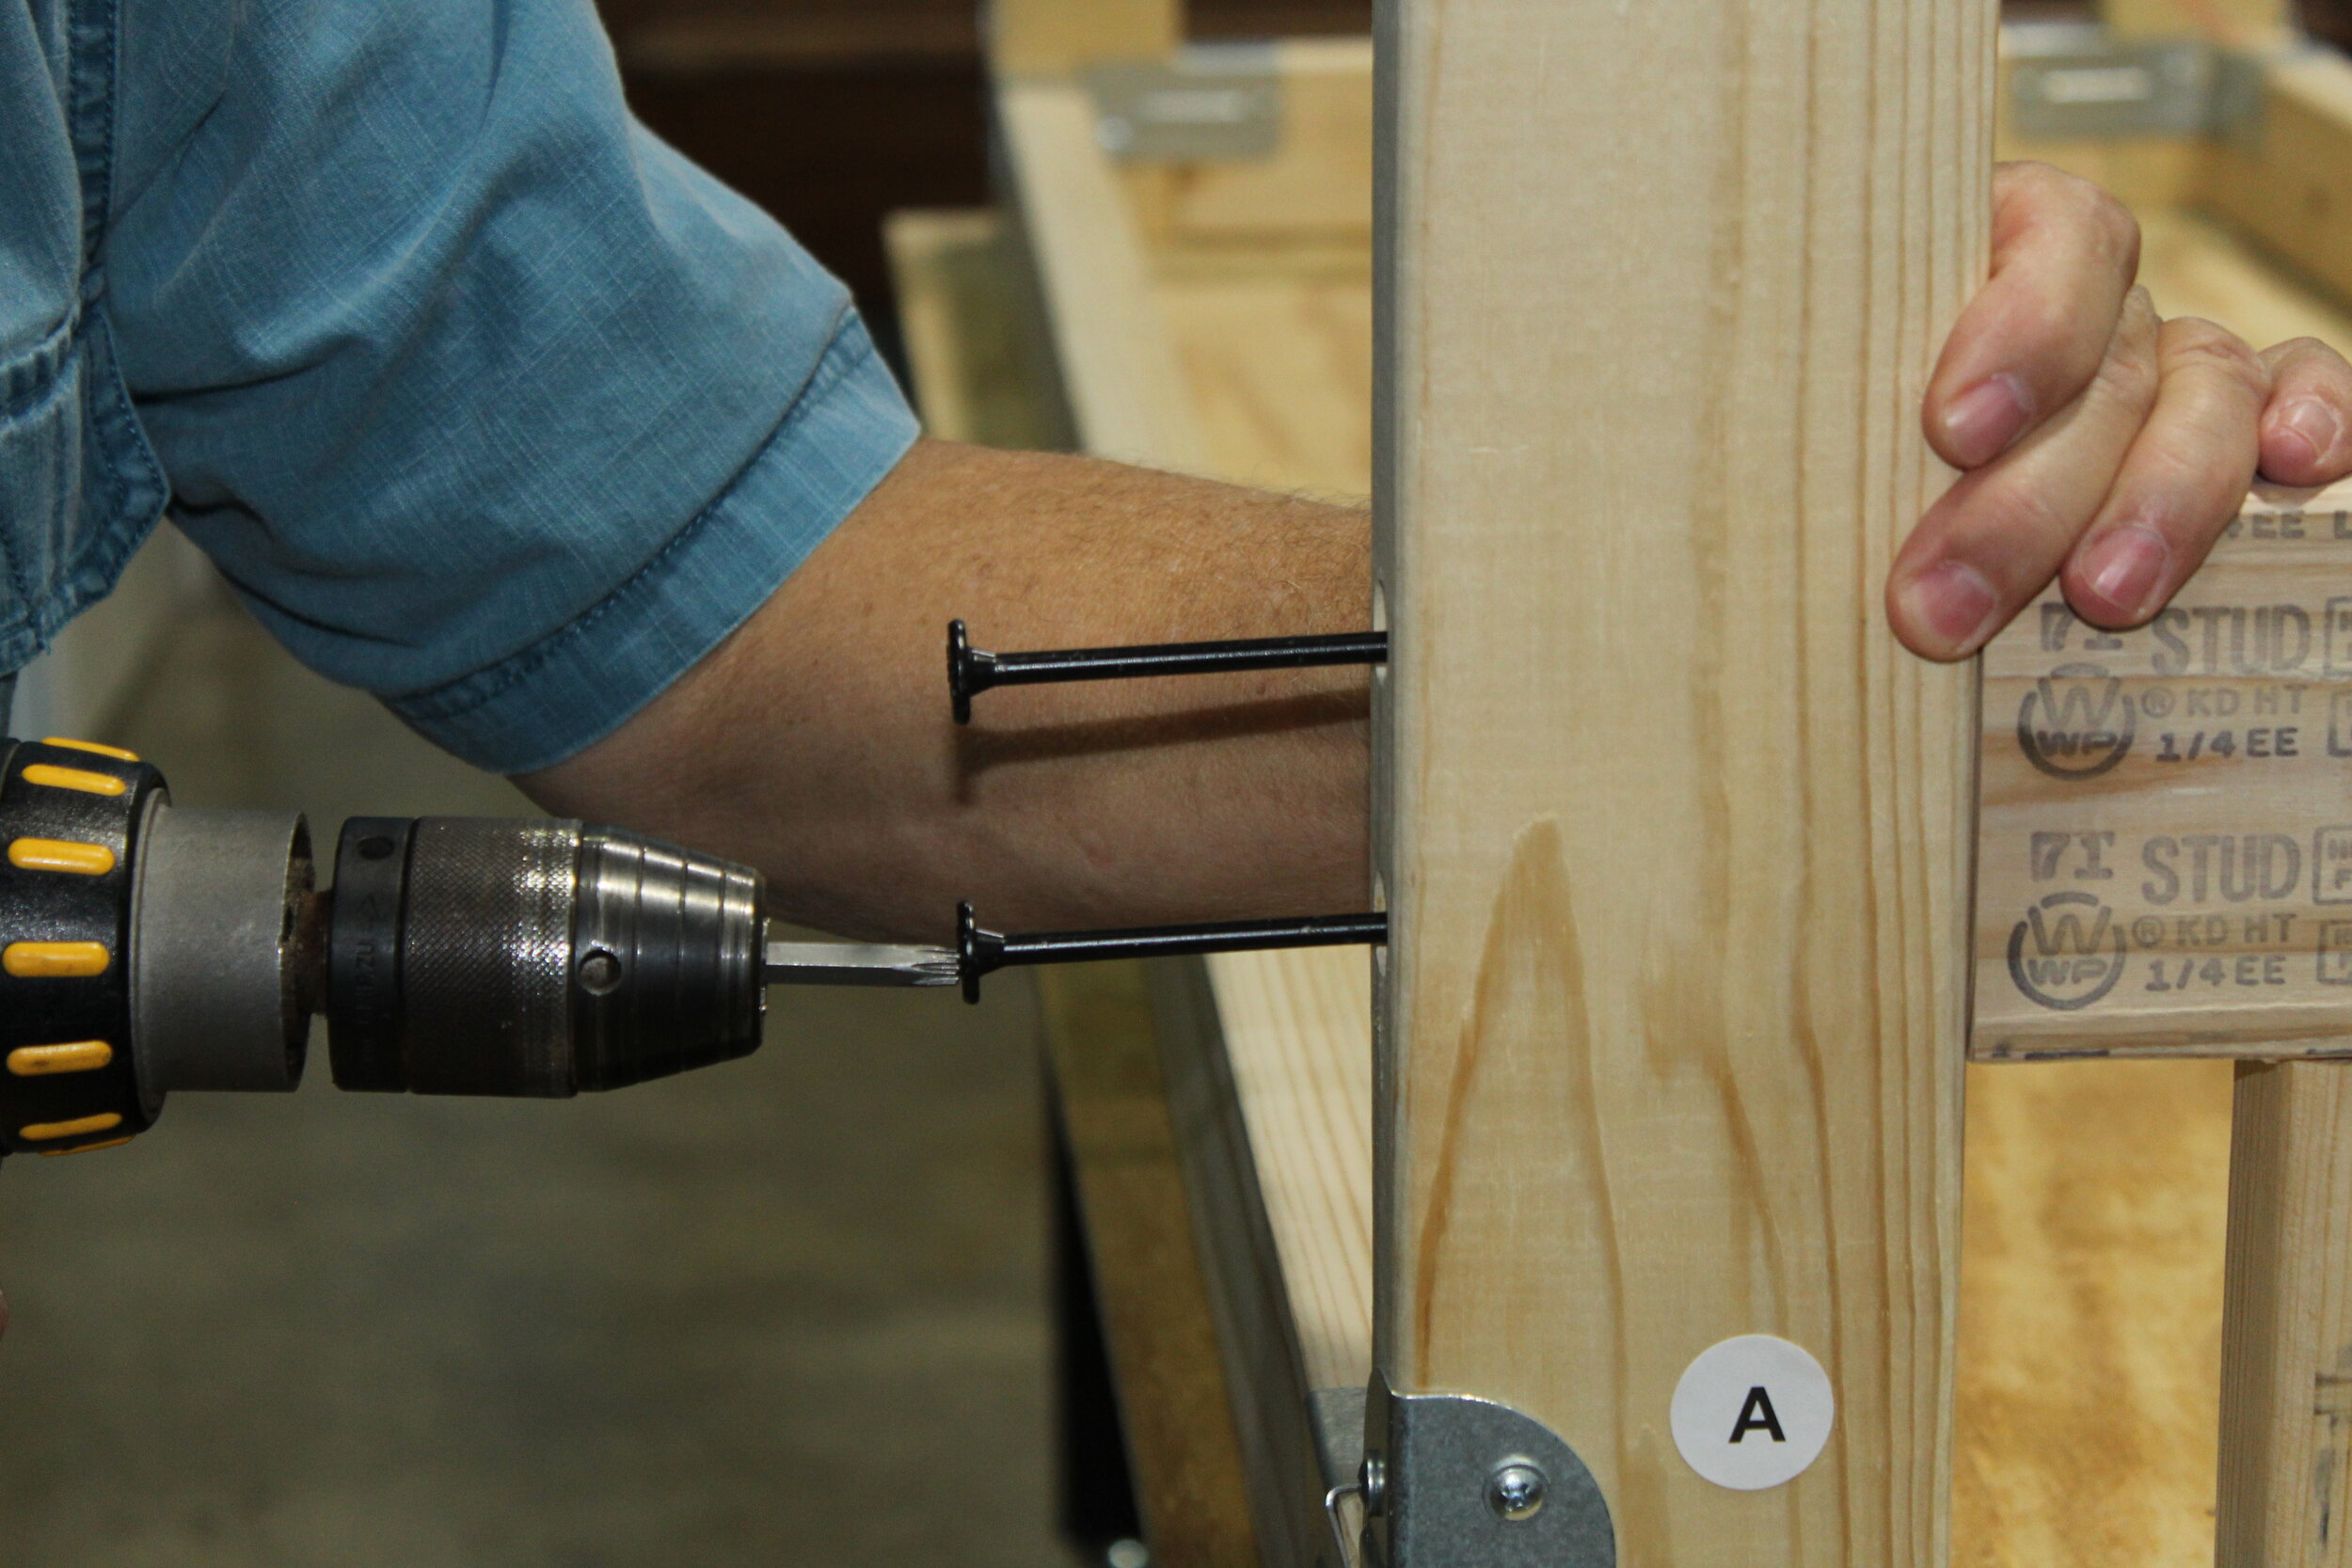
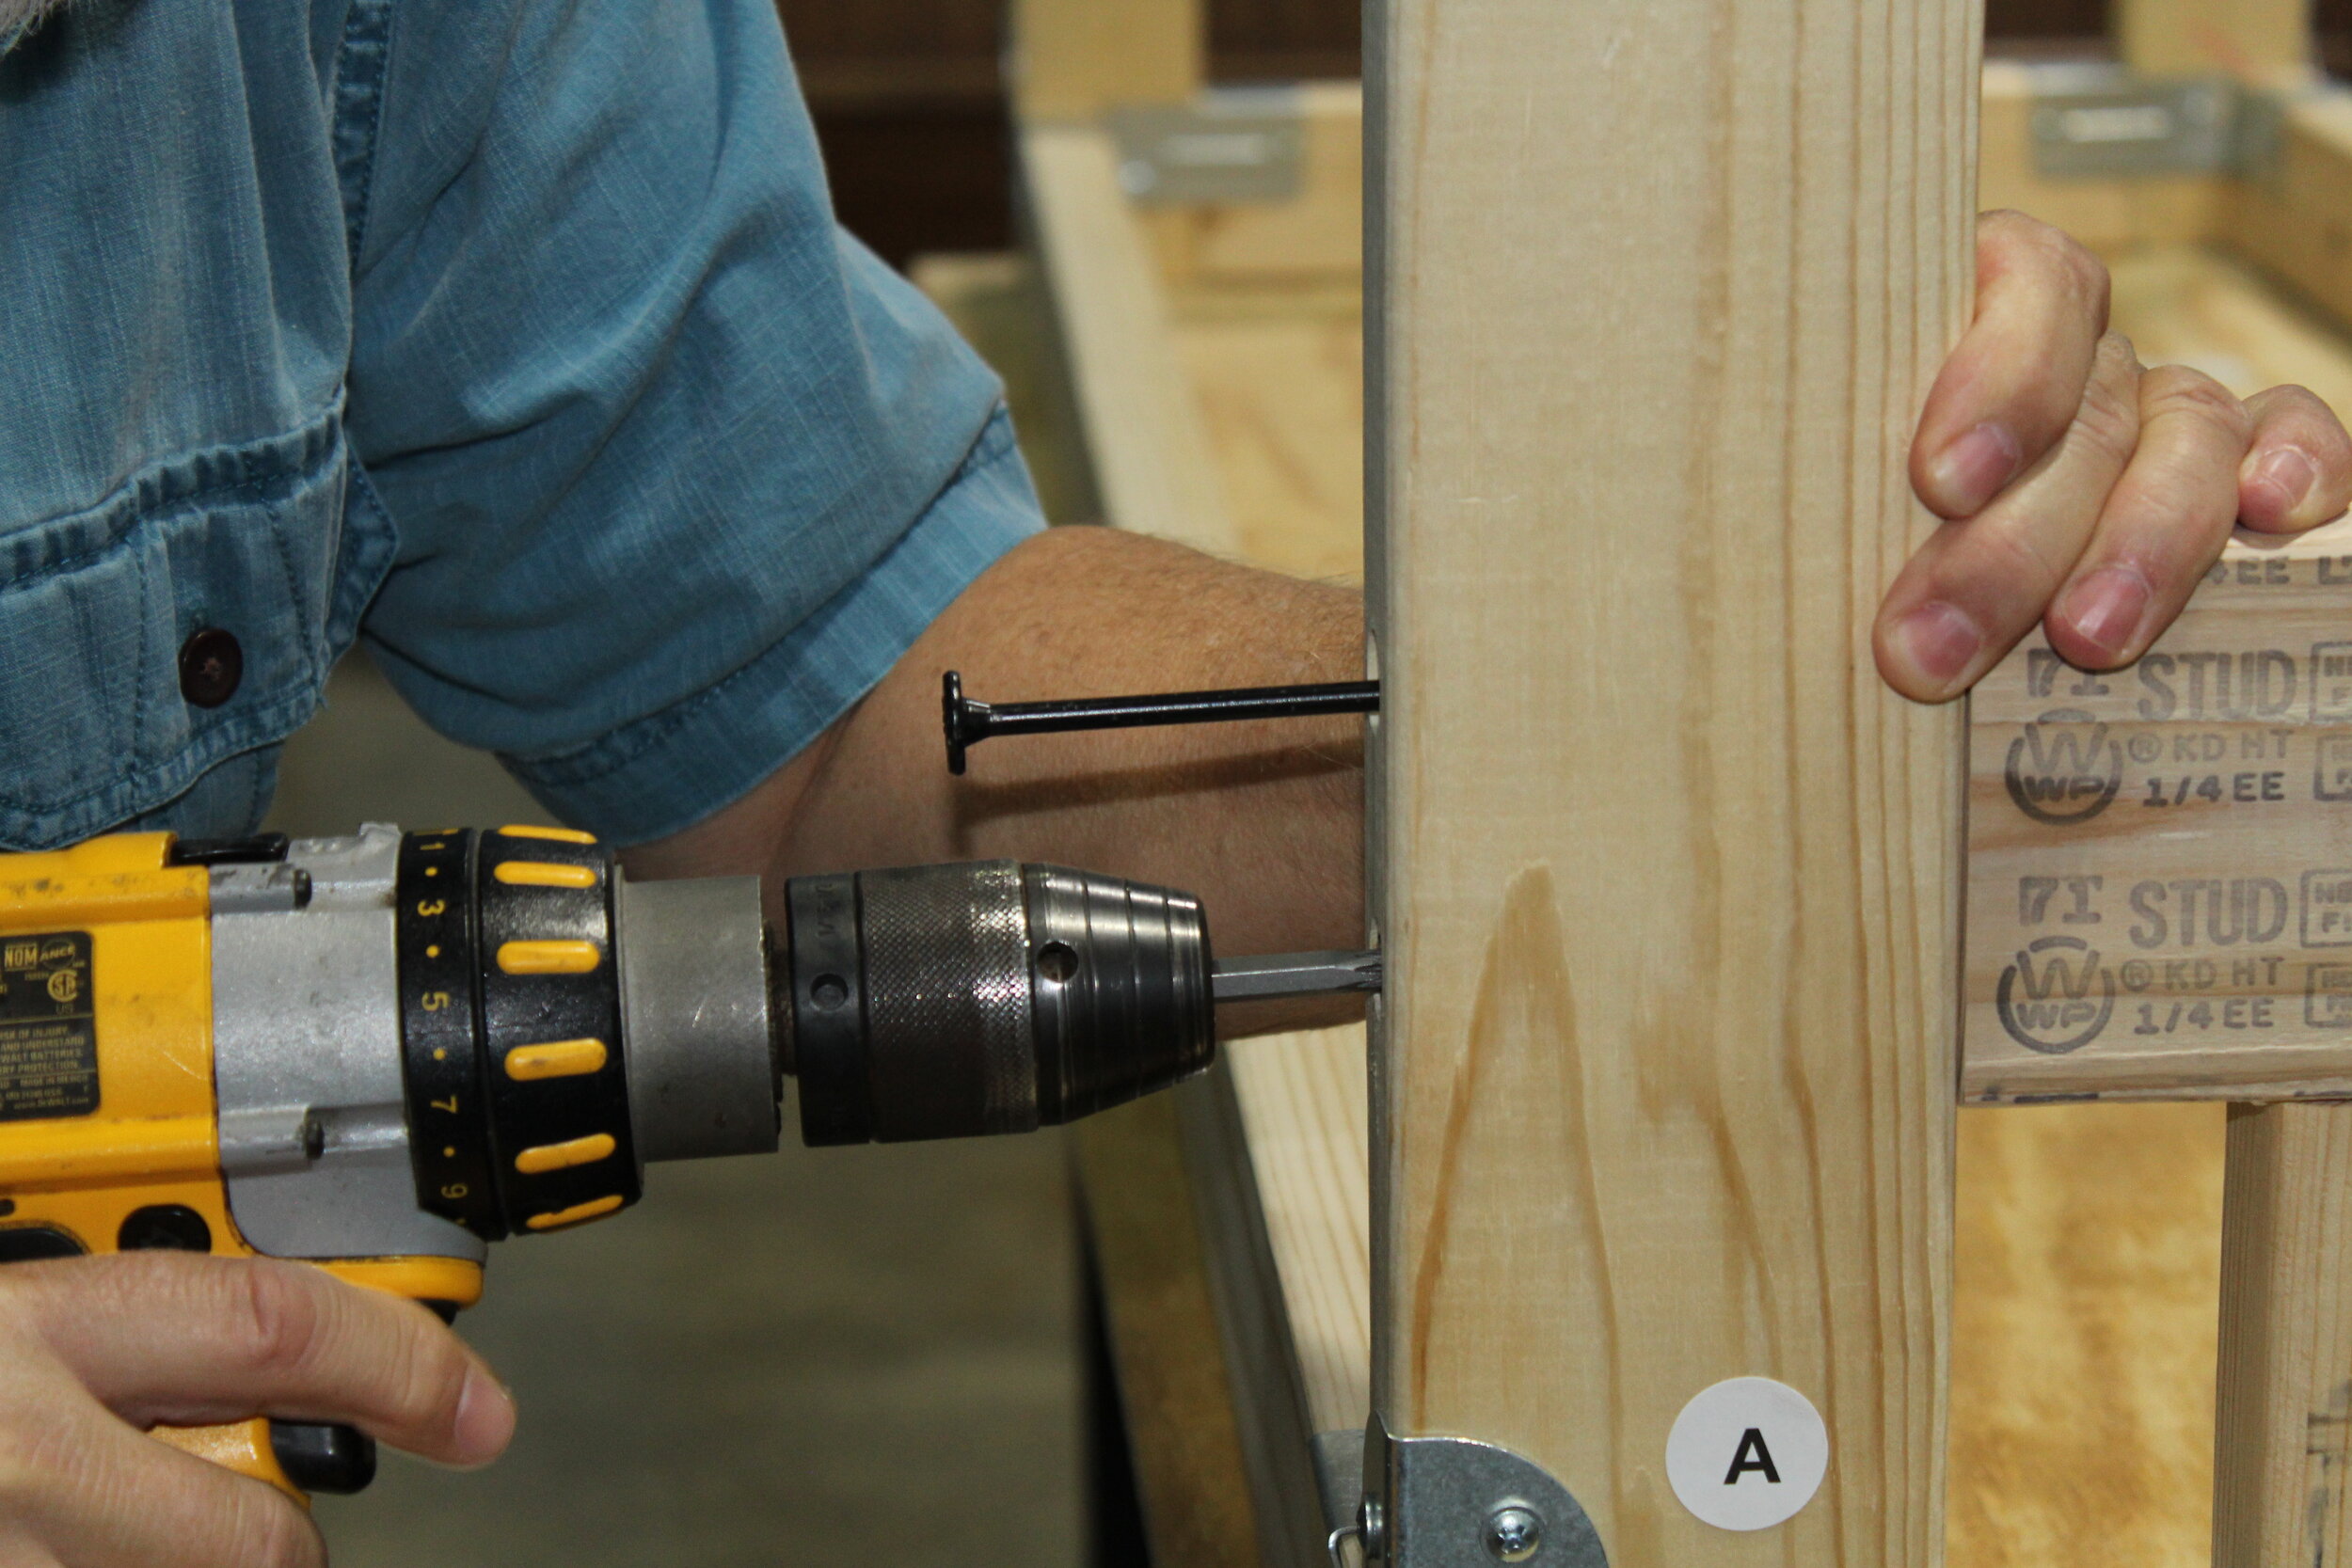
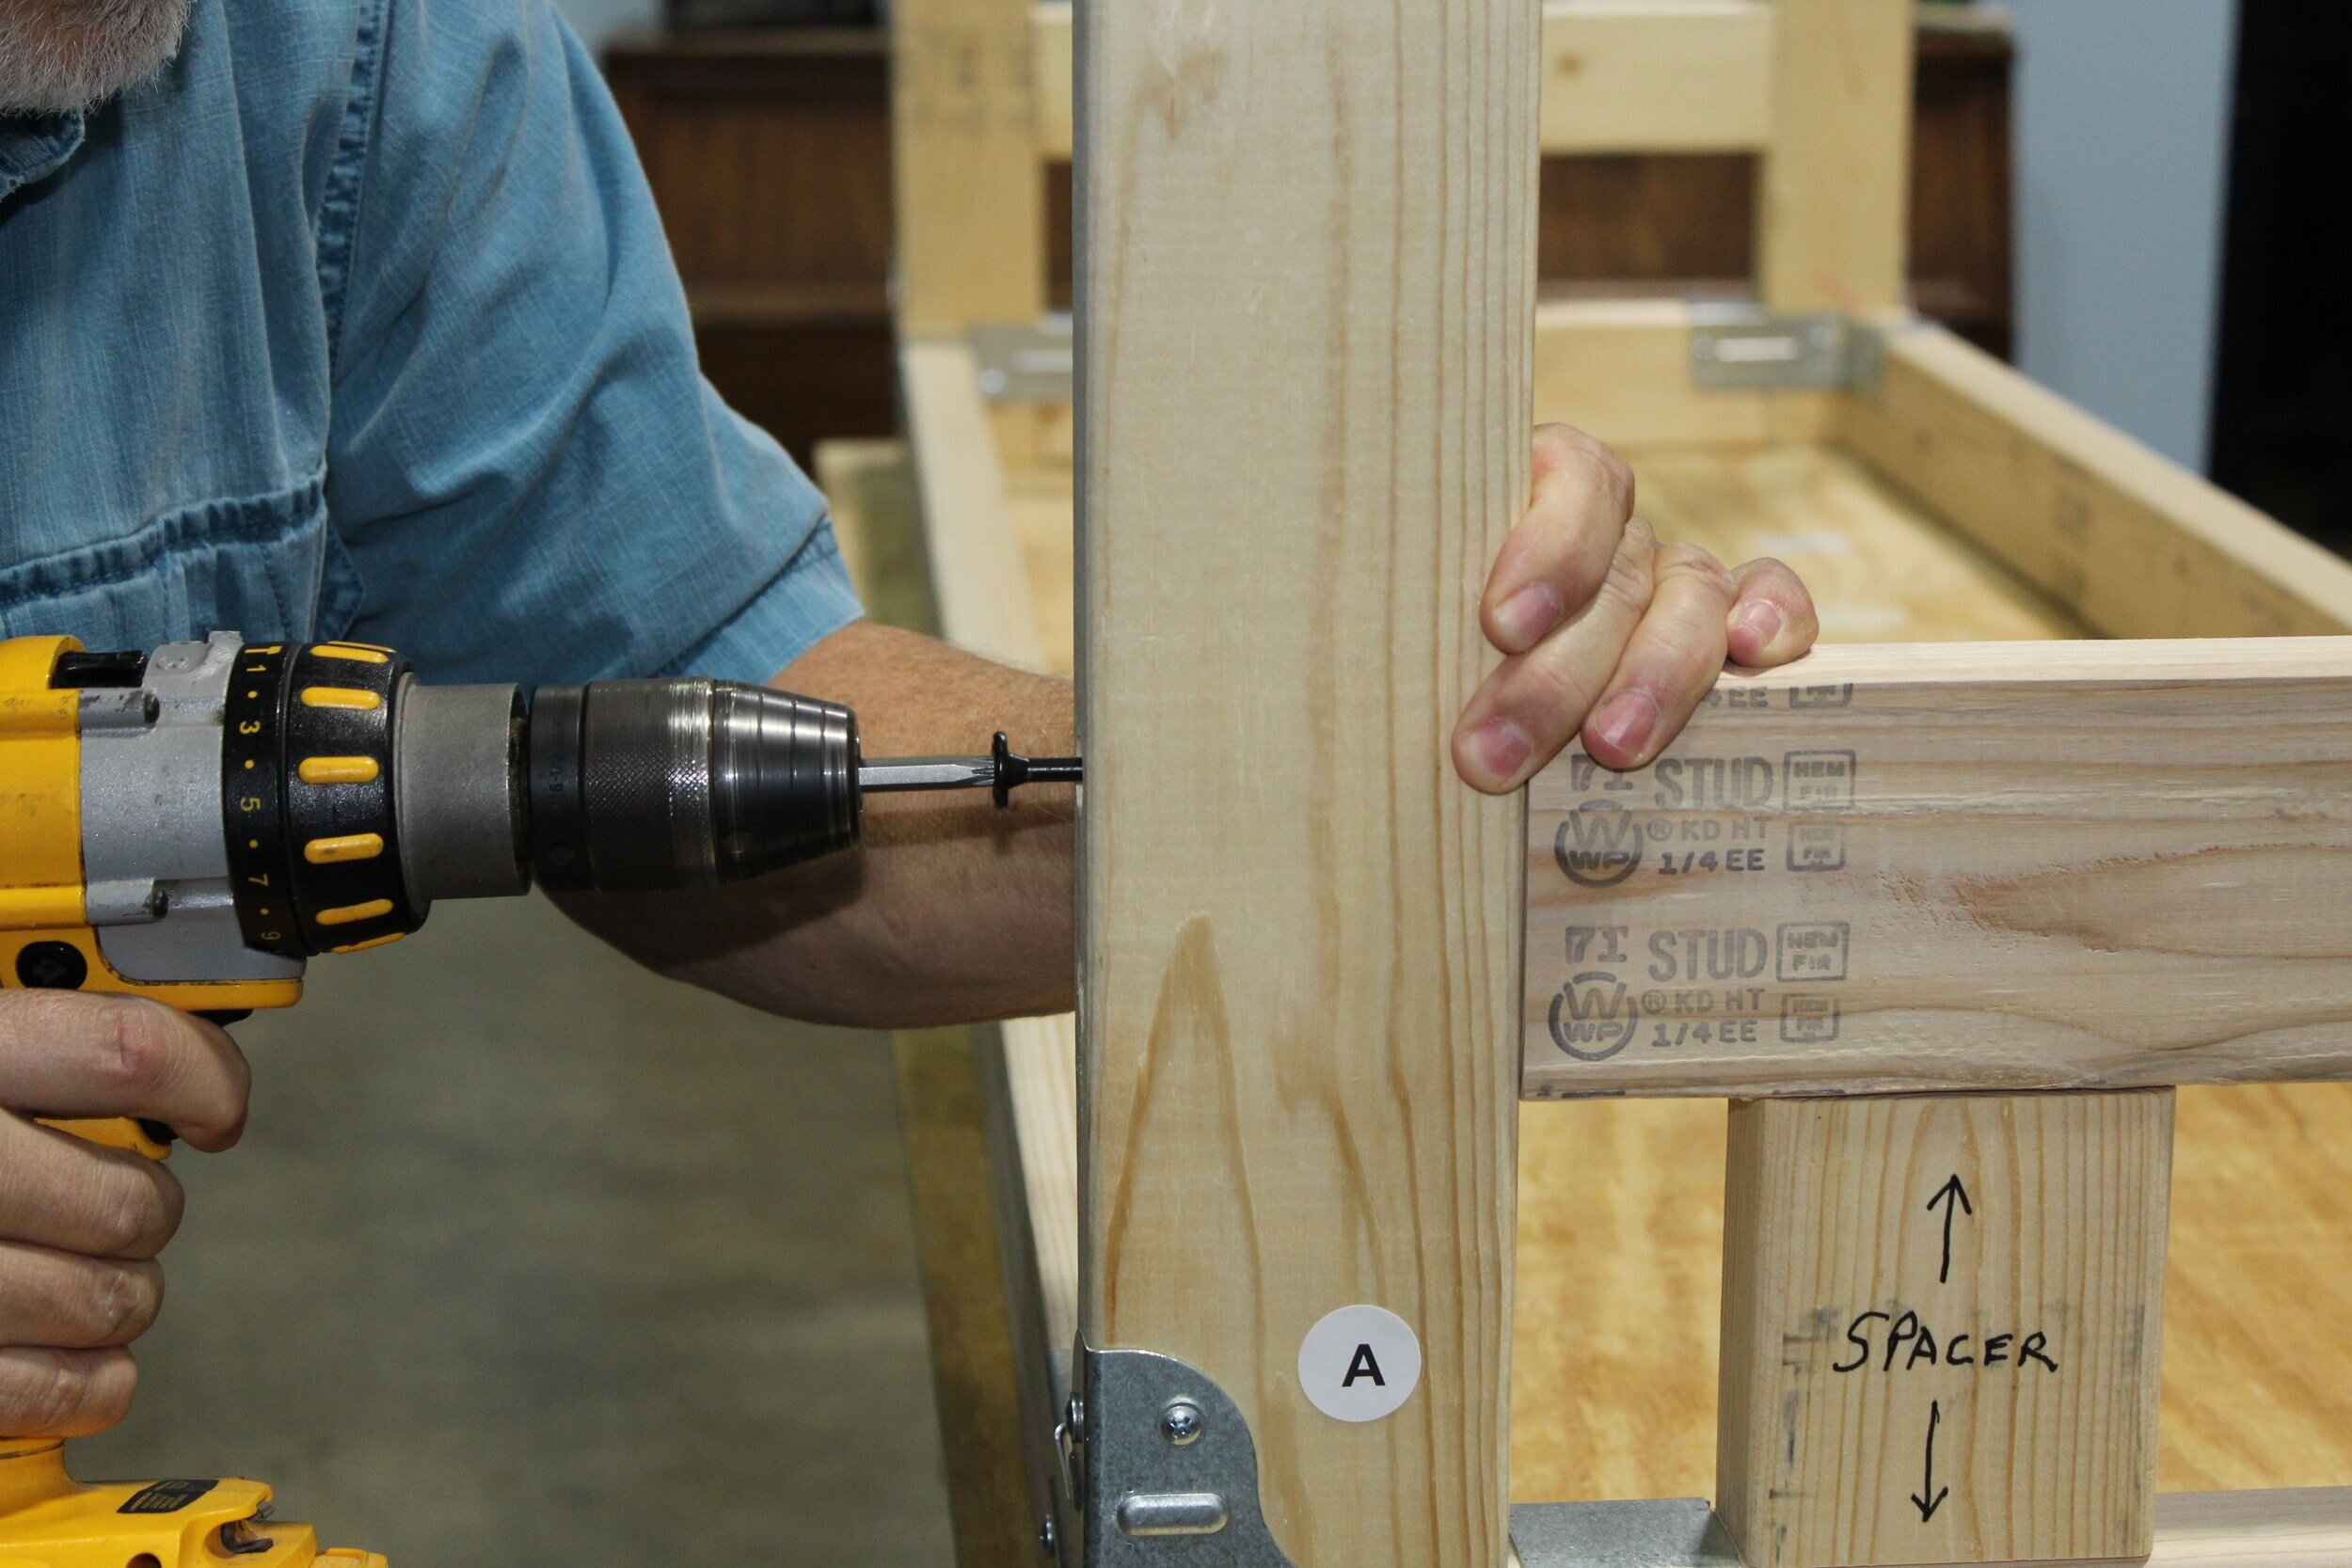
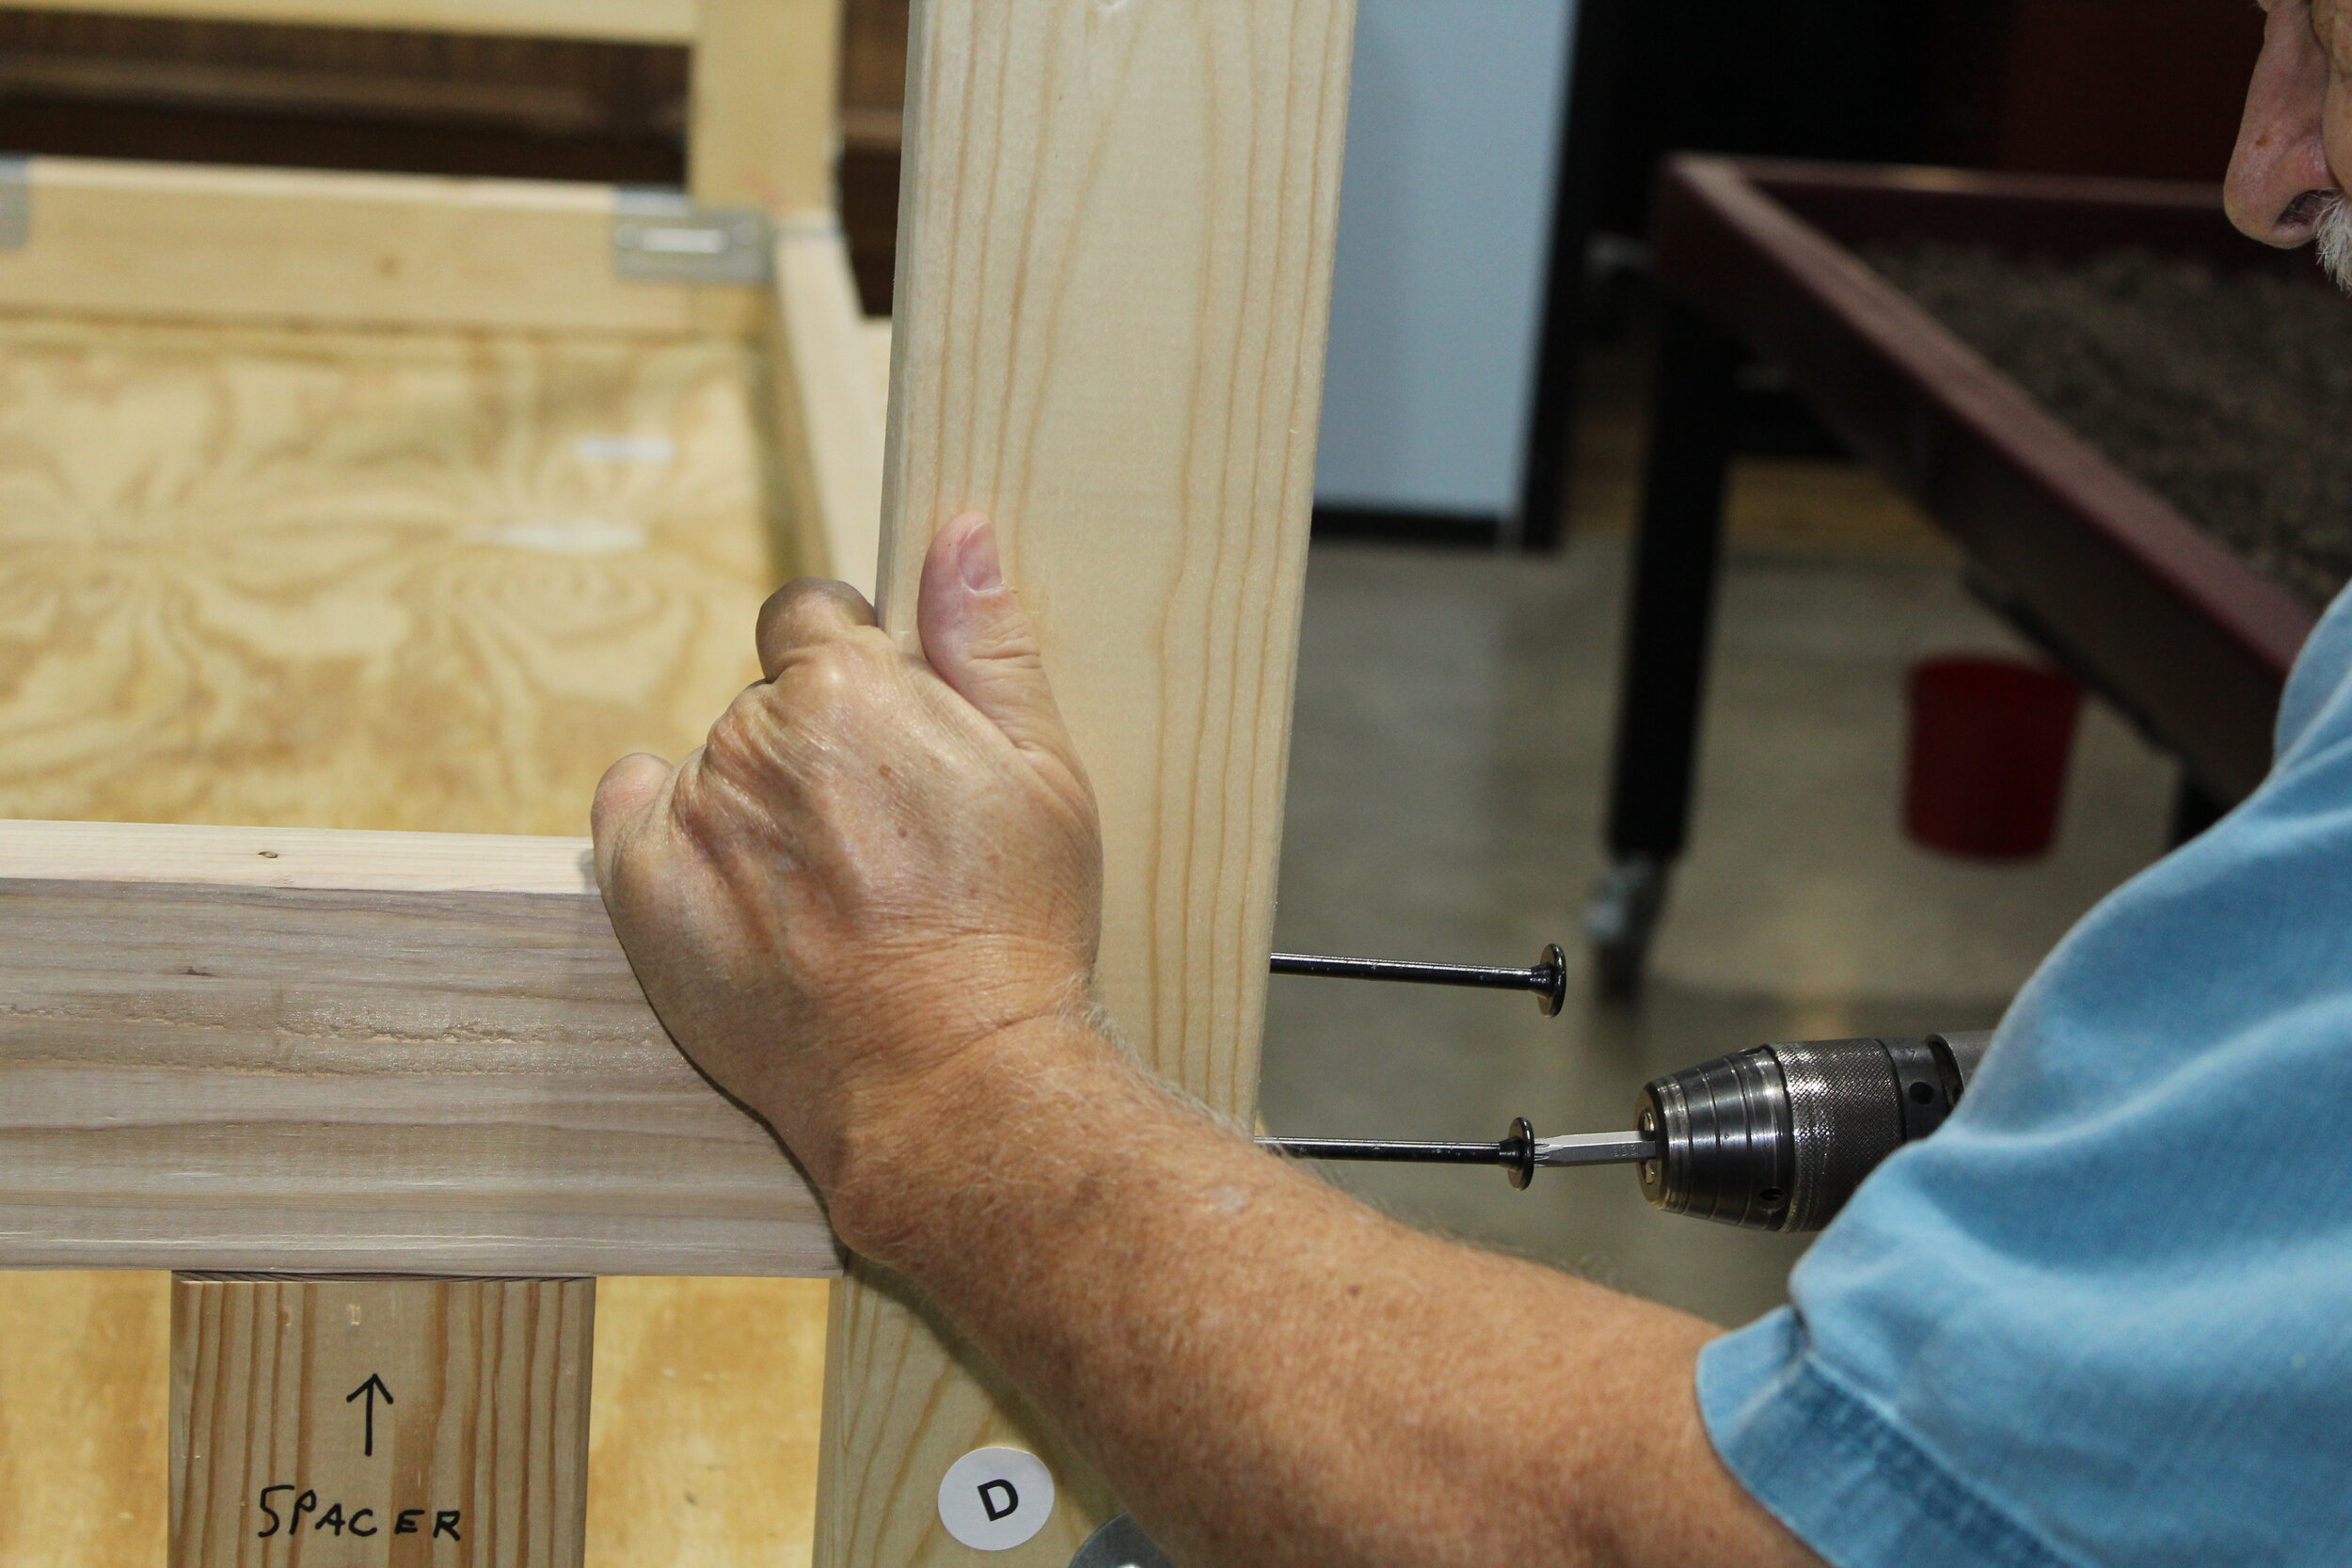
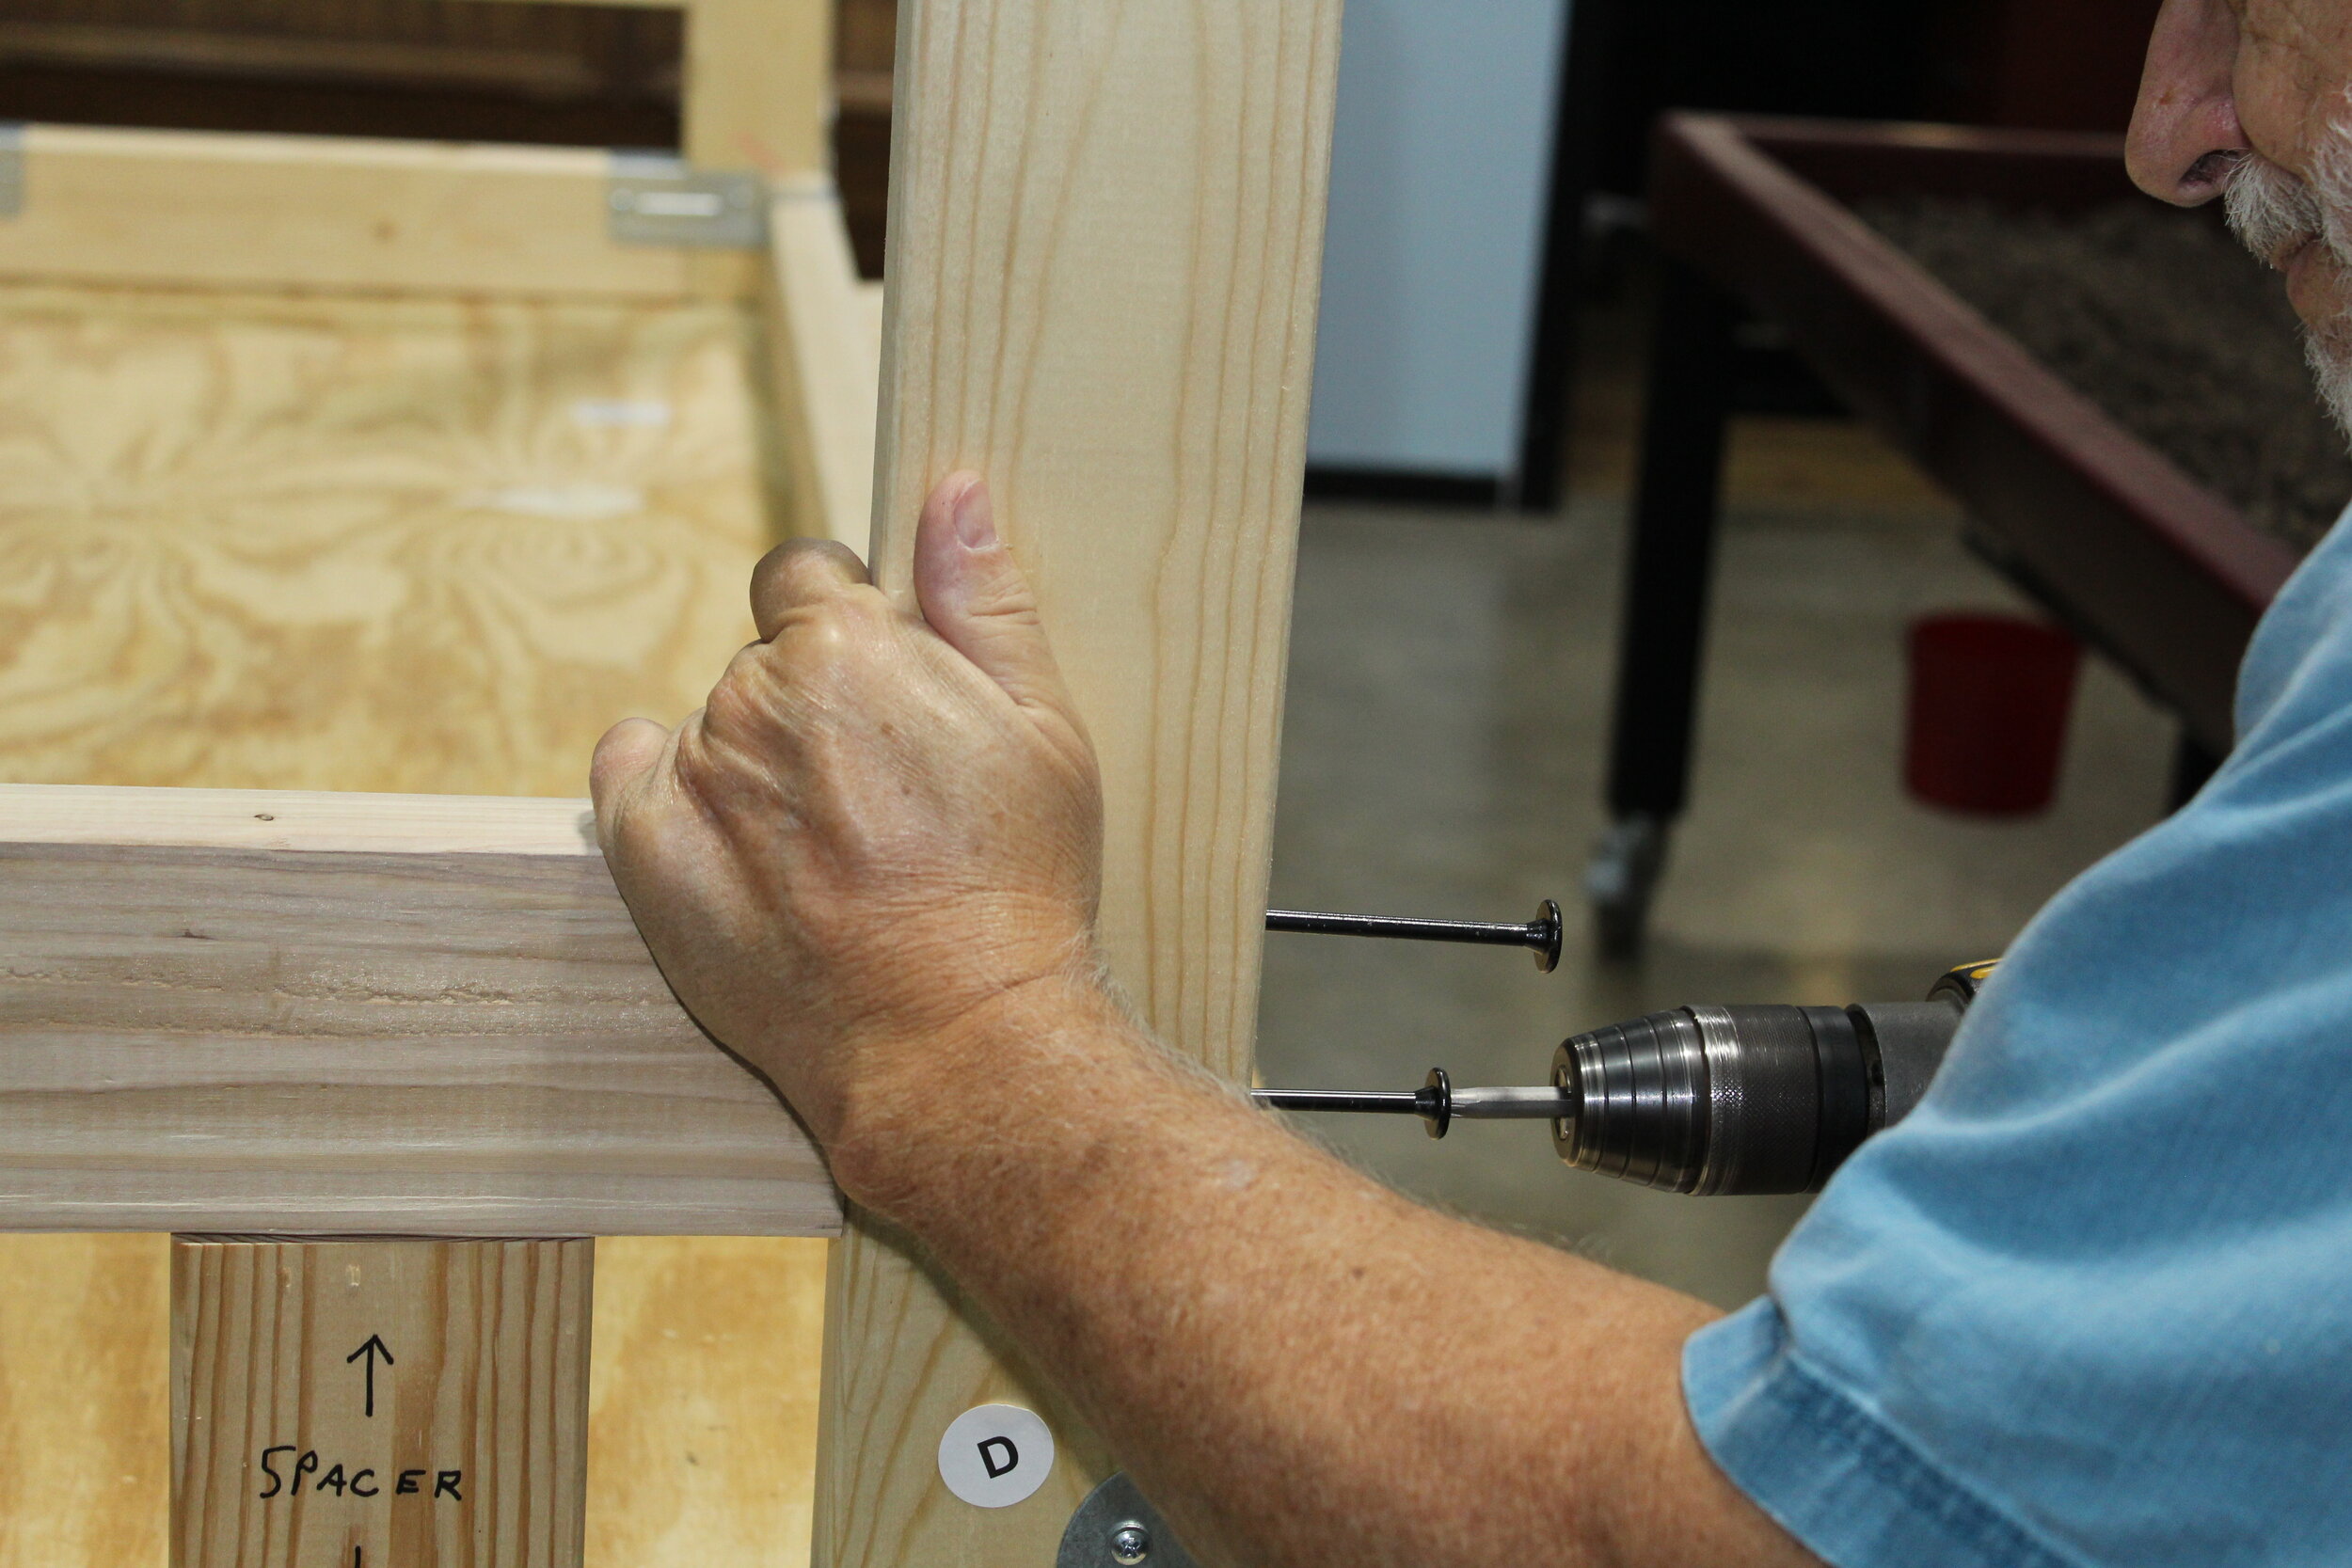
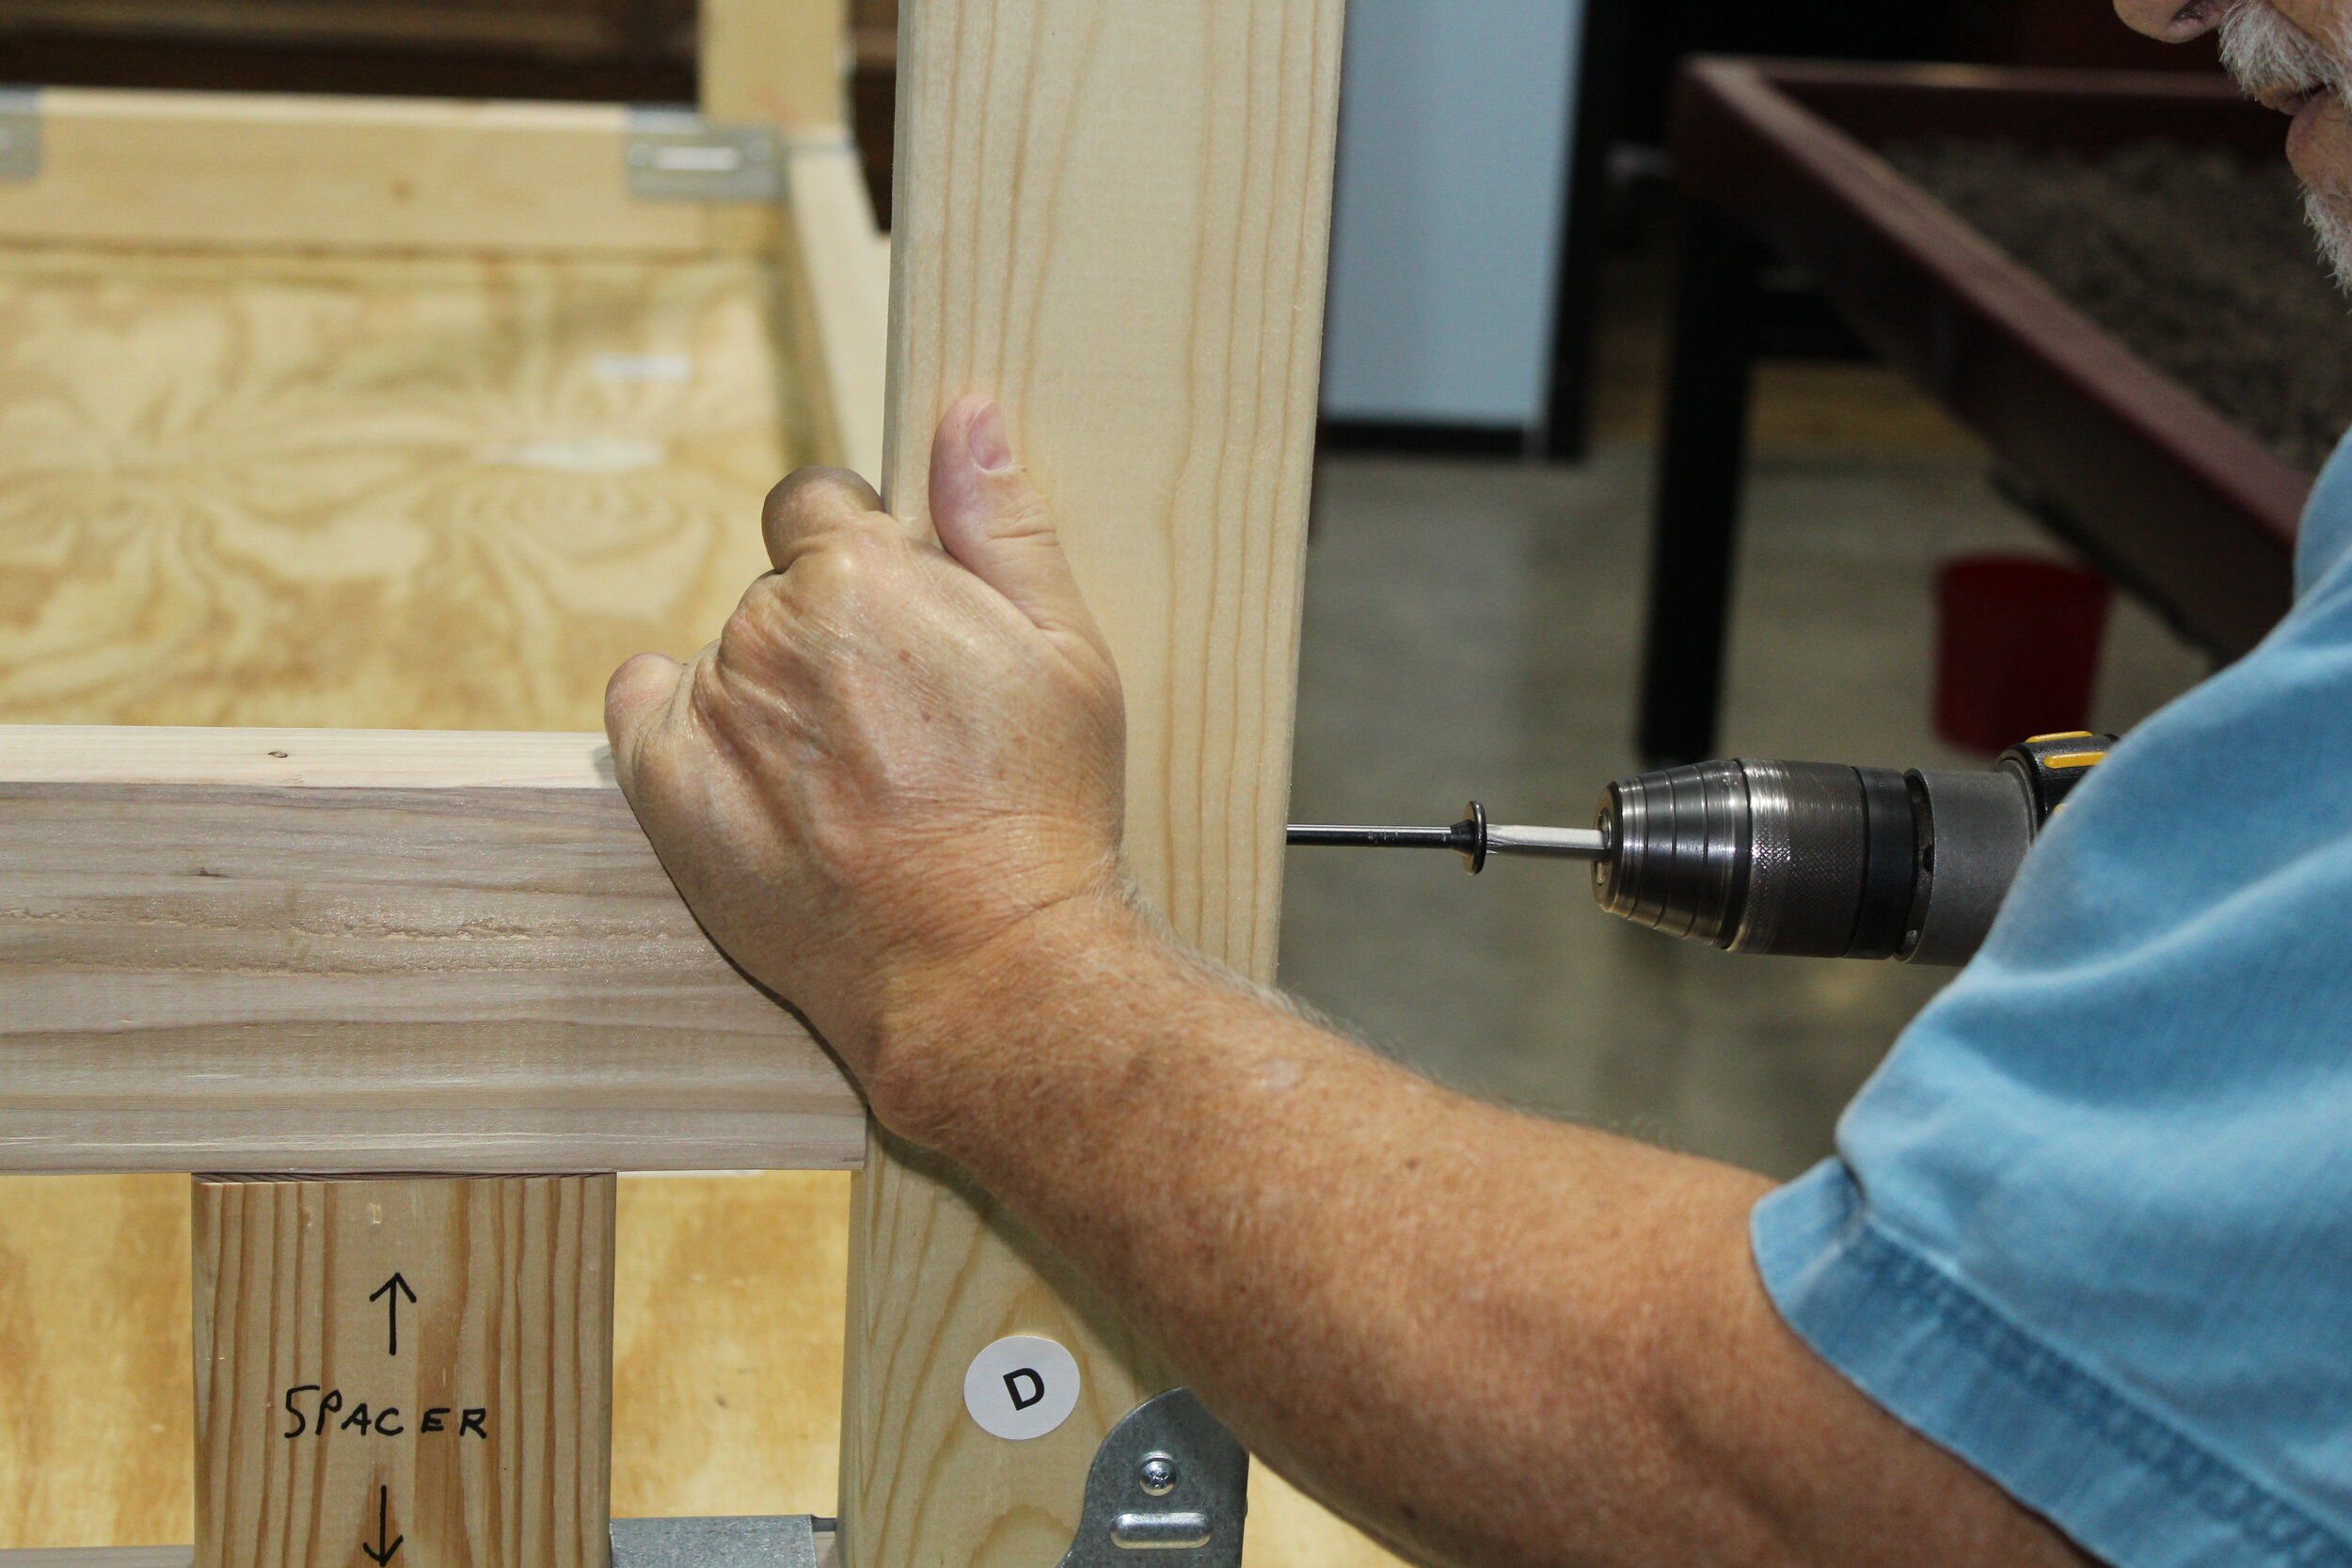
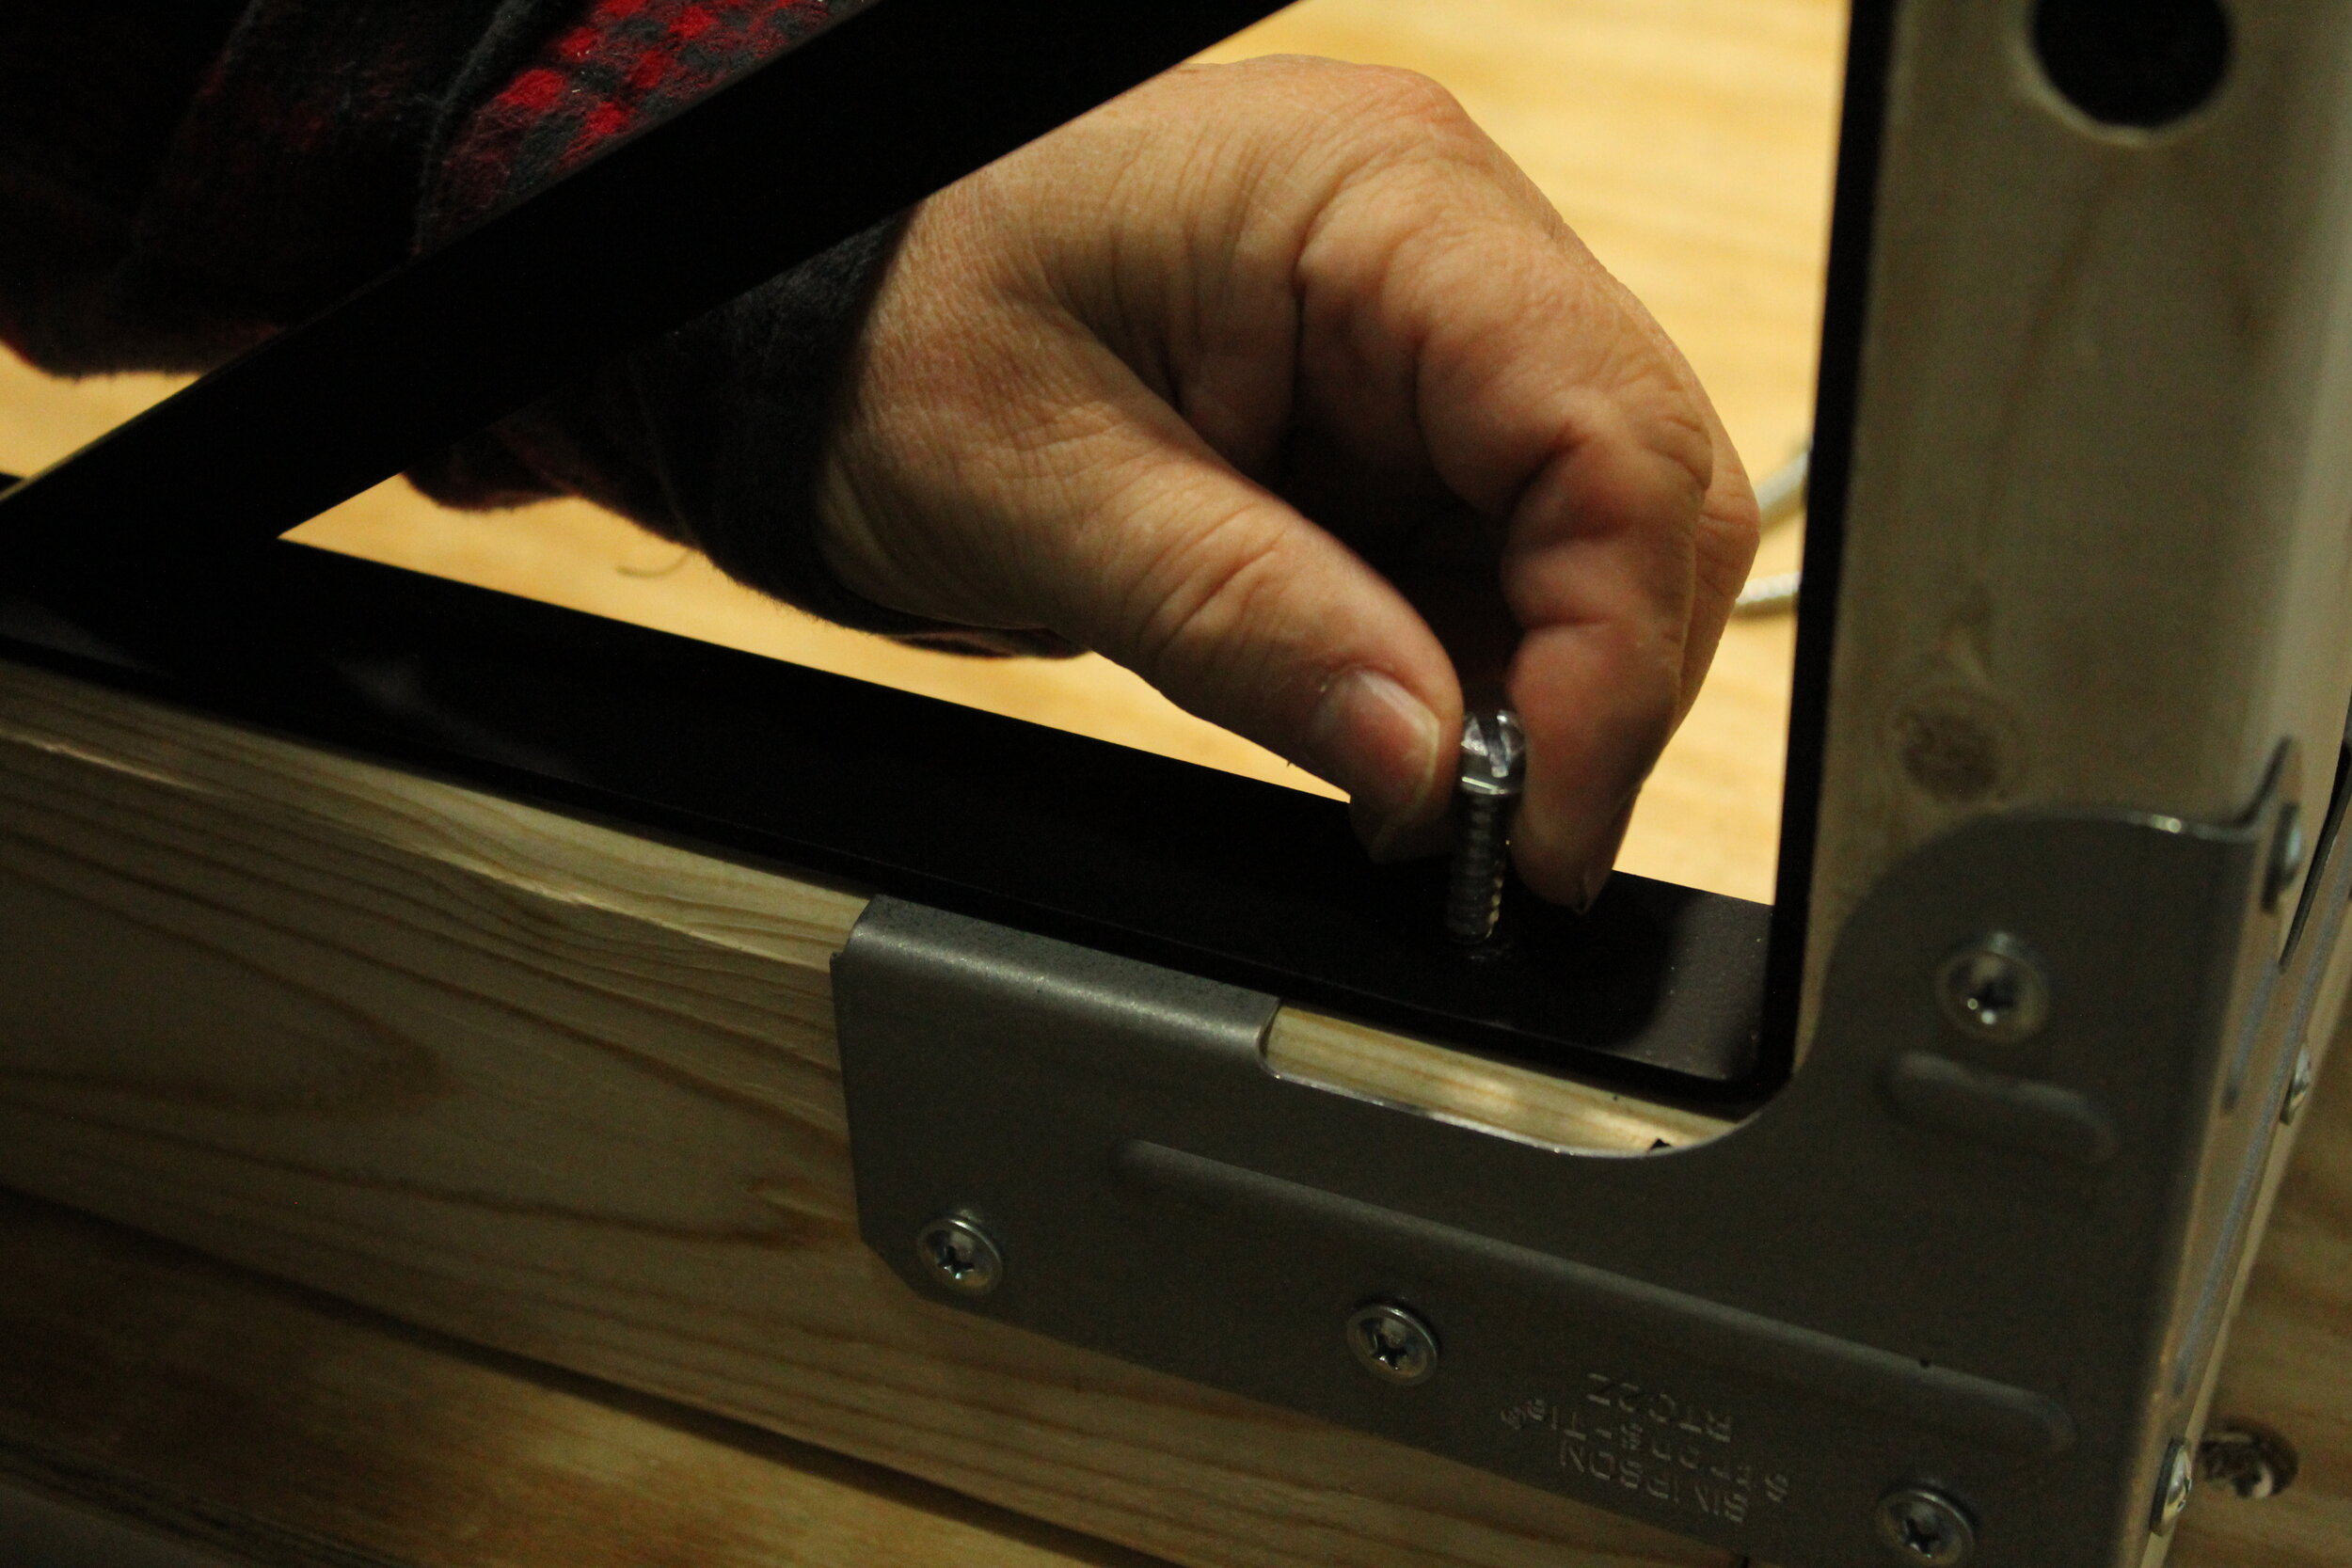
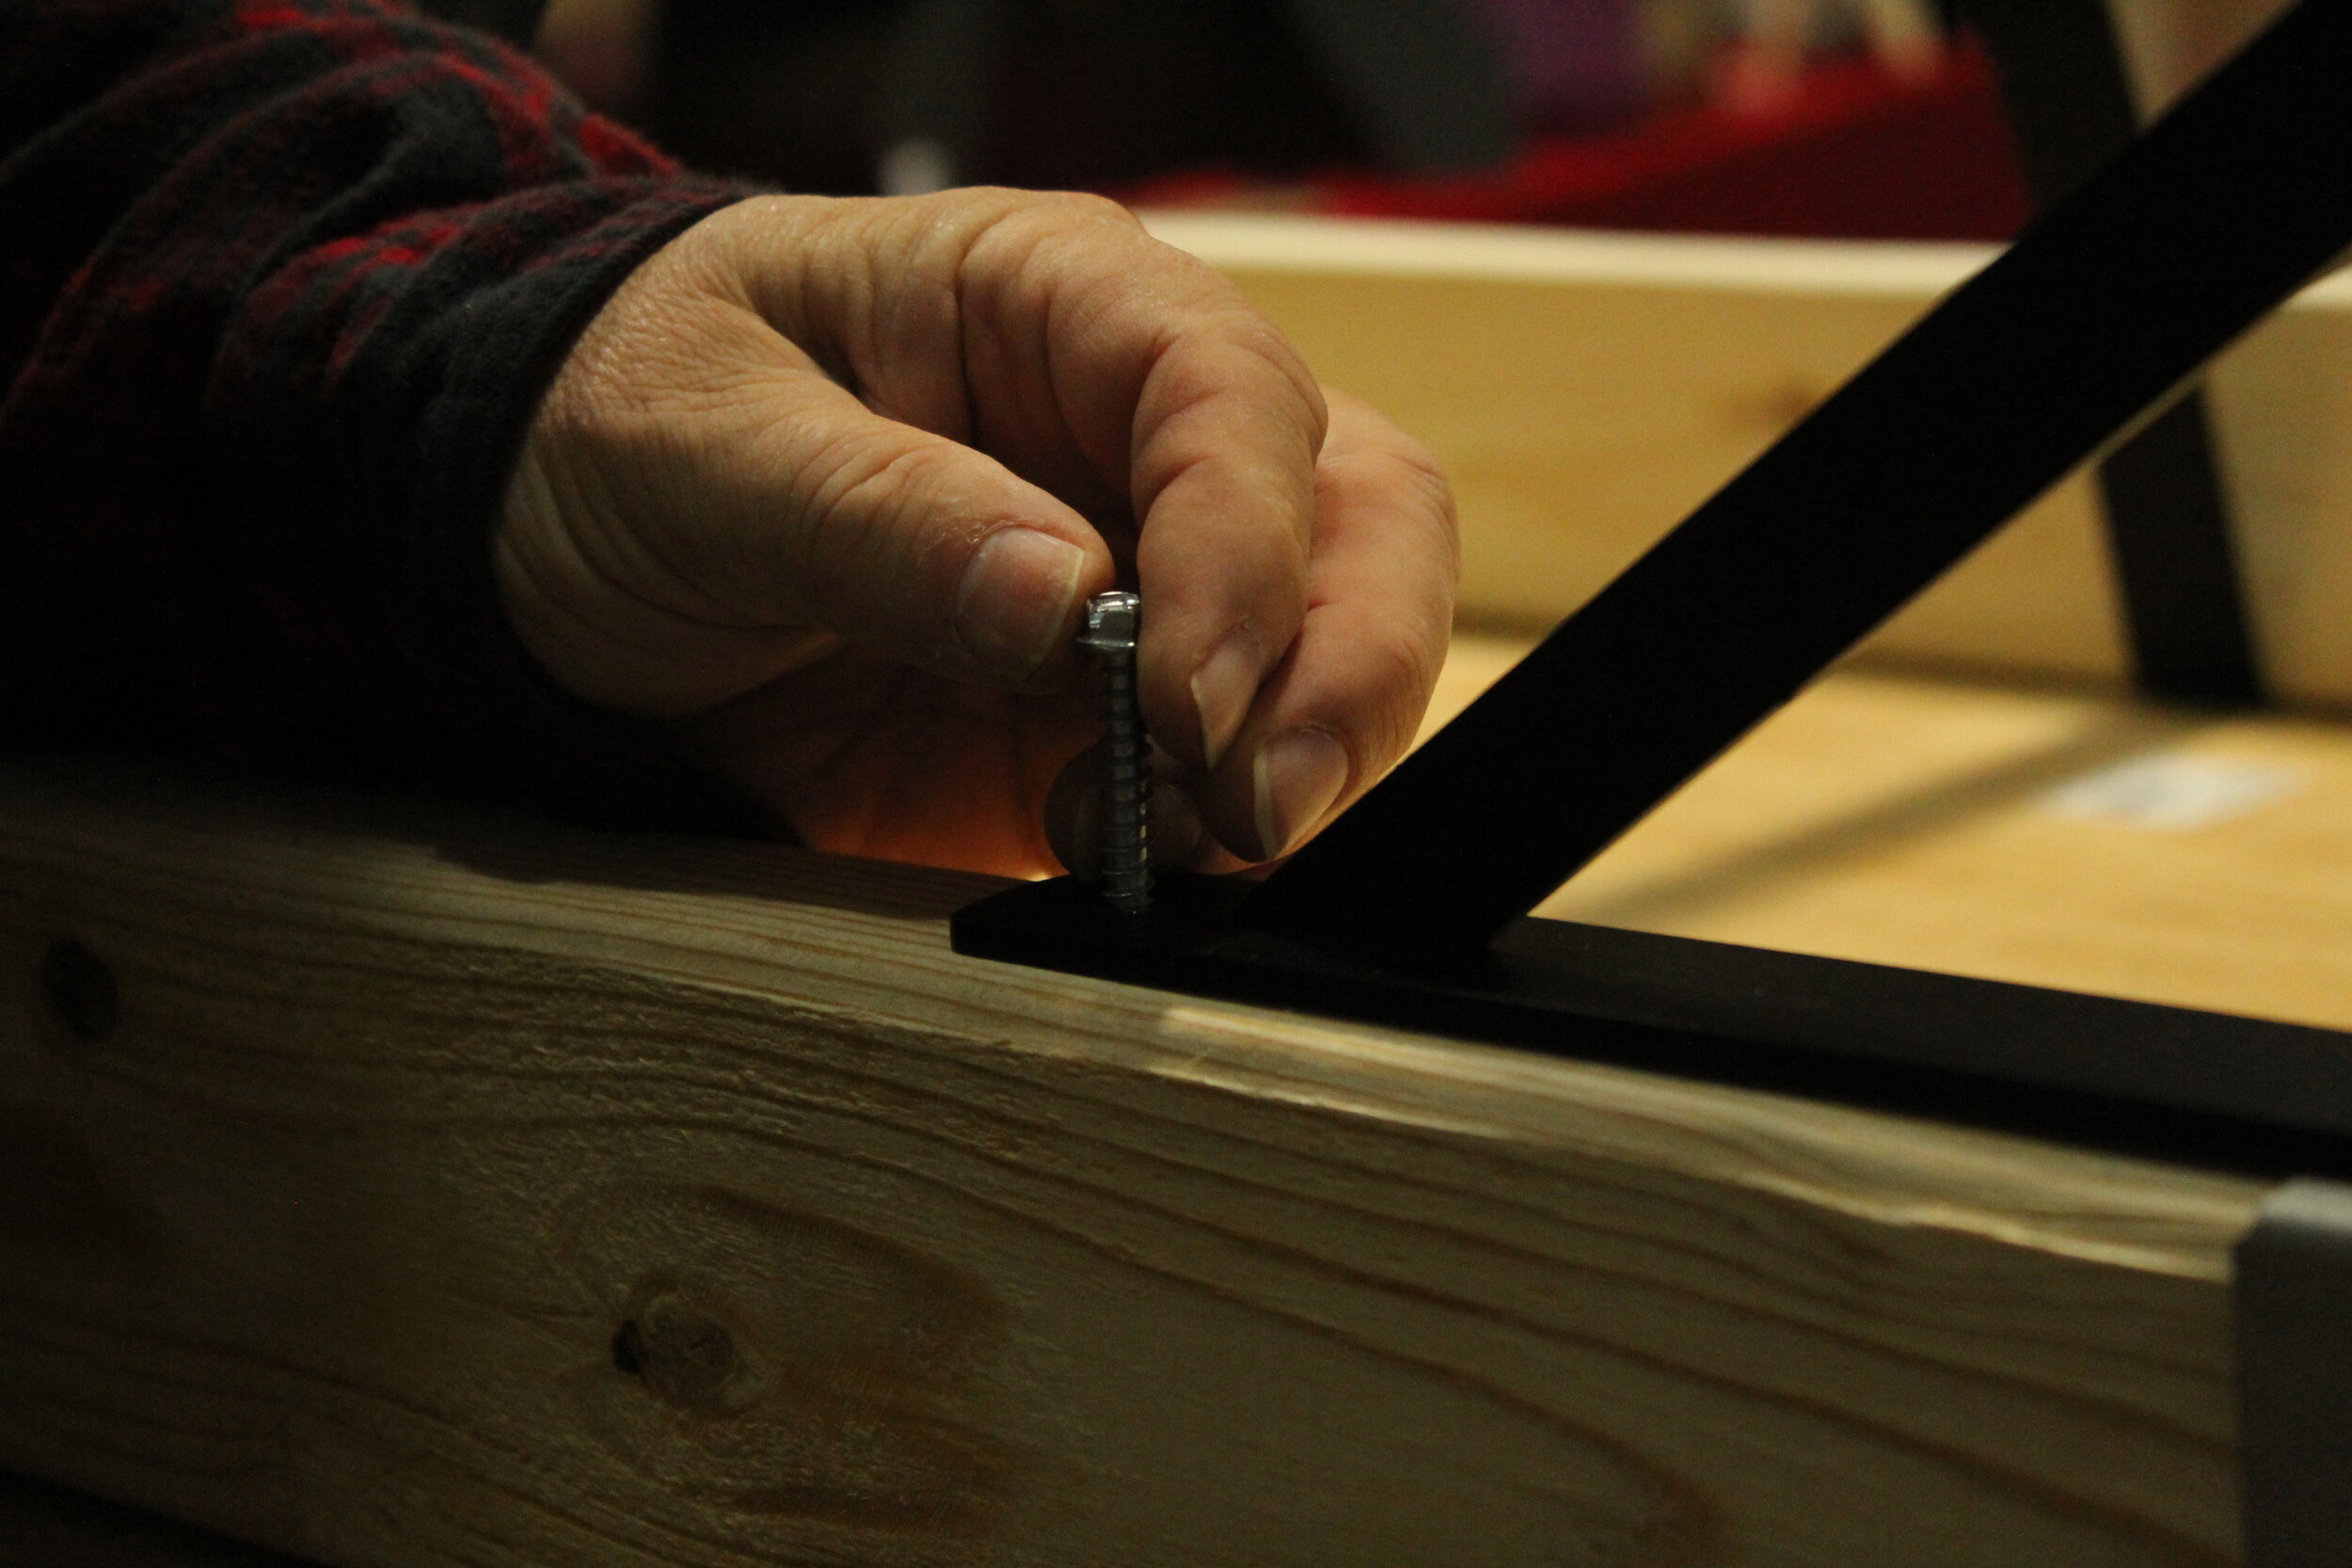
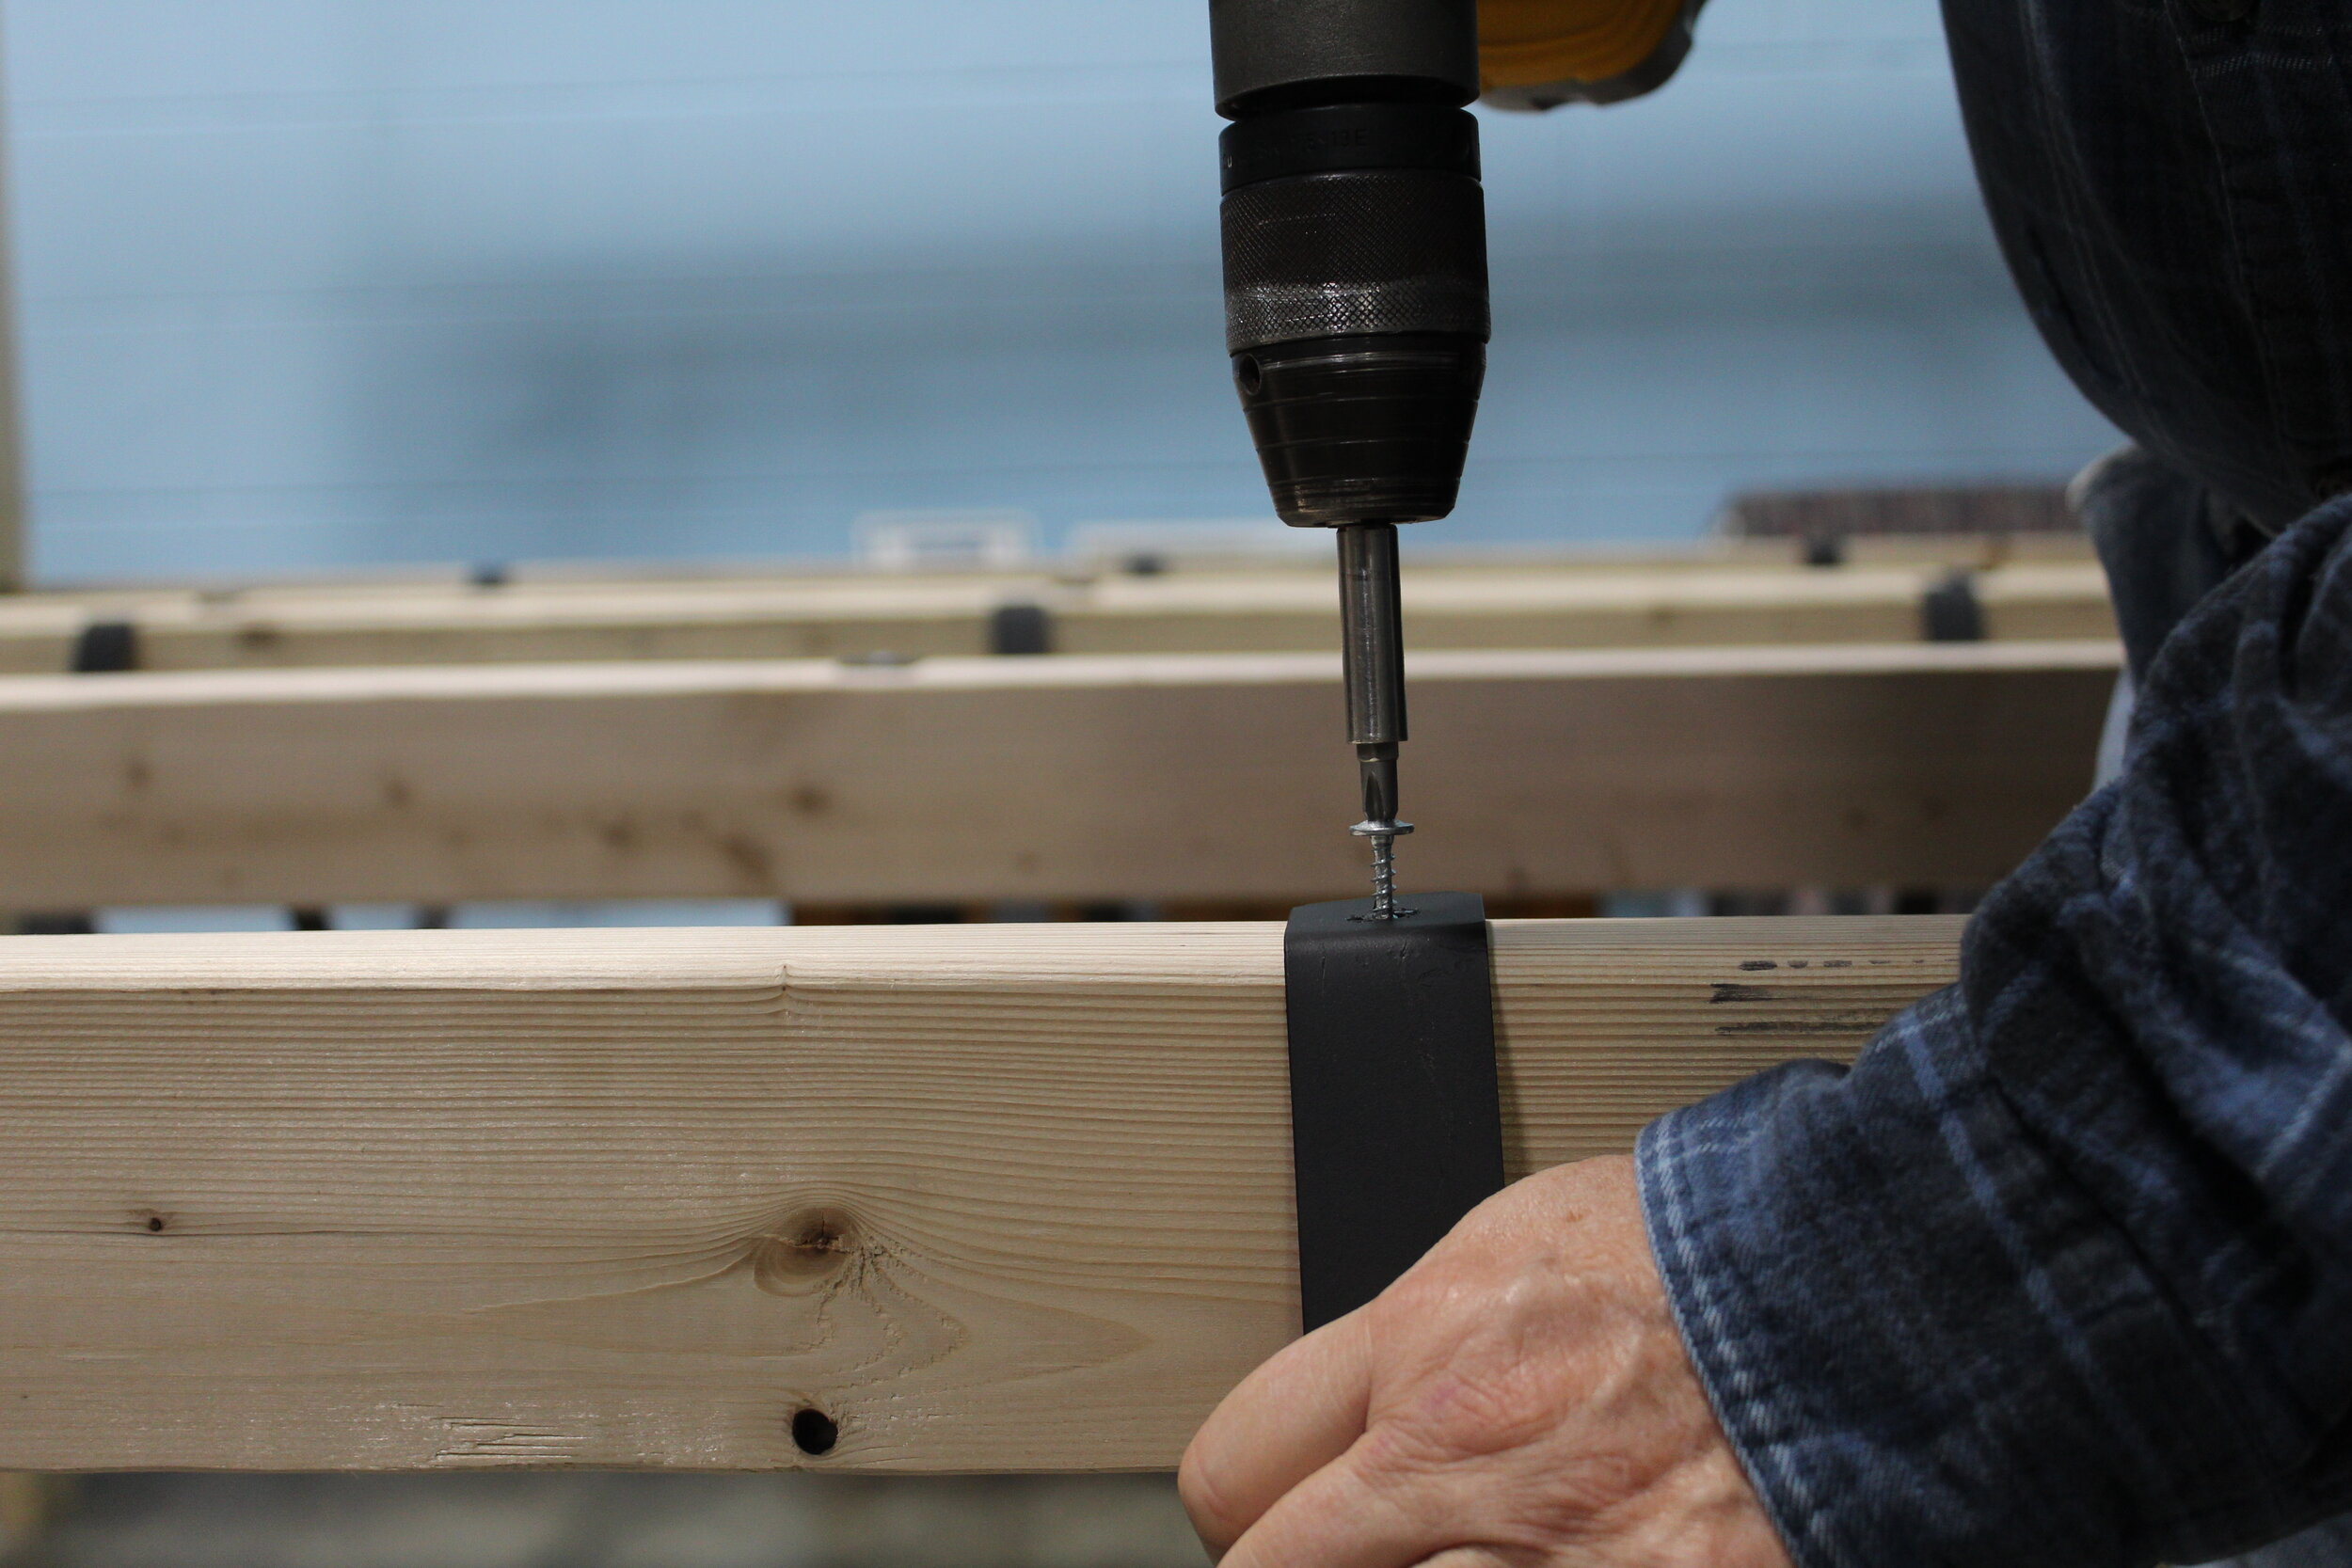
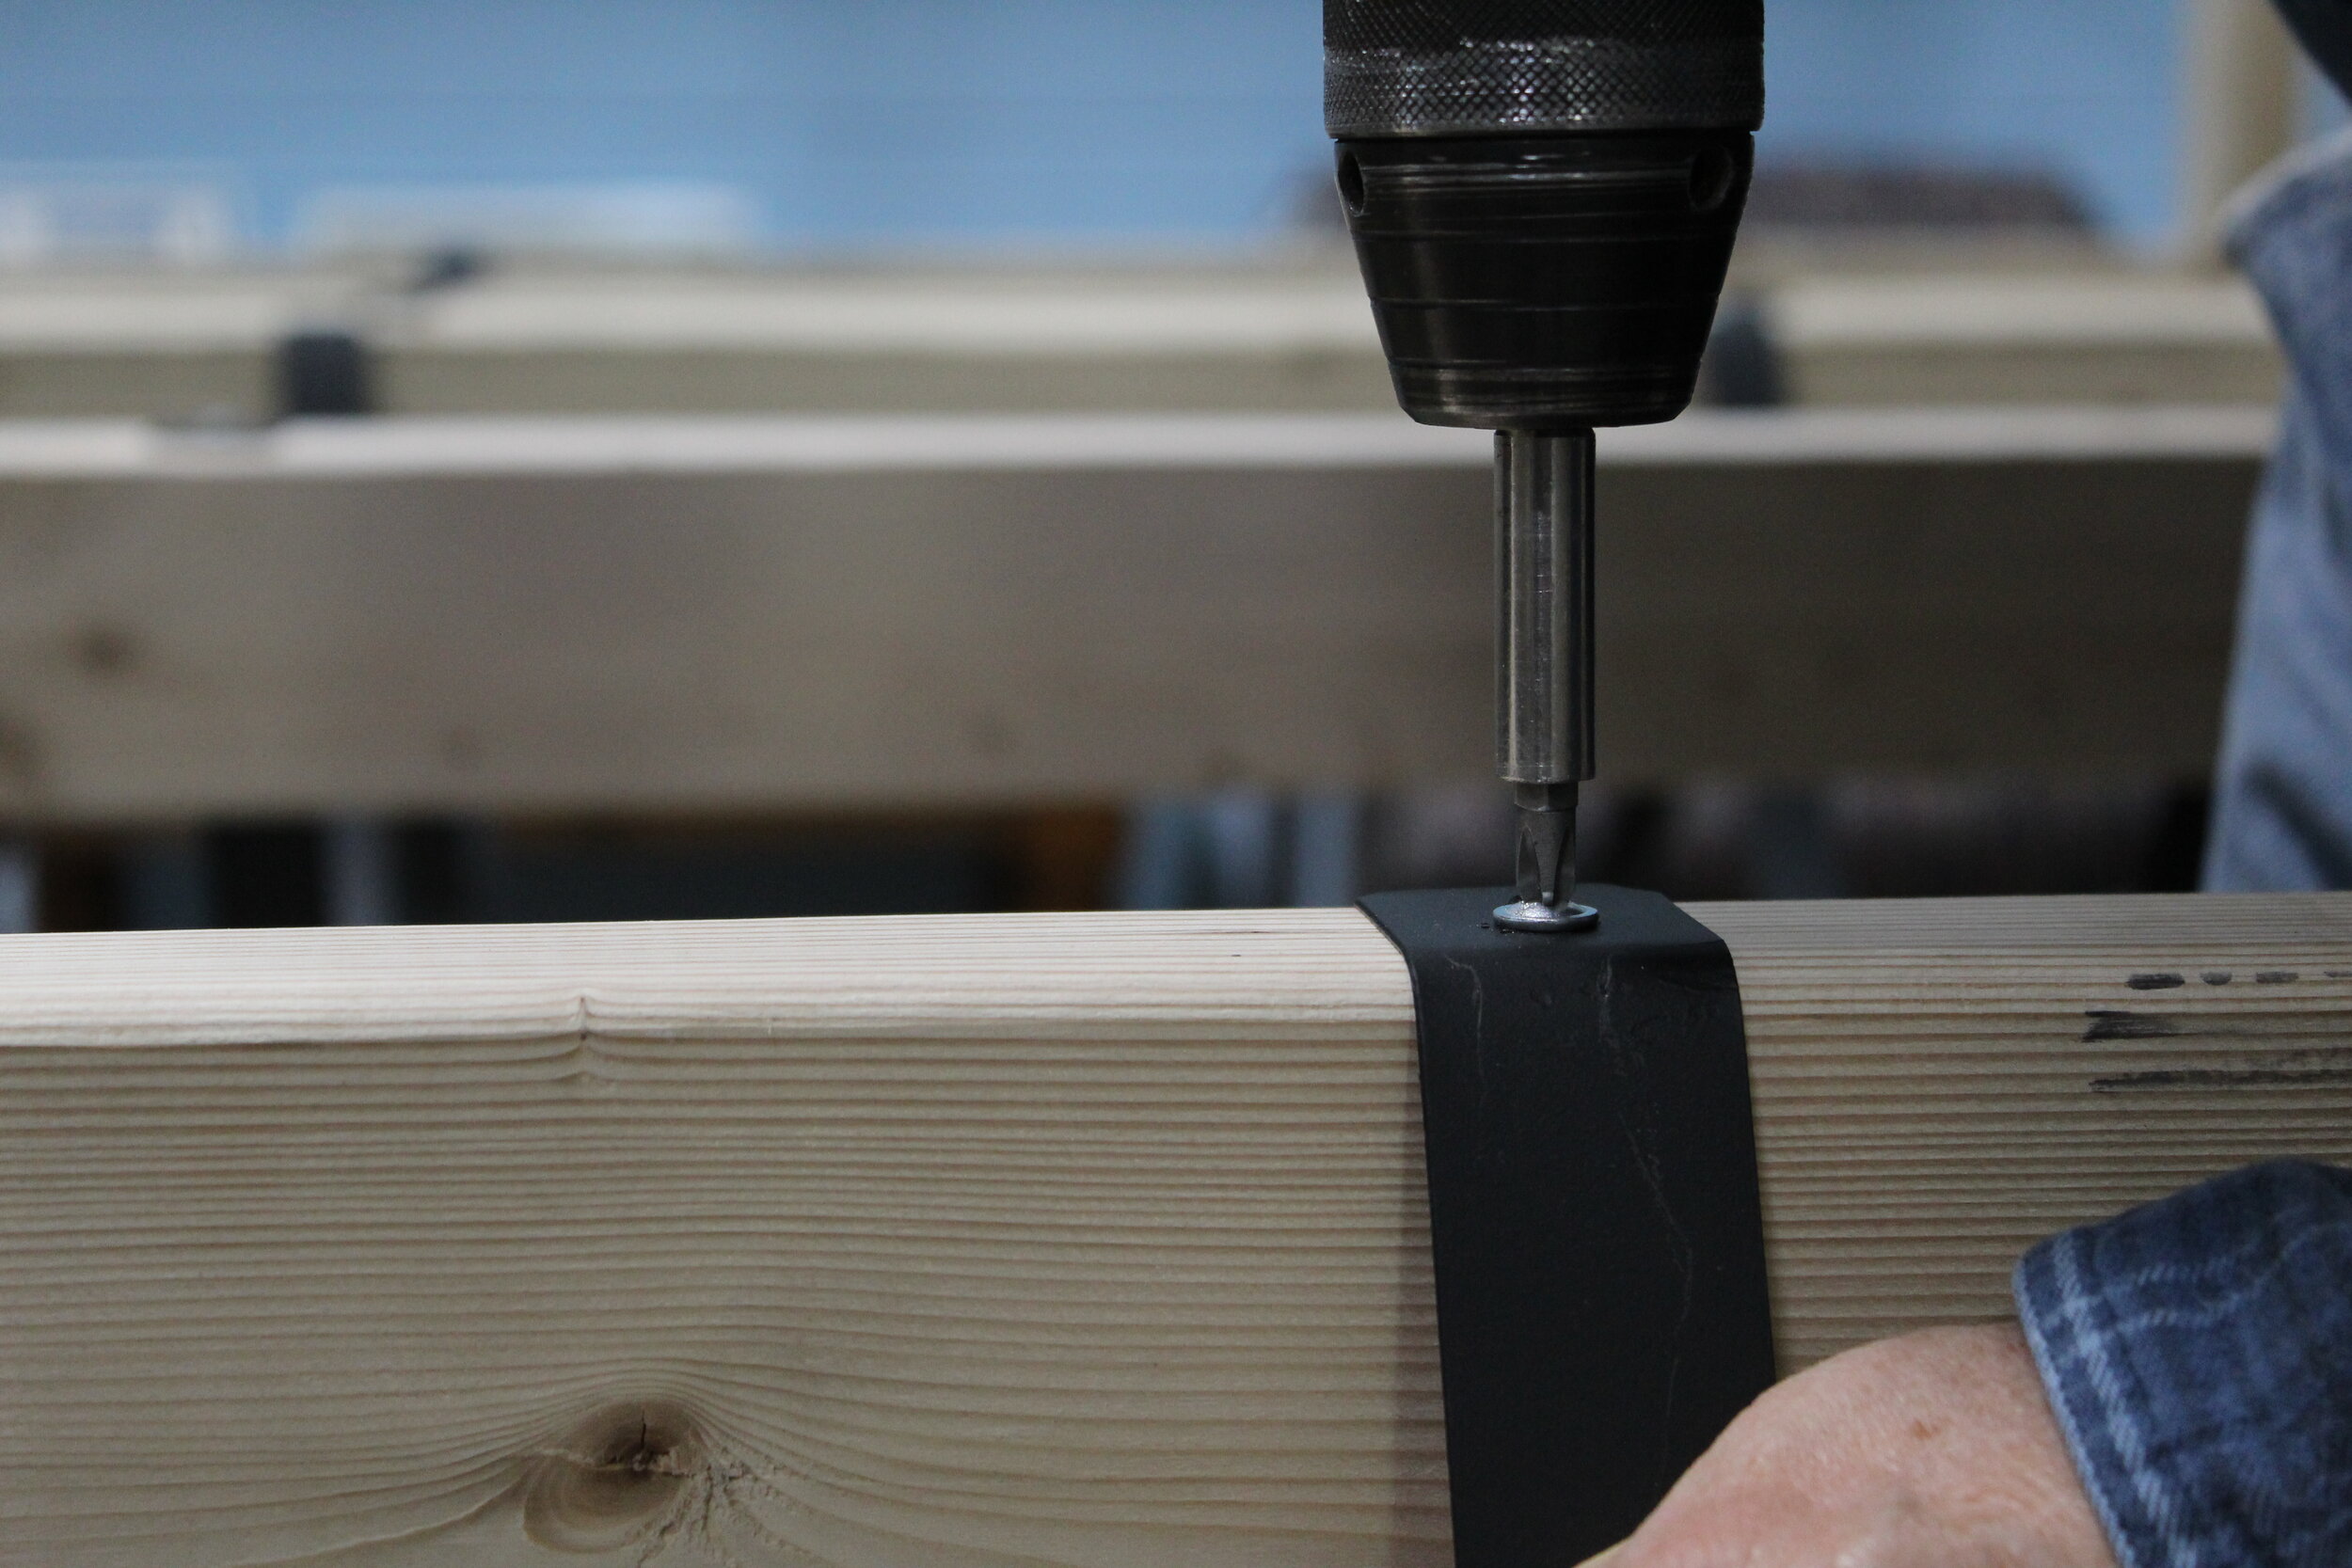
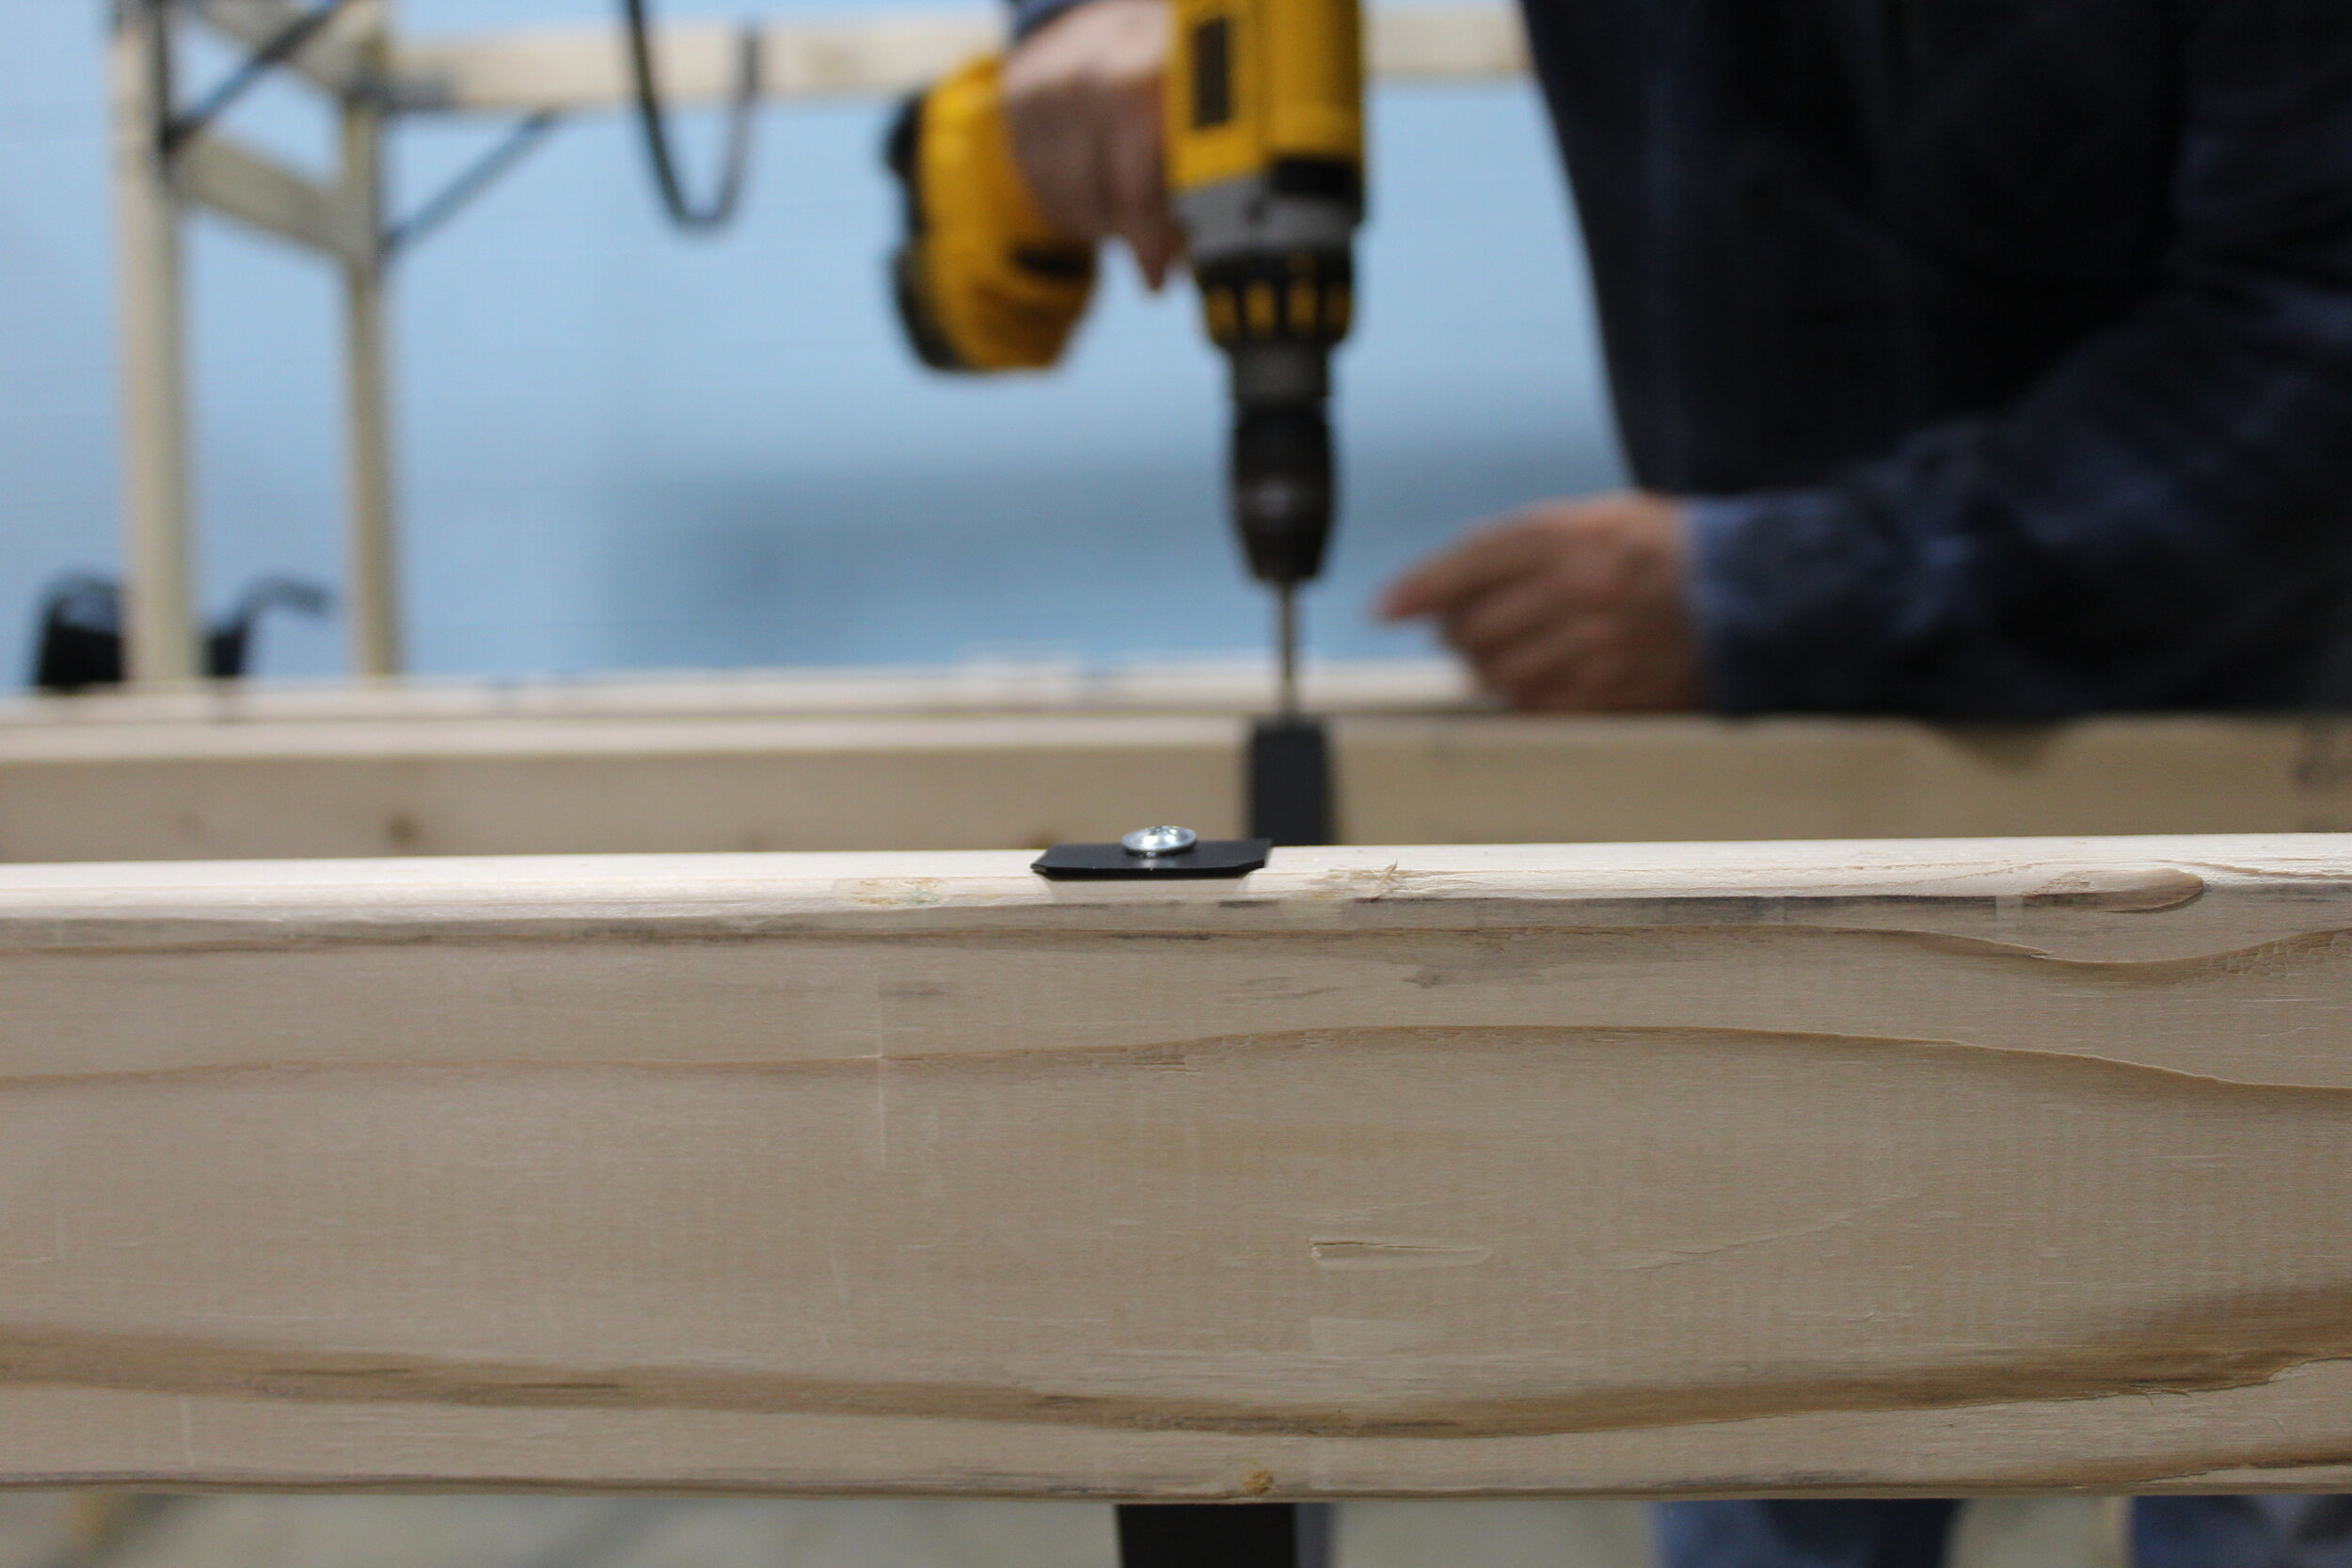
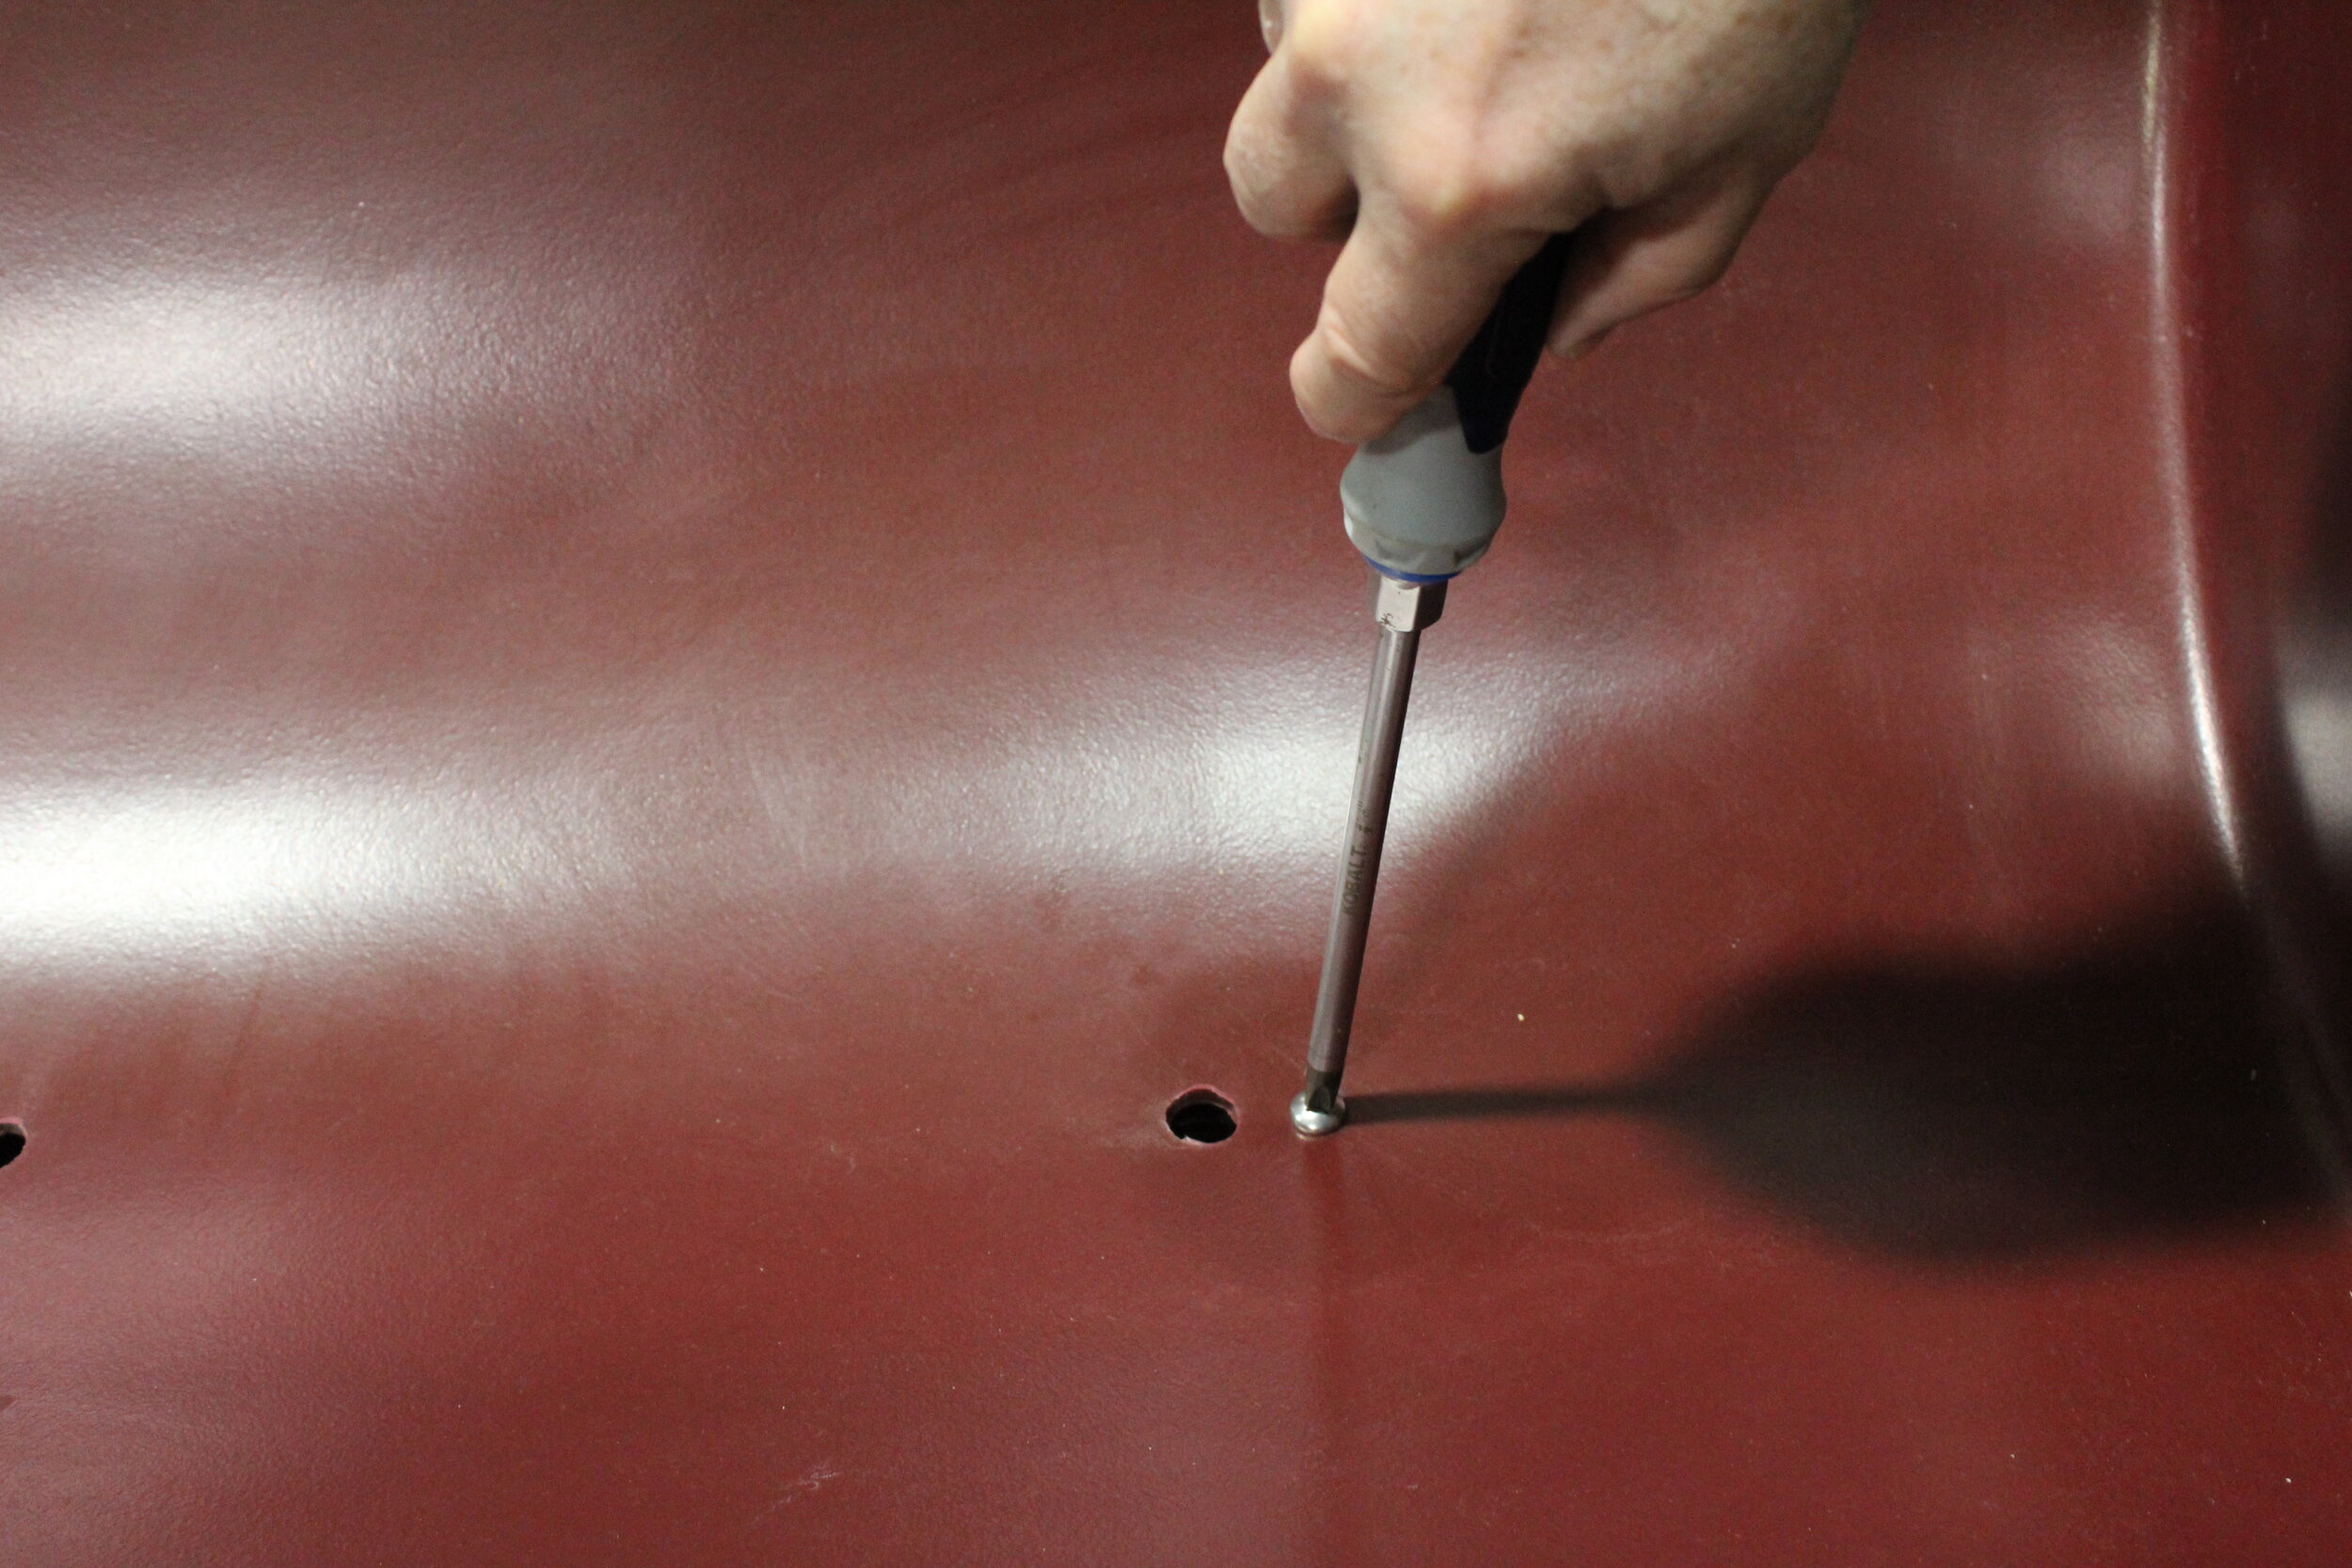
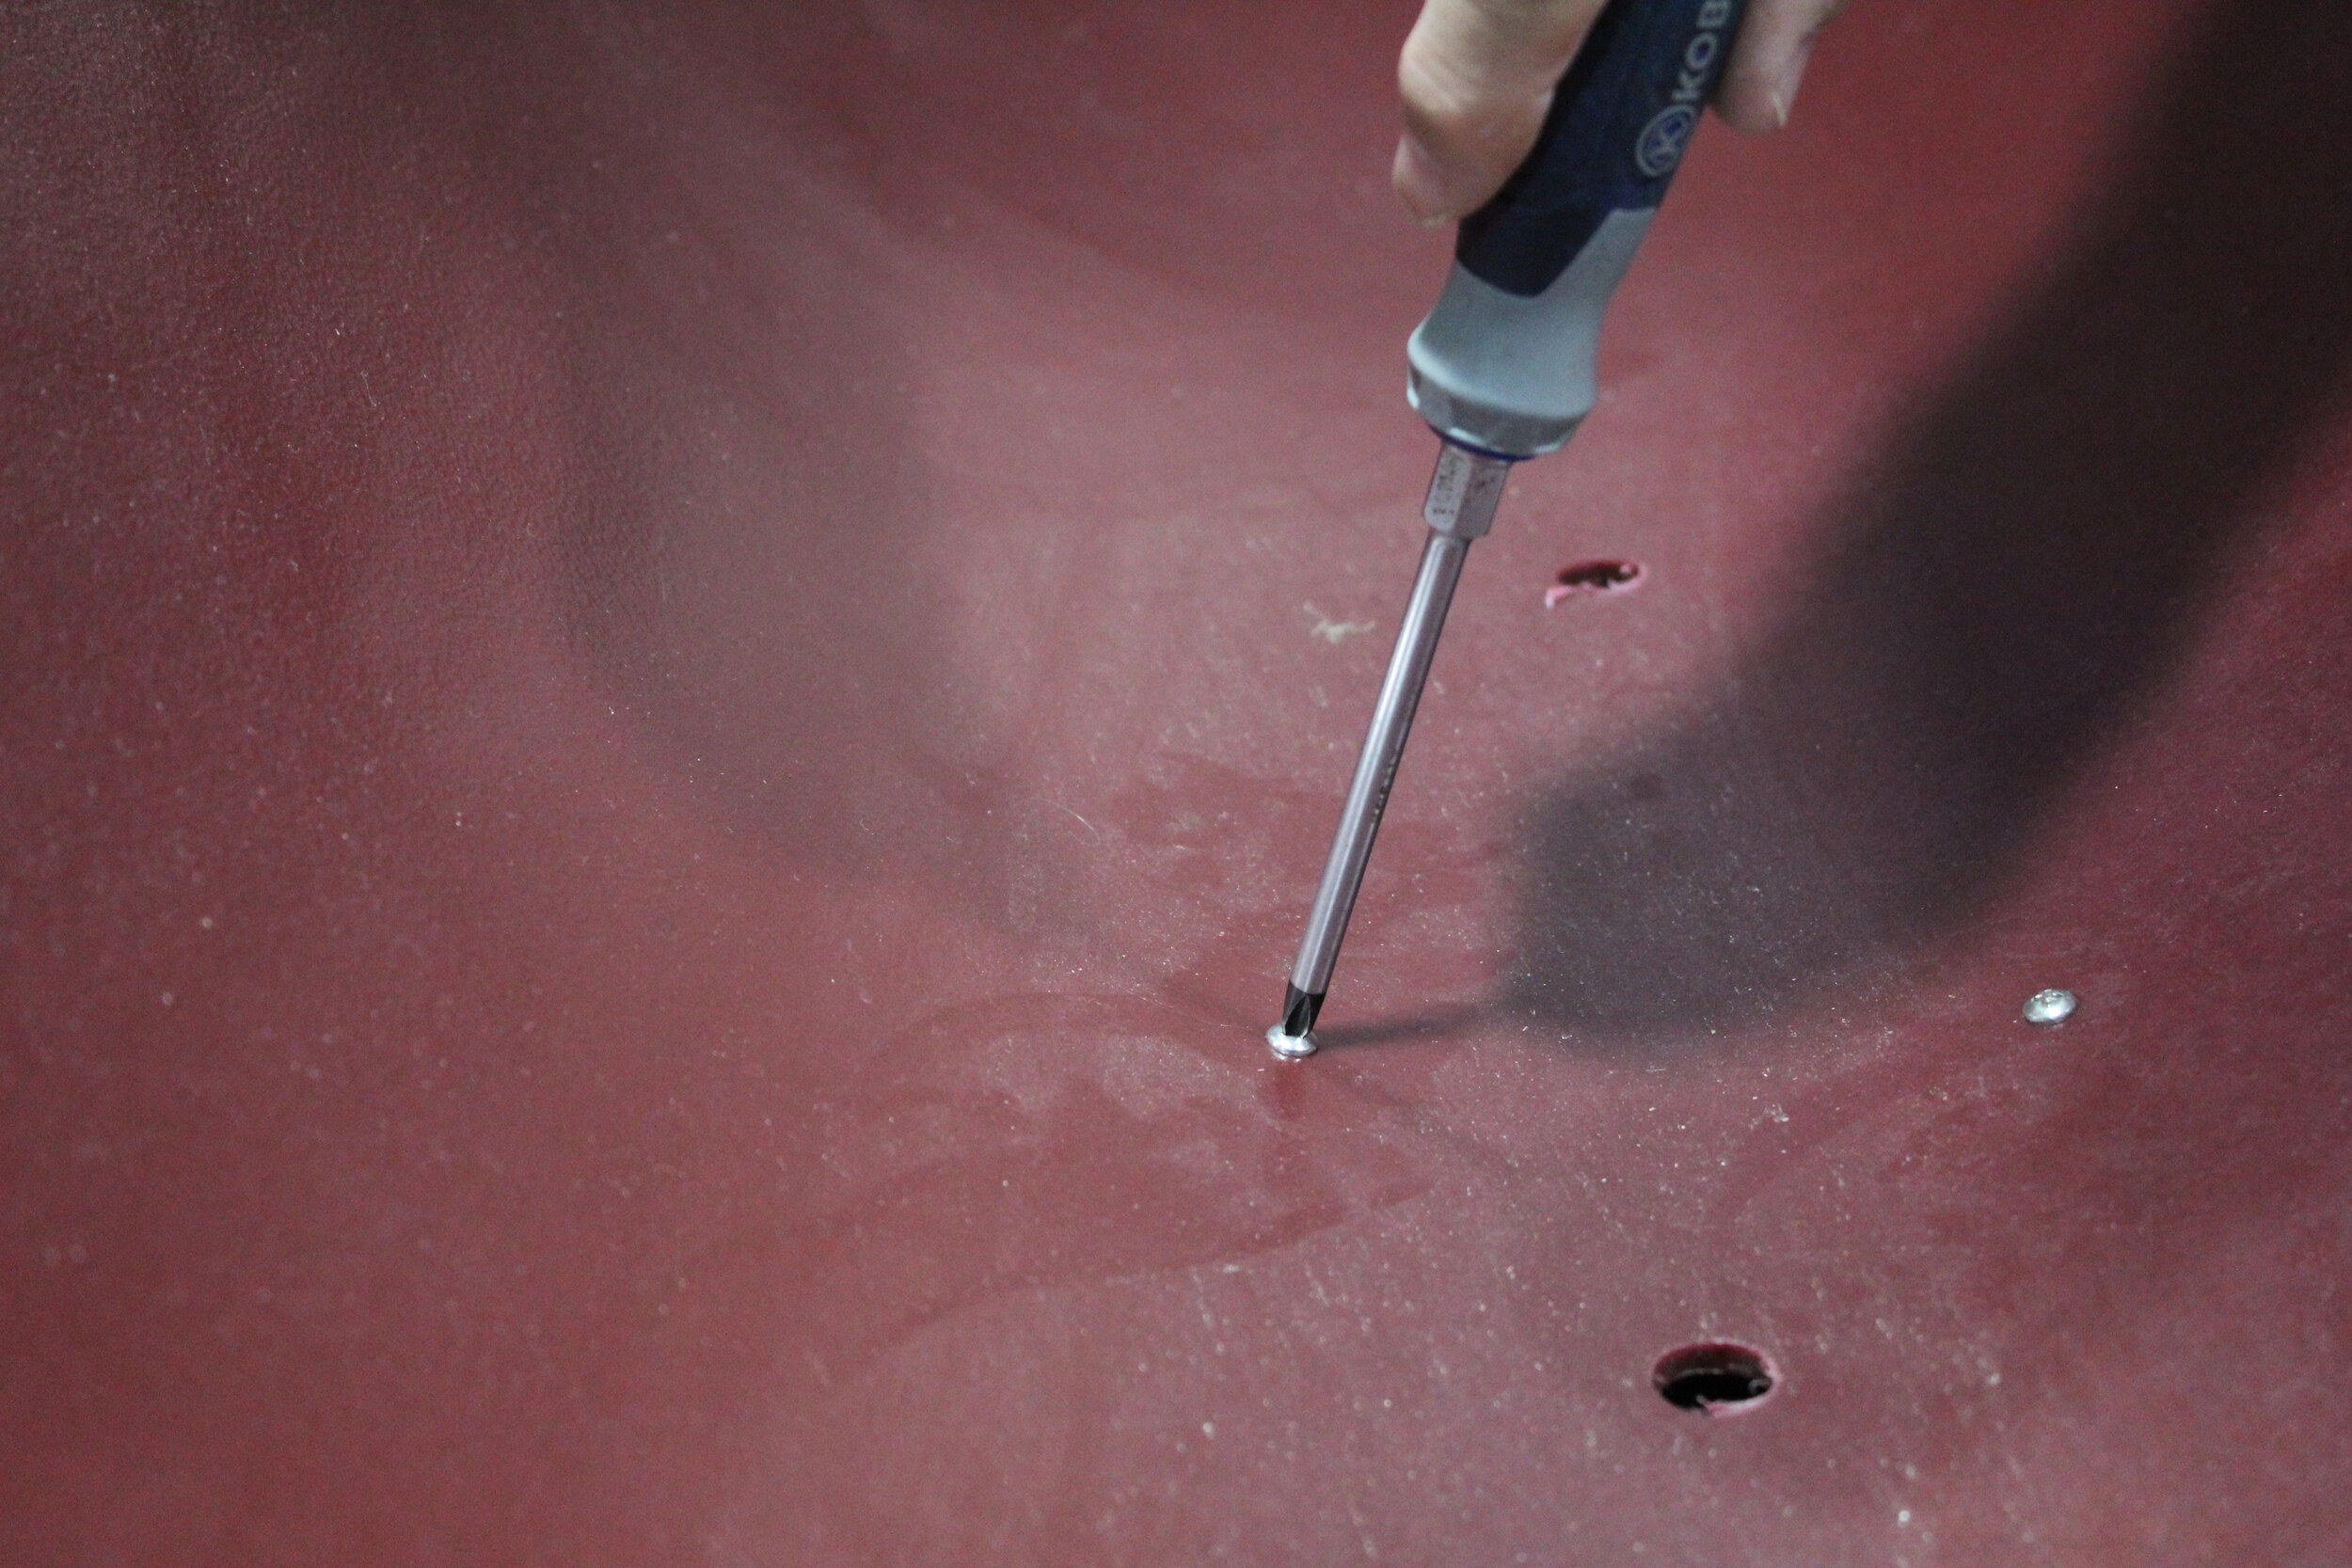
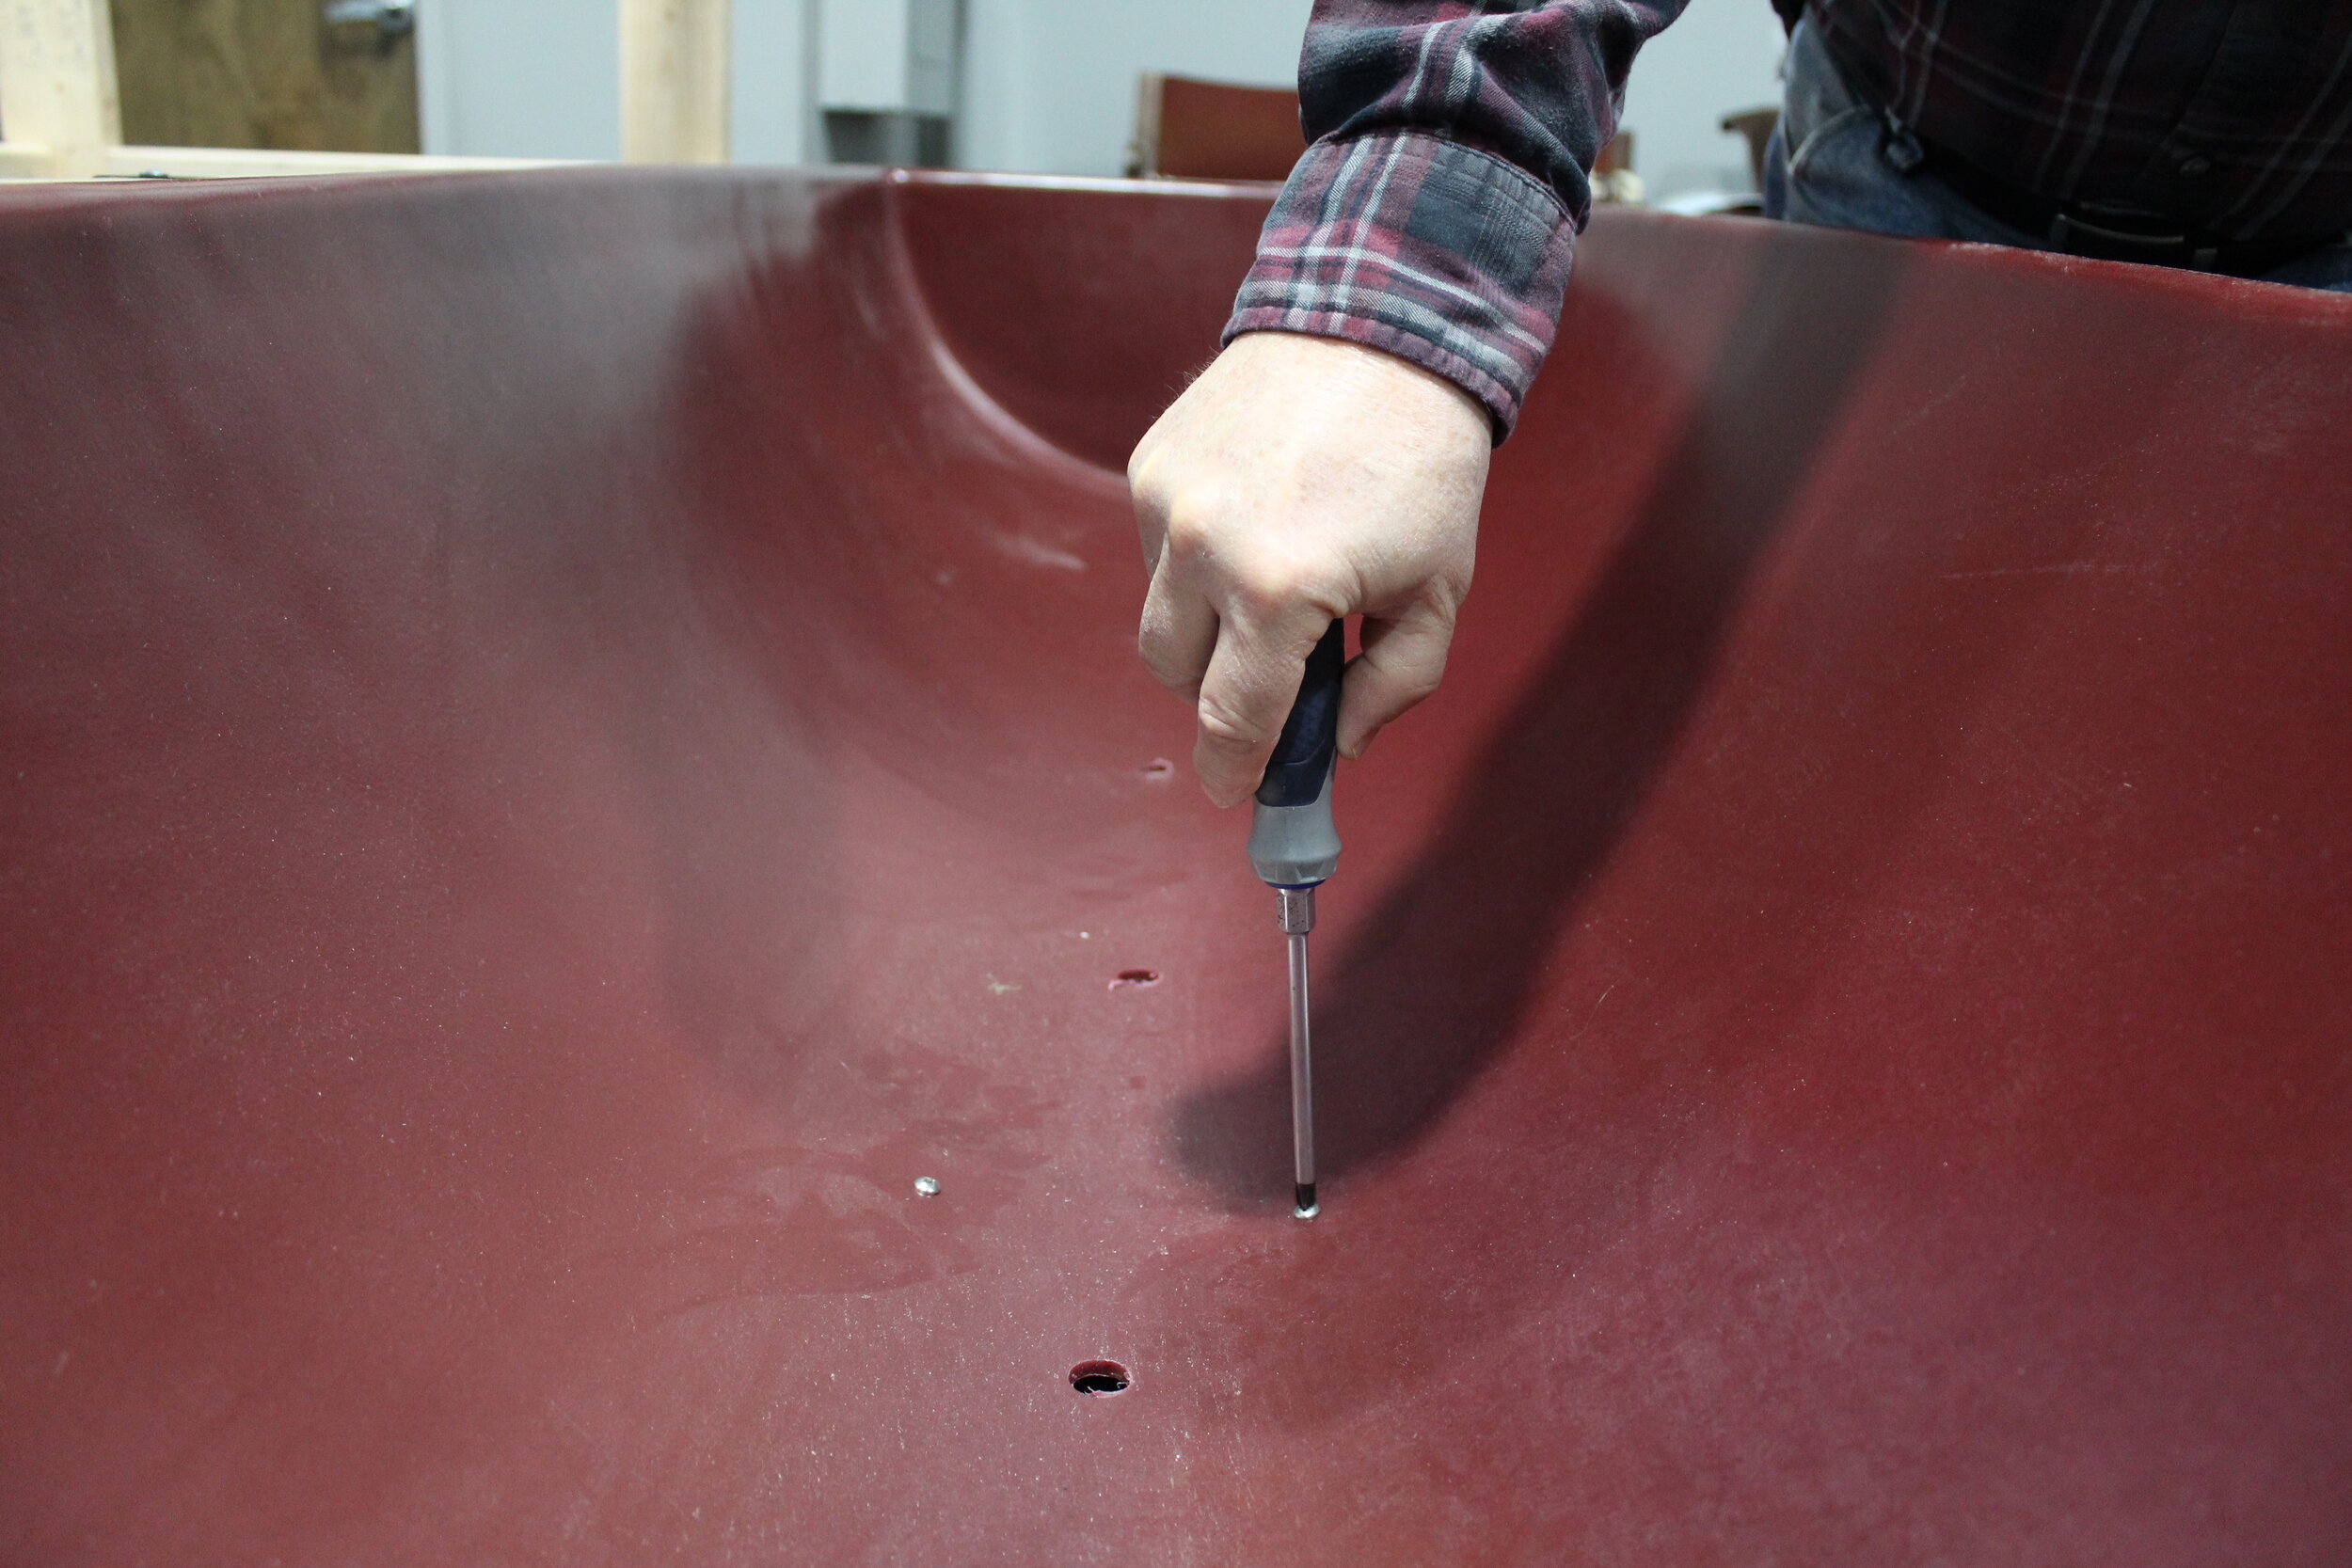
A Phillips head screw driver or drill bit
Flat surface to build the garden on
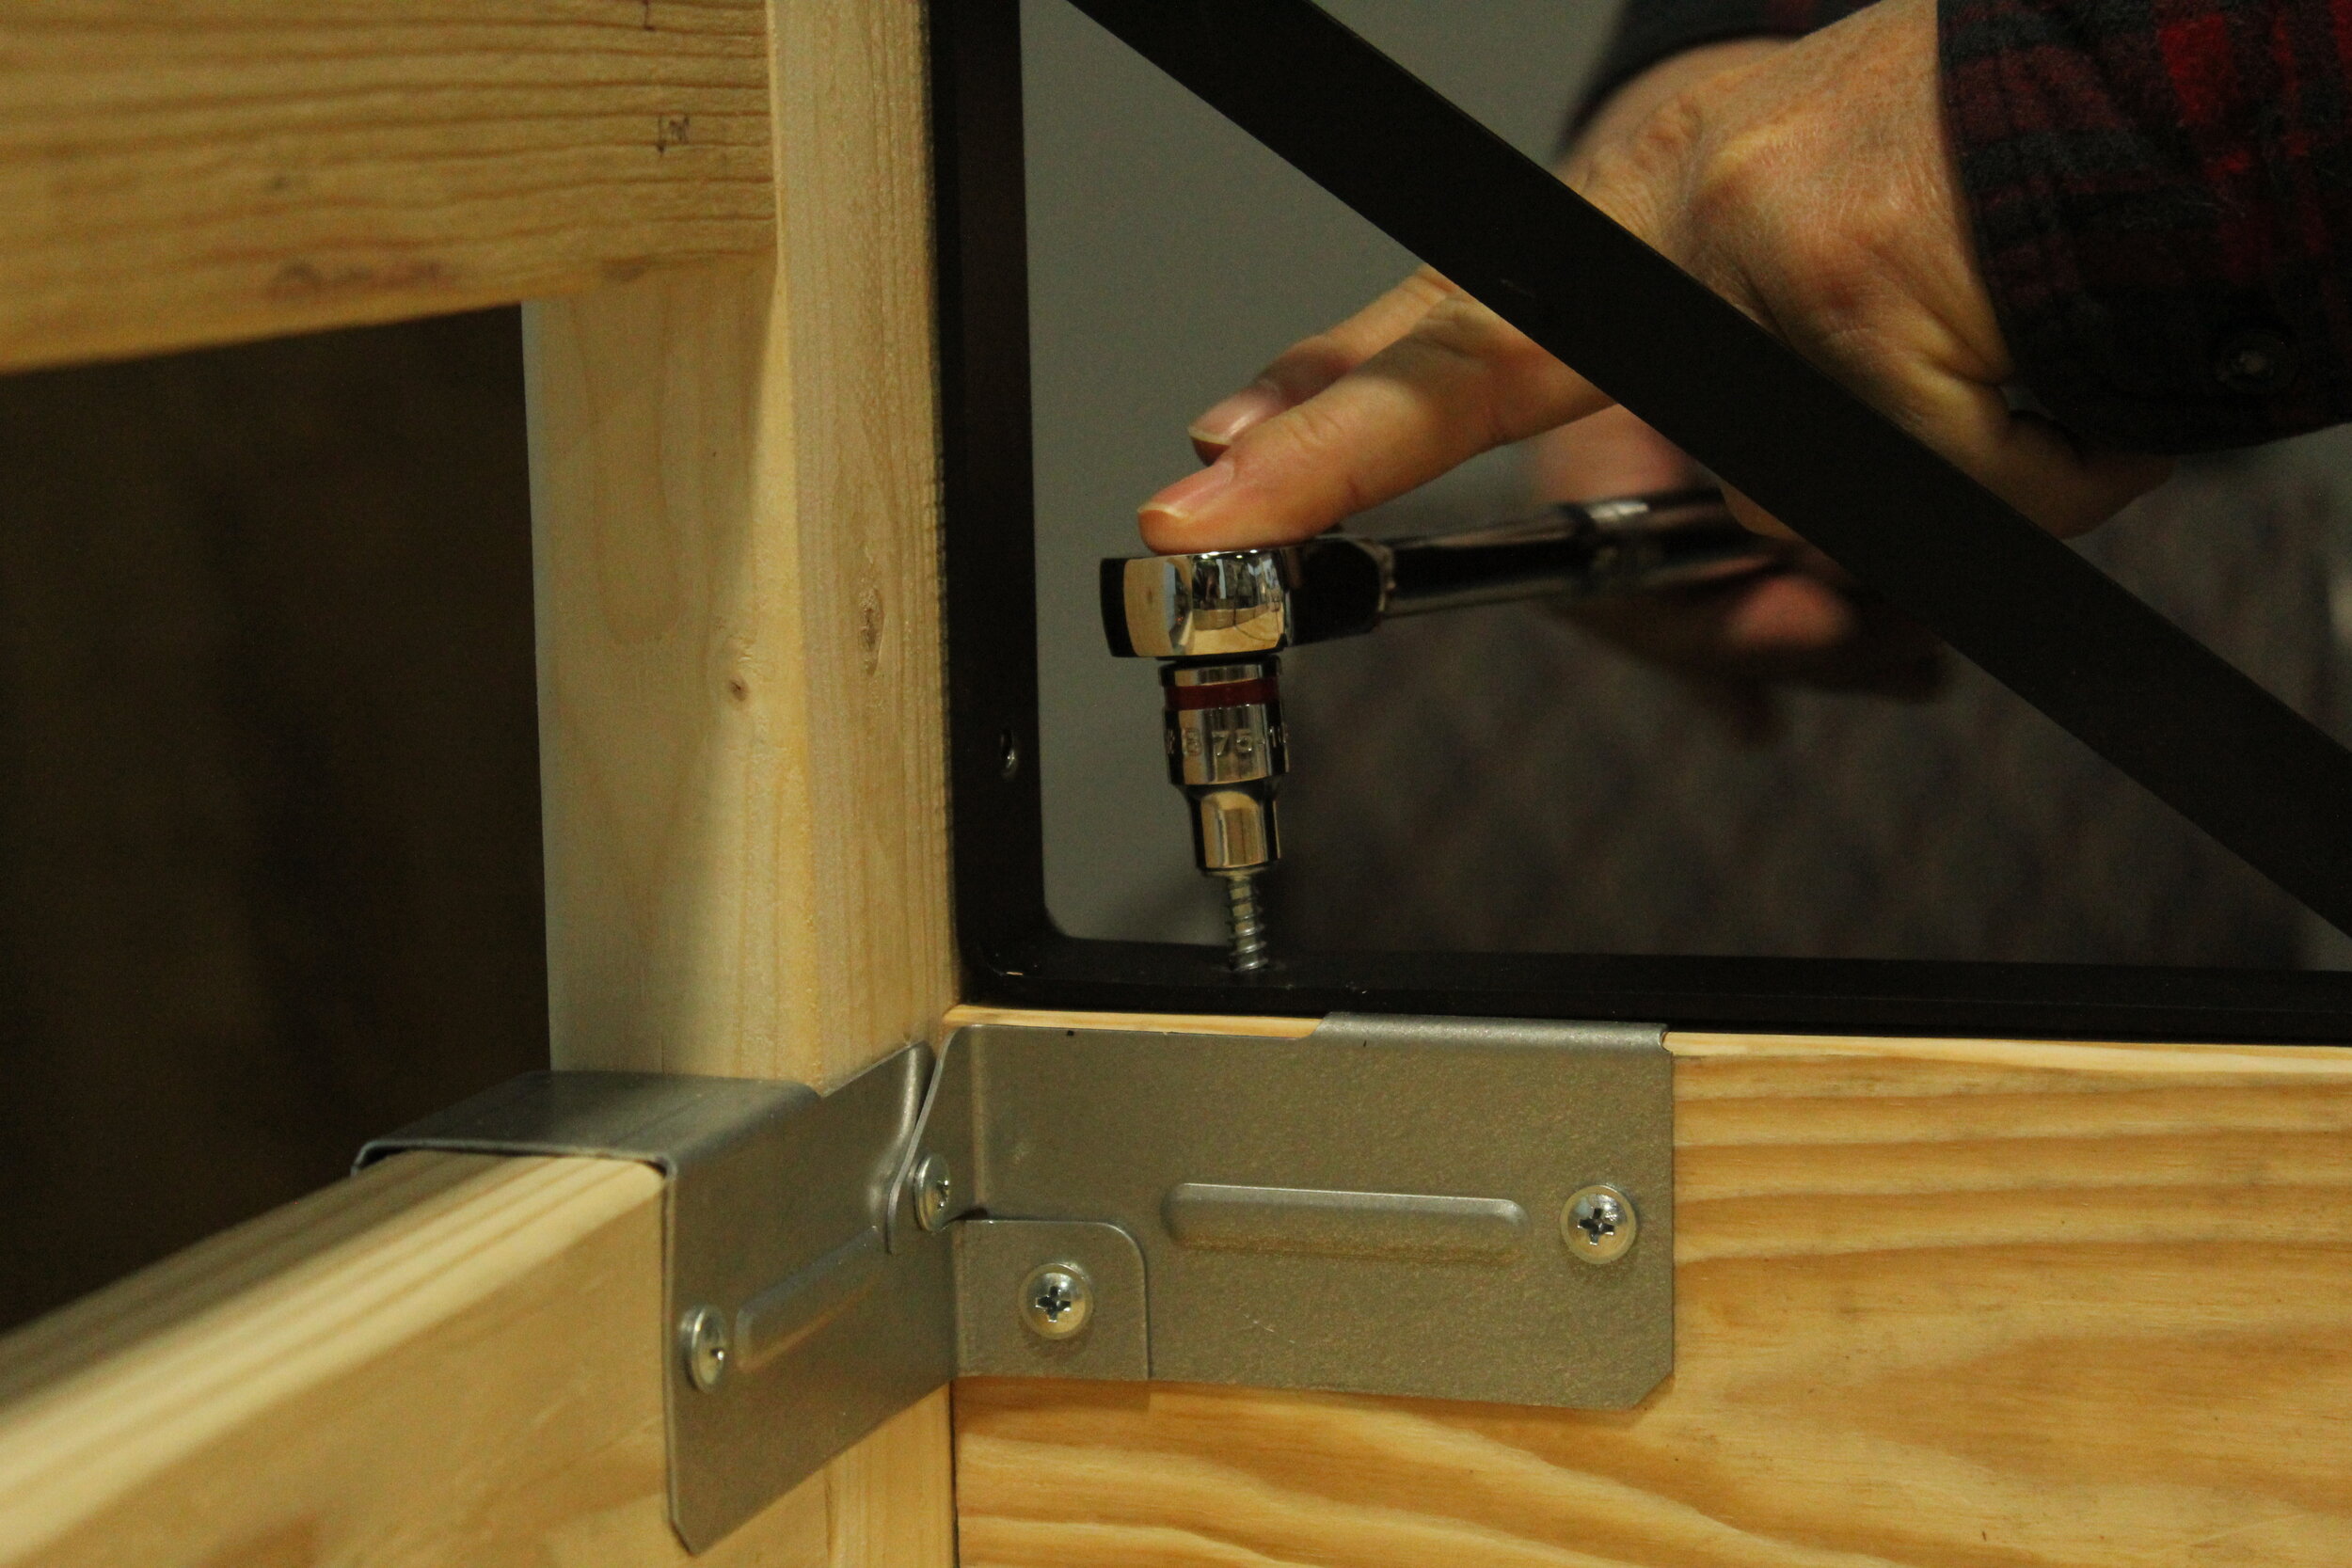
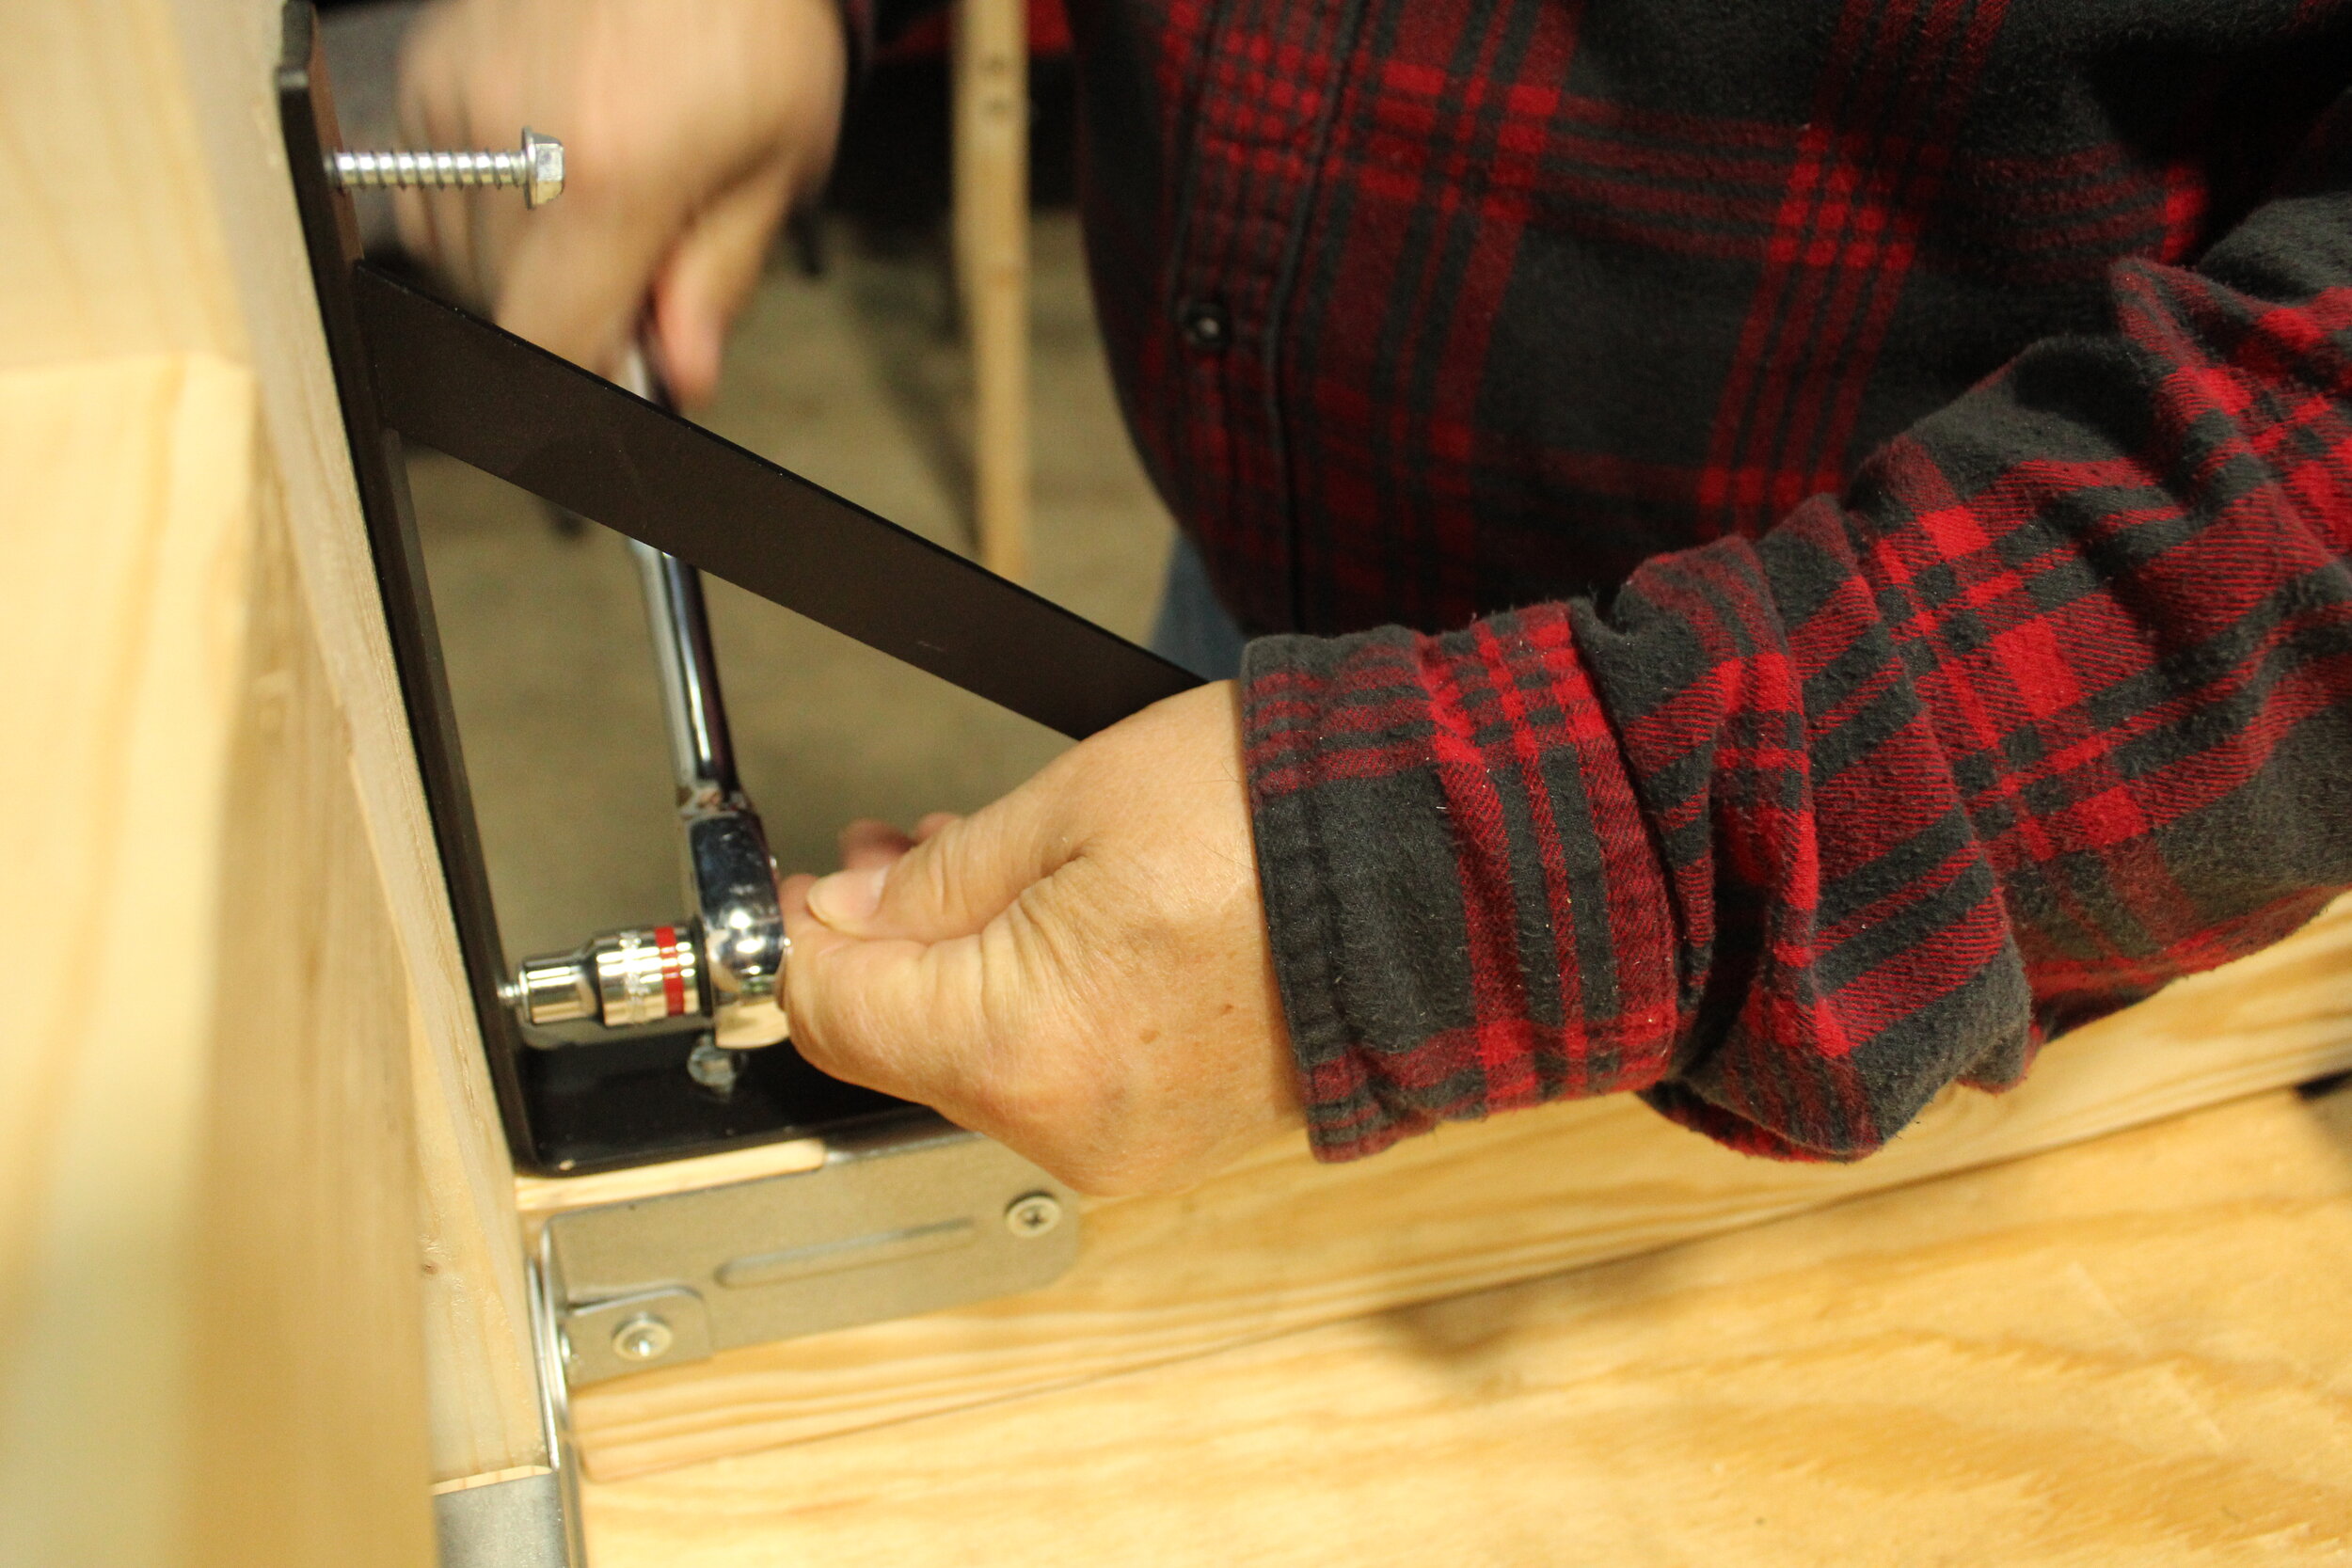
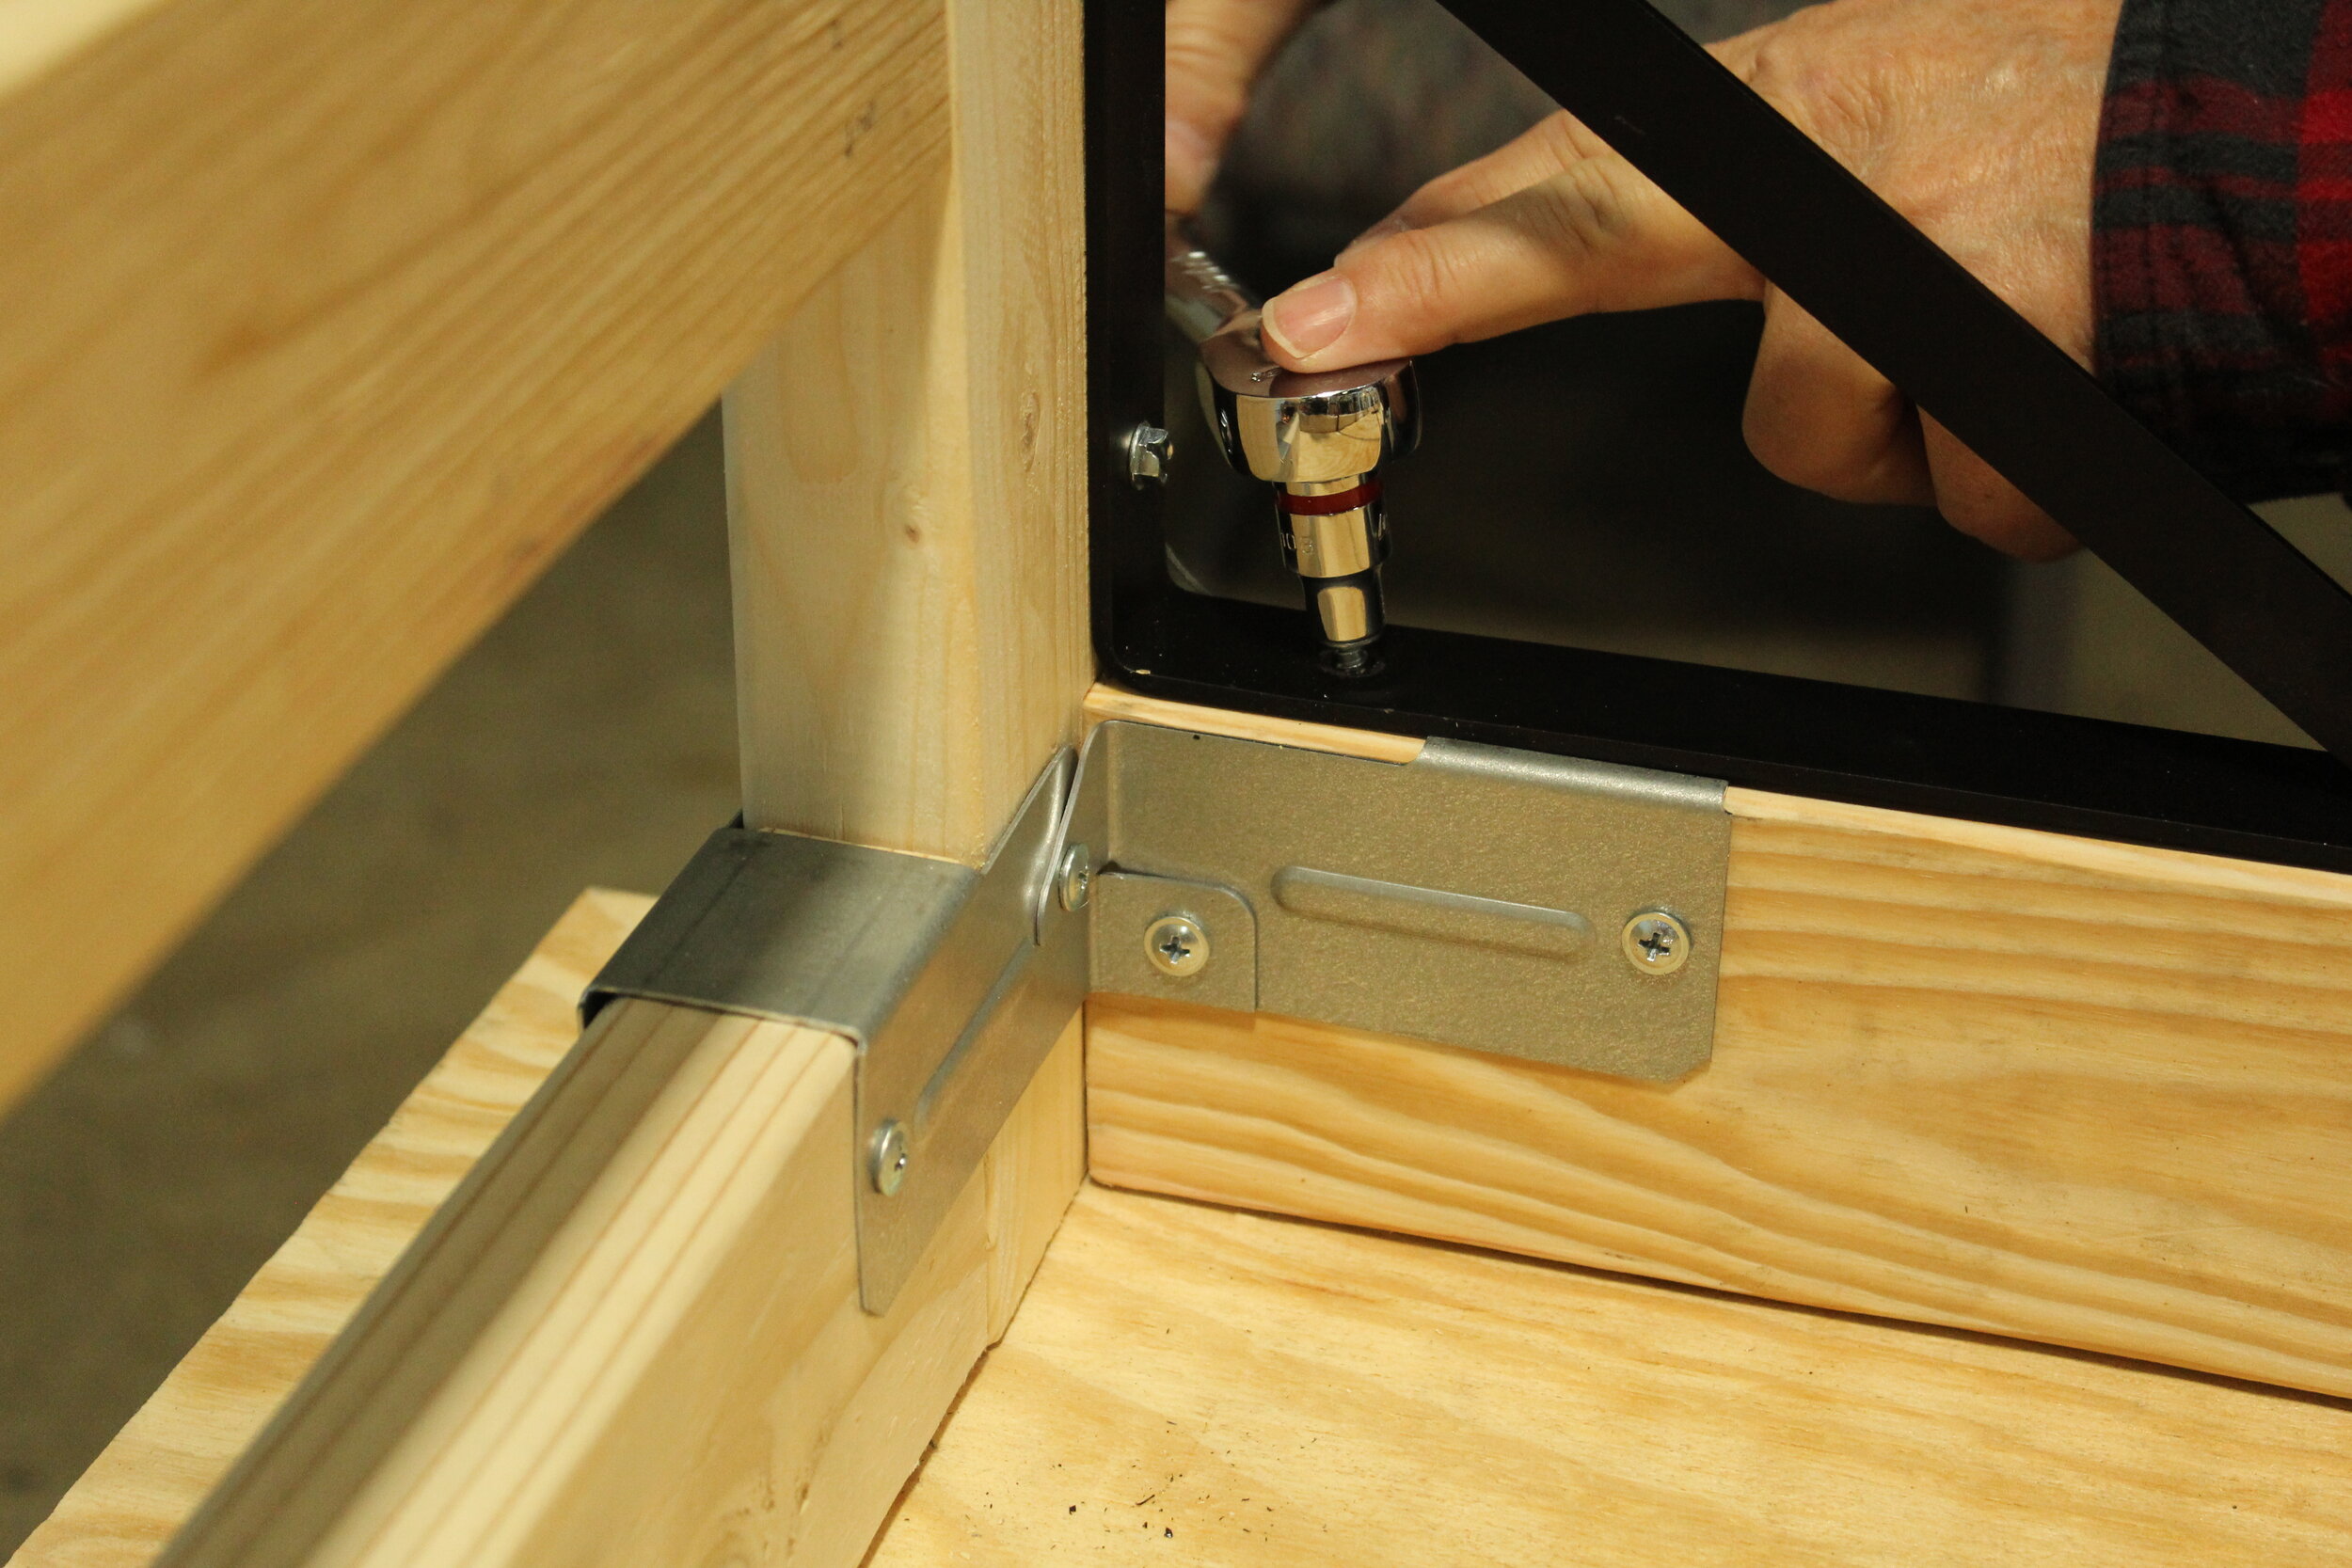
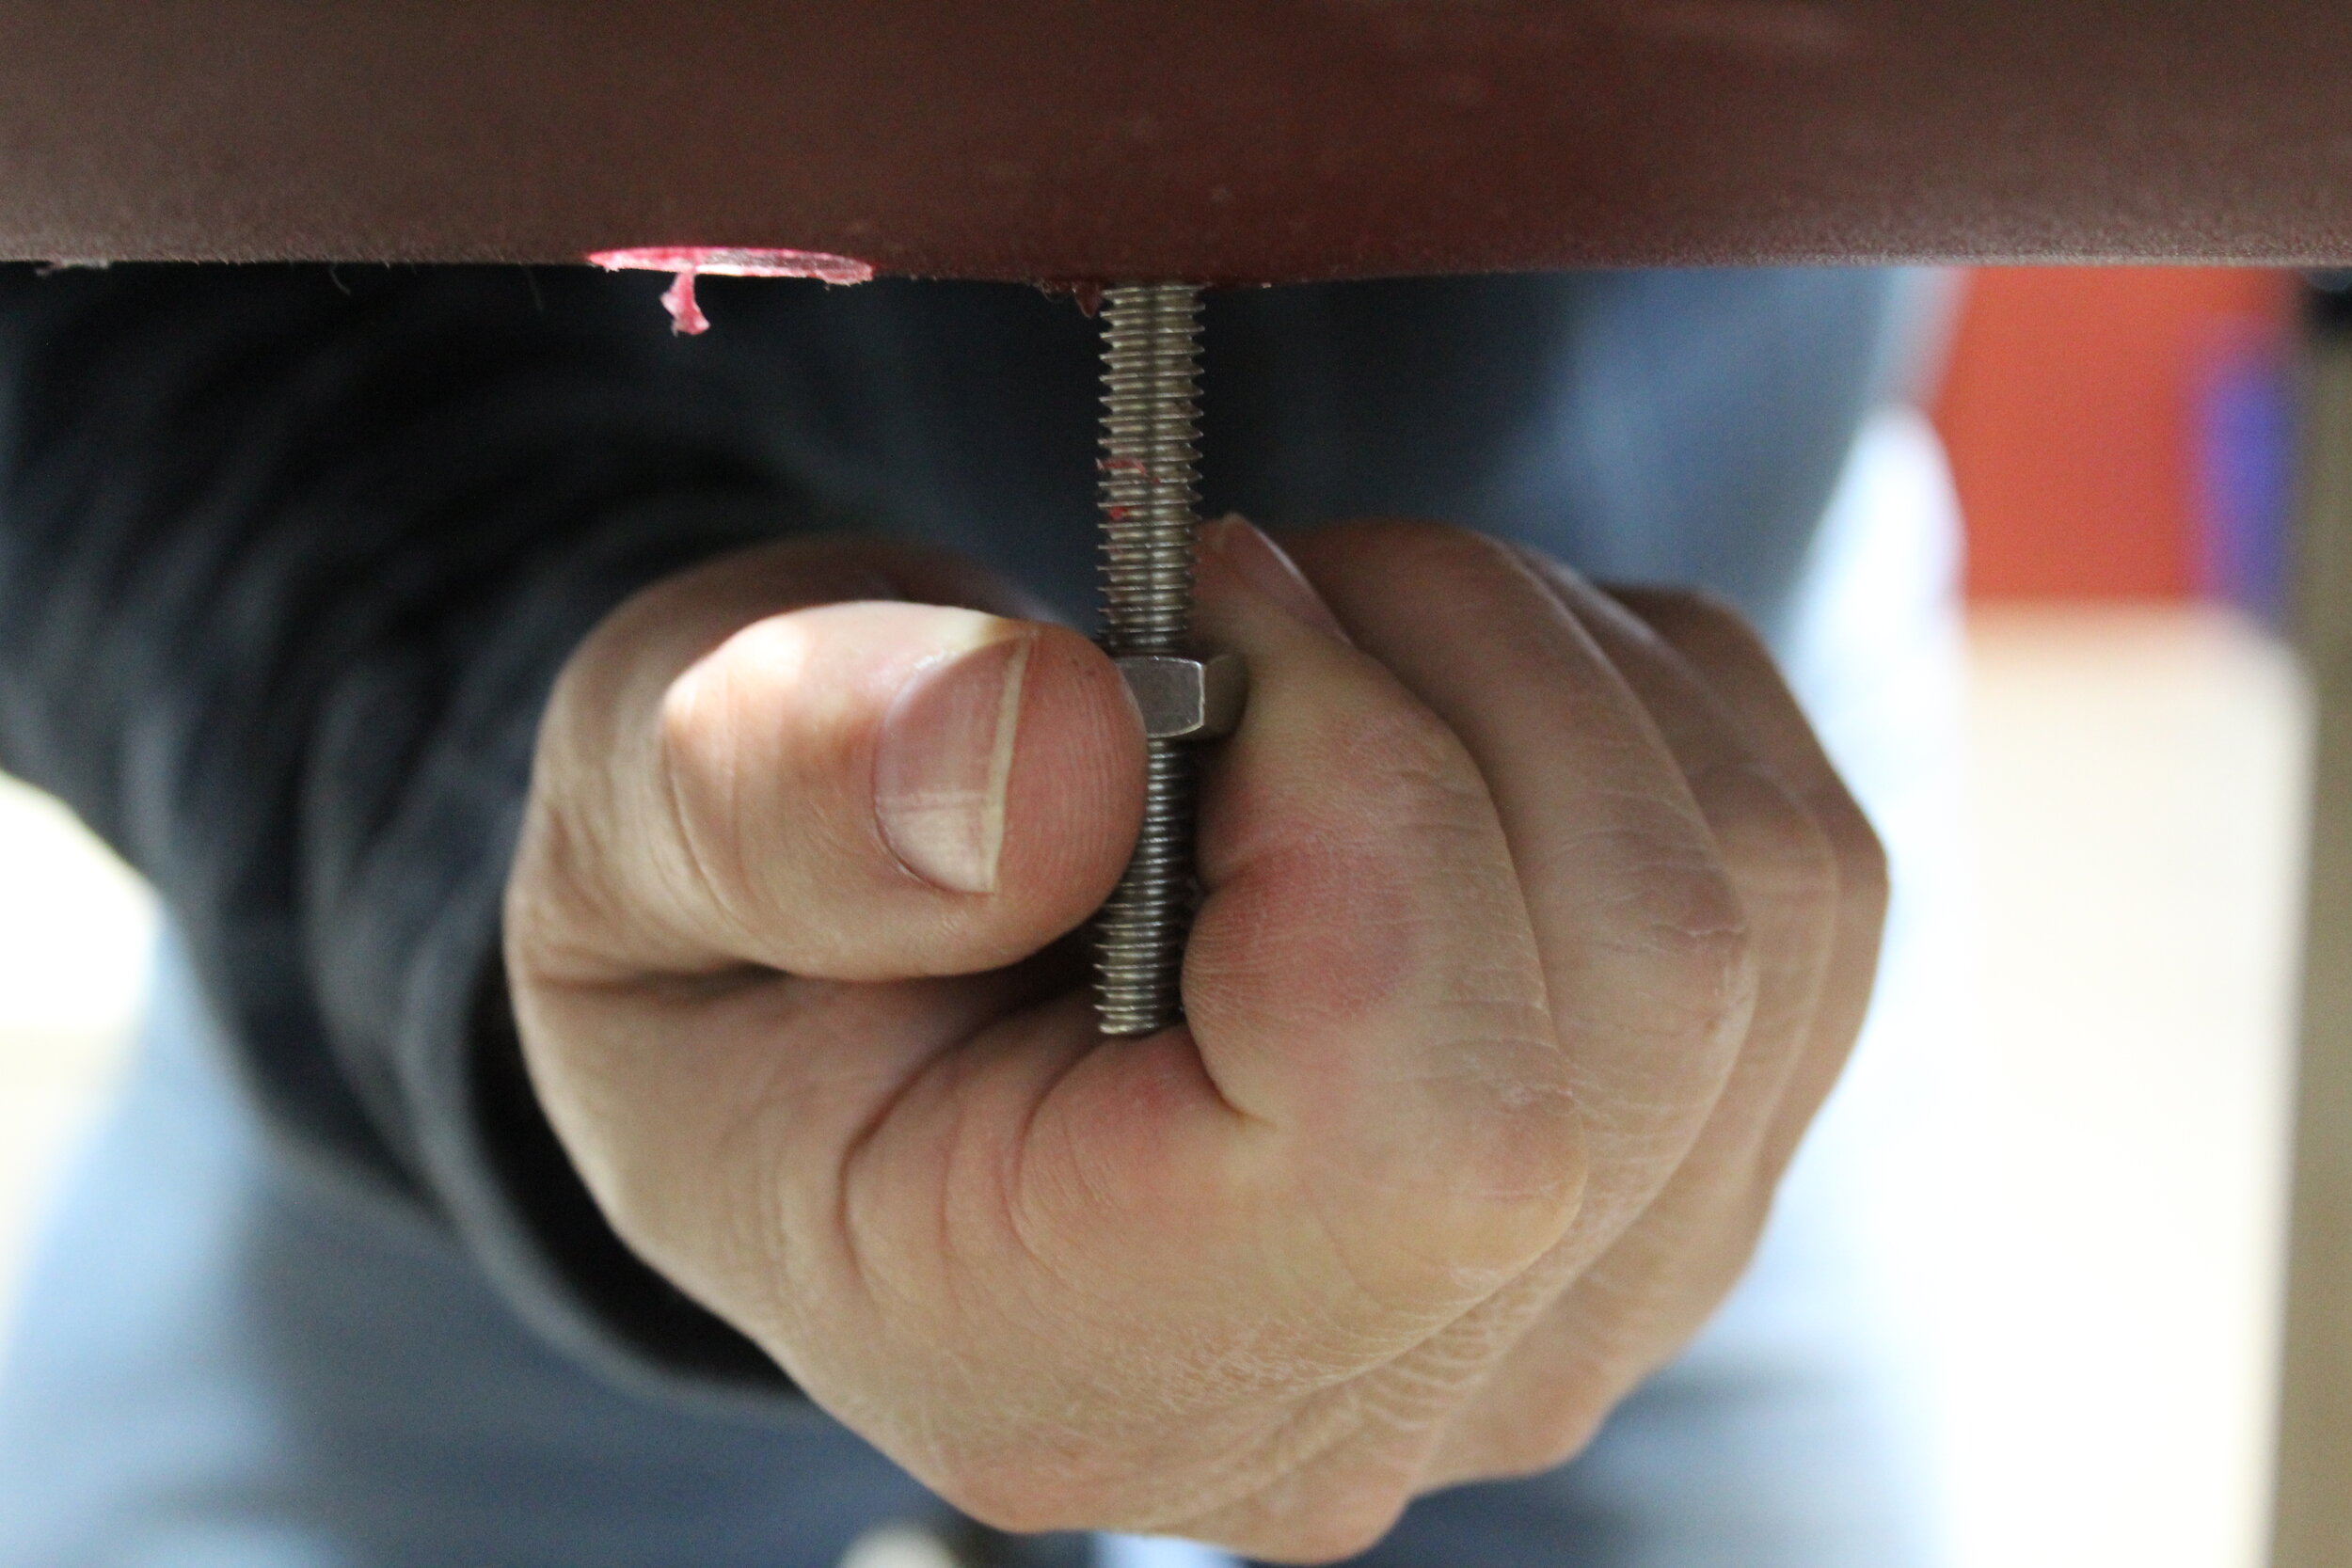
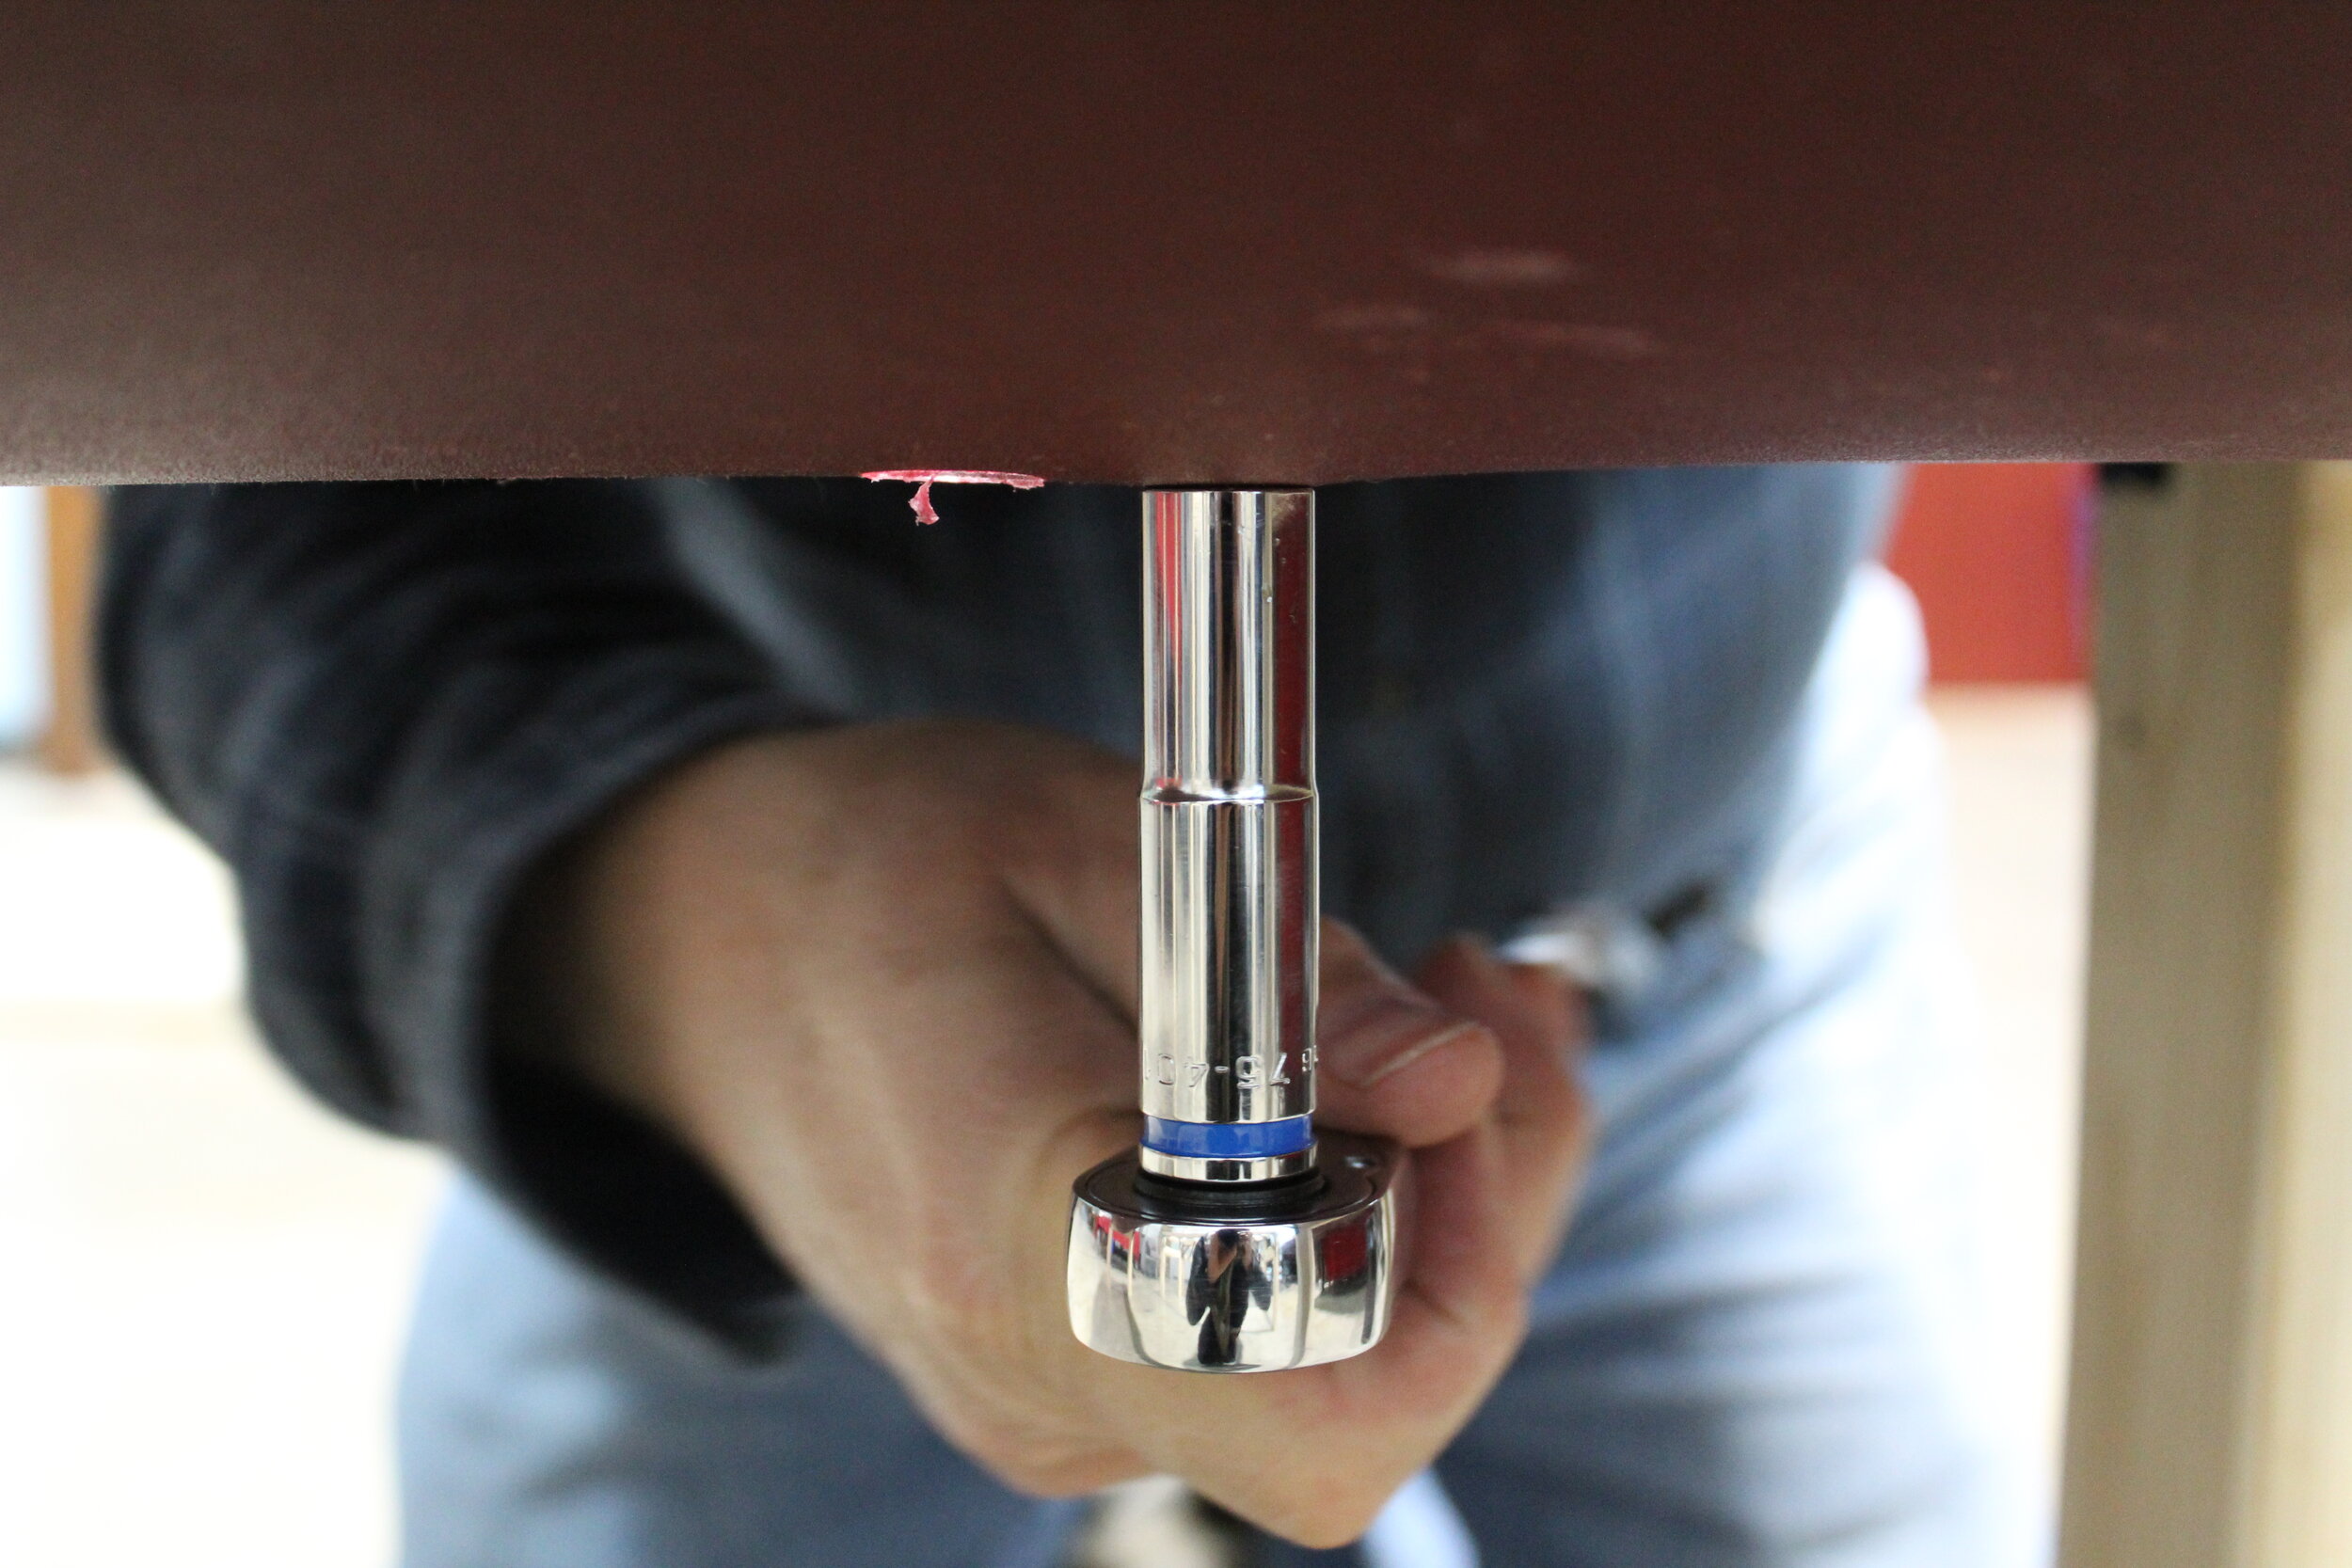
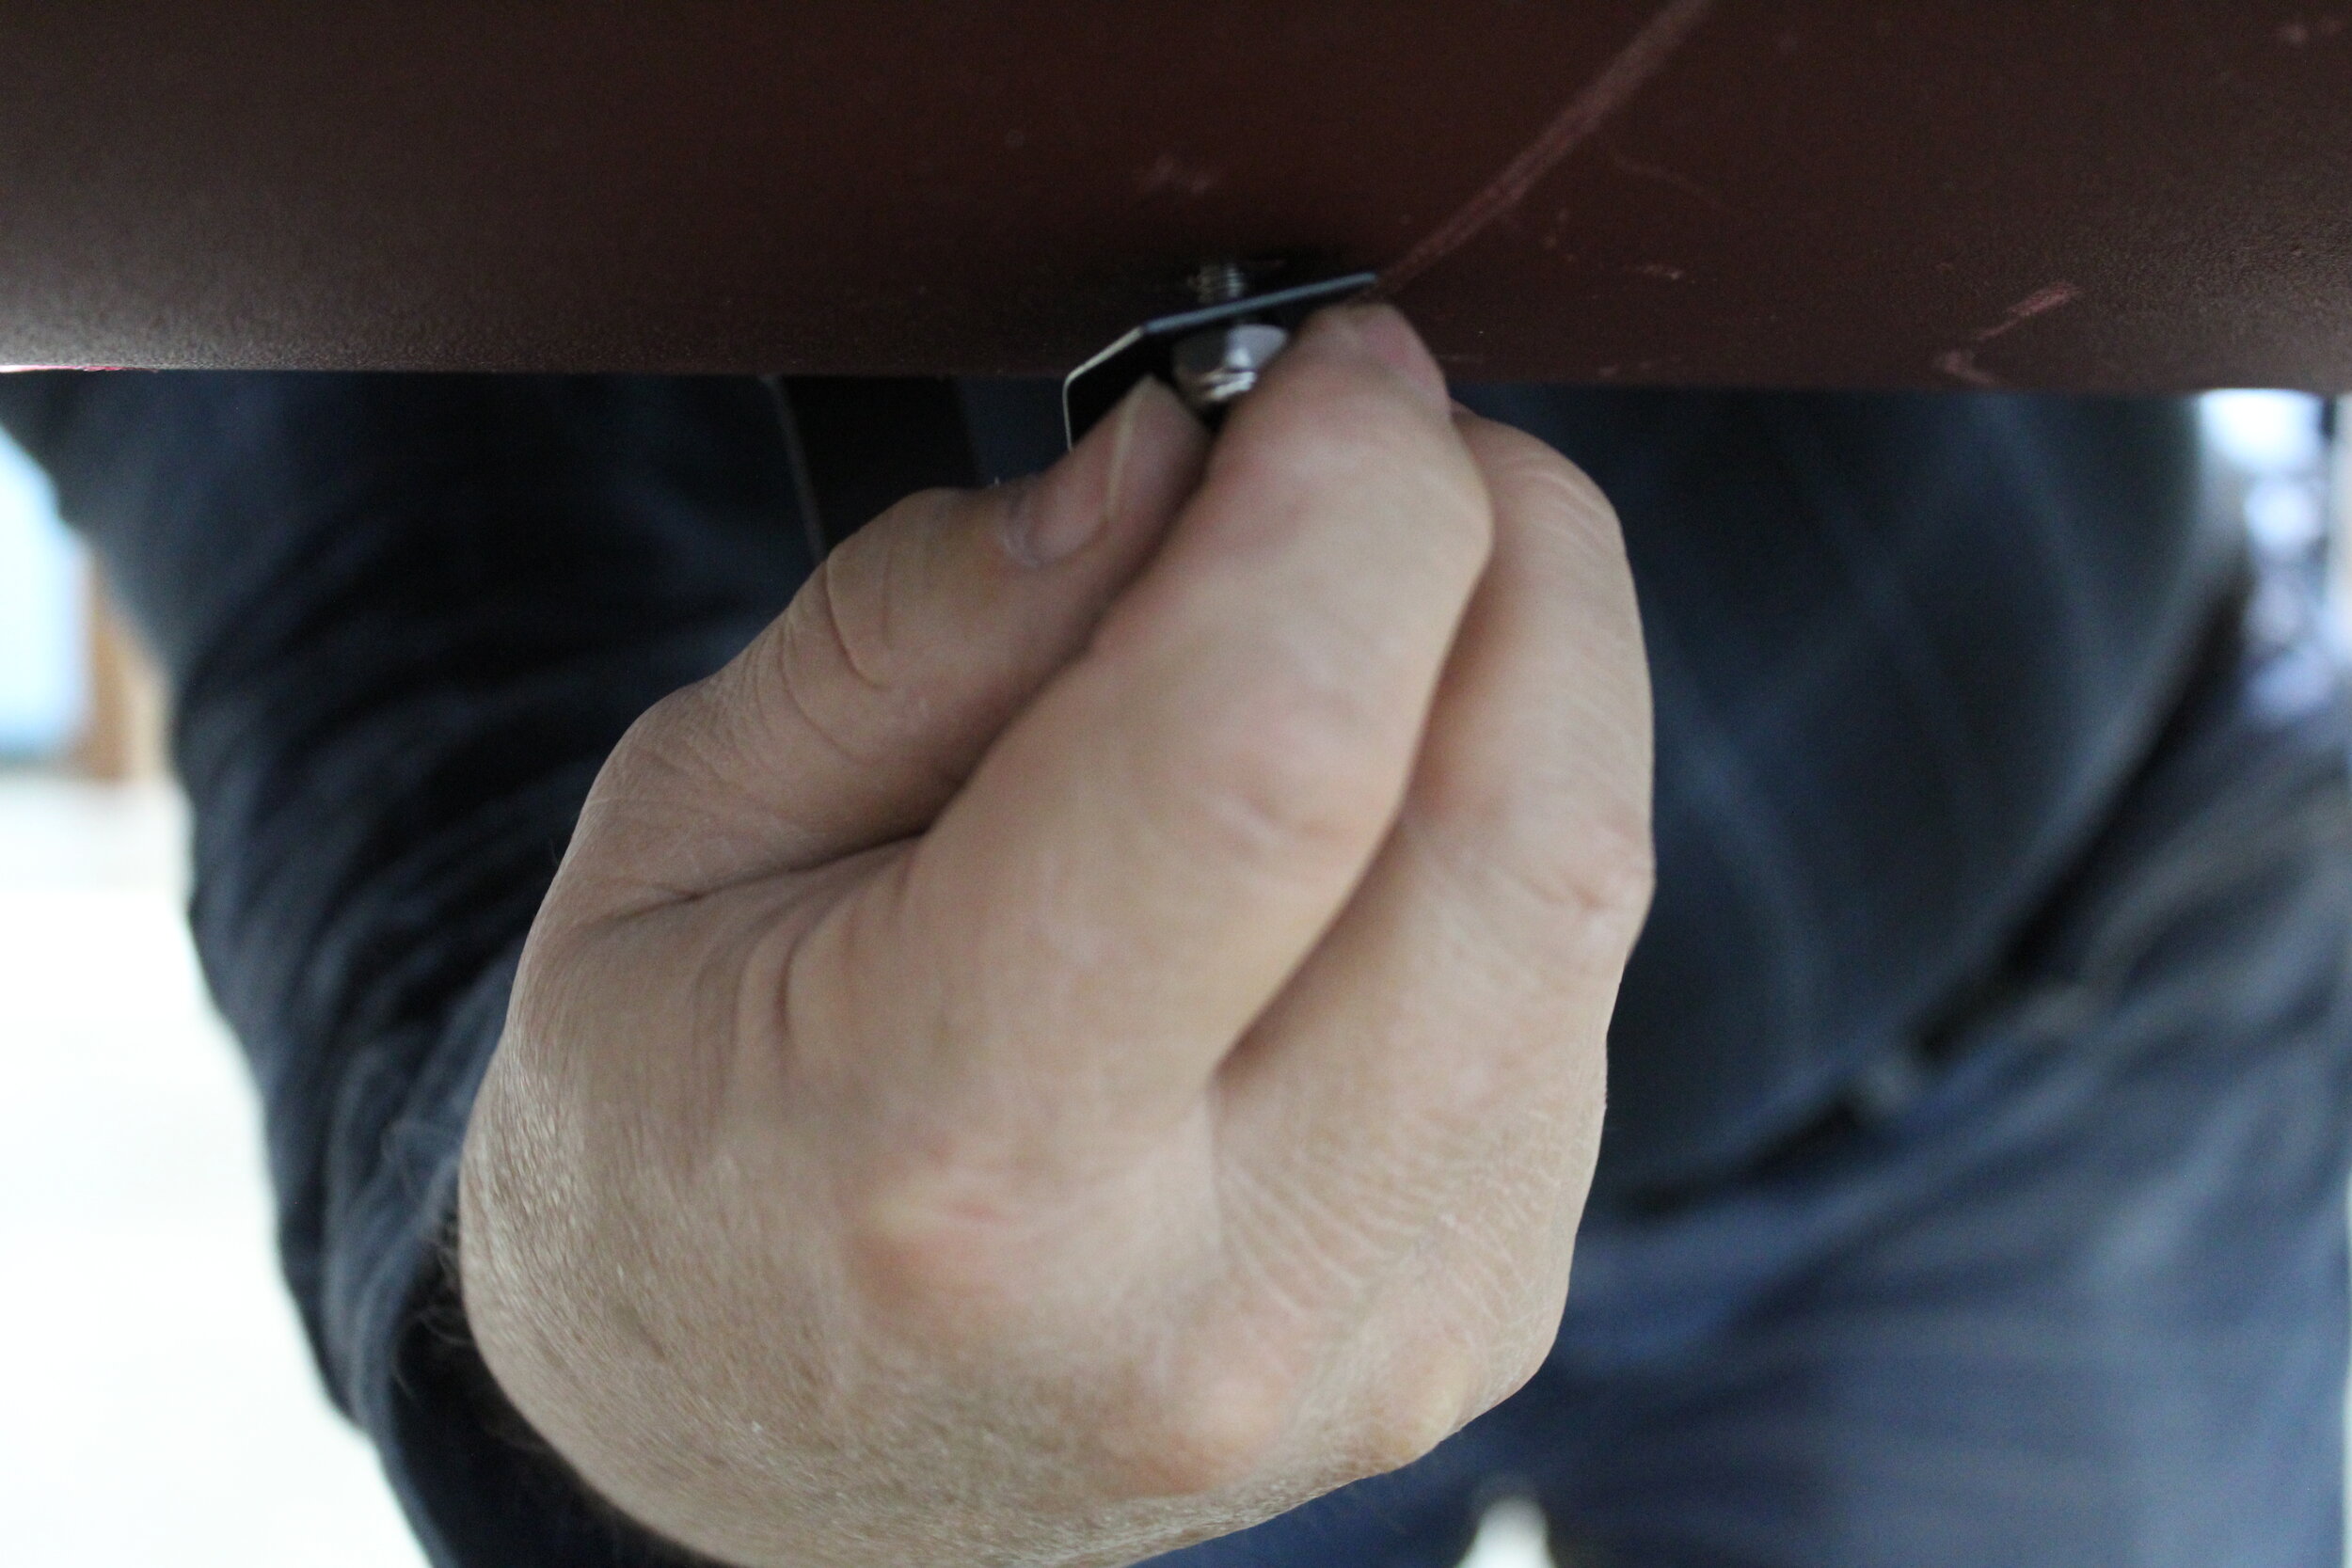
5/16th ratchet socket
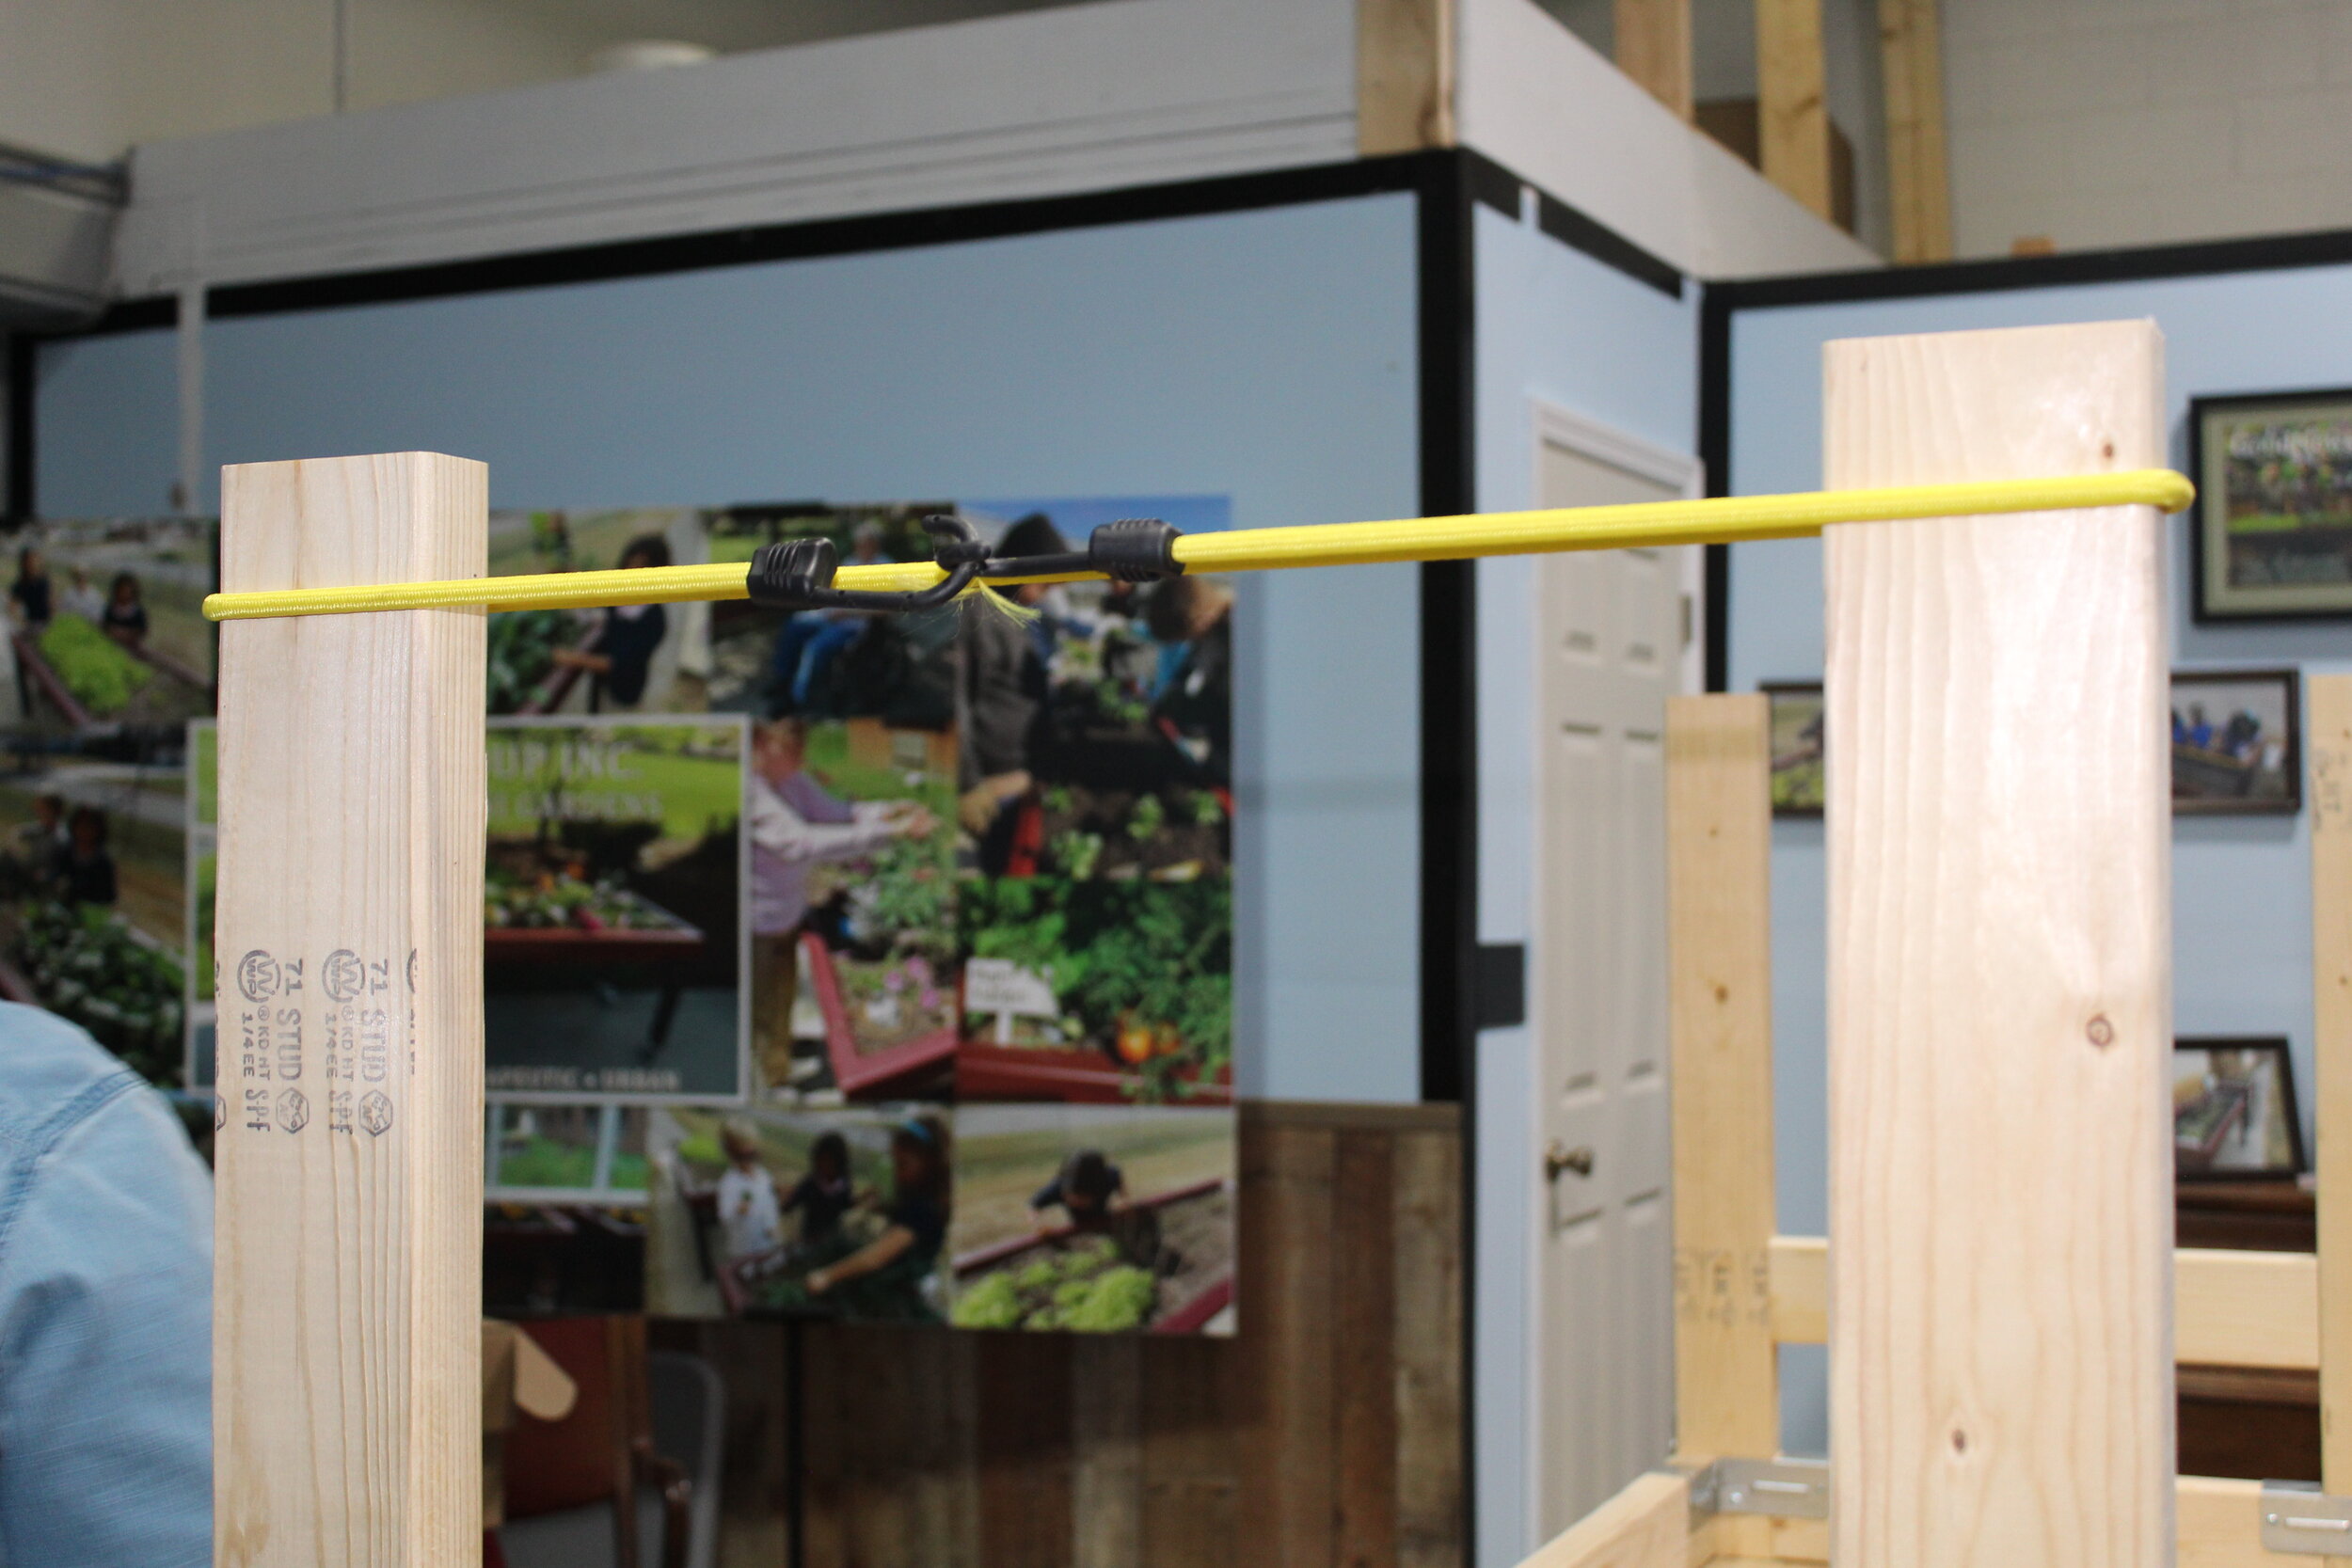
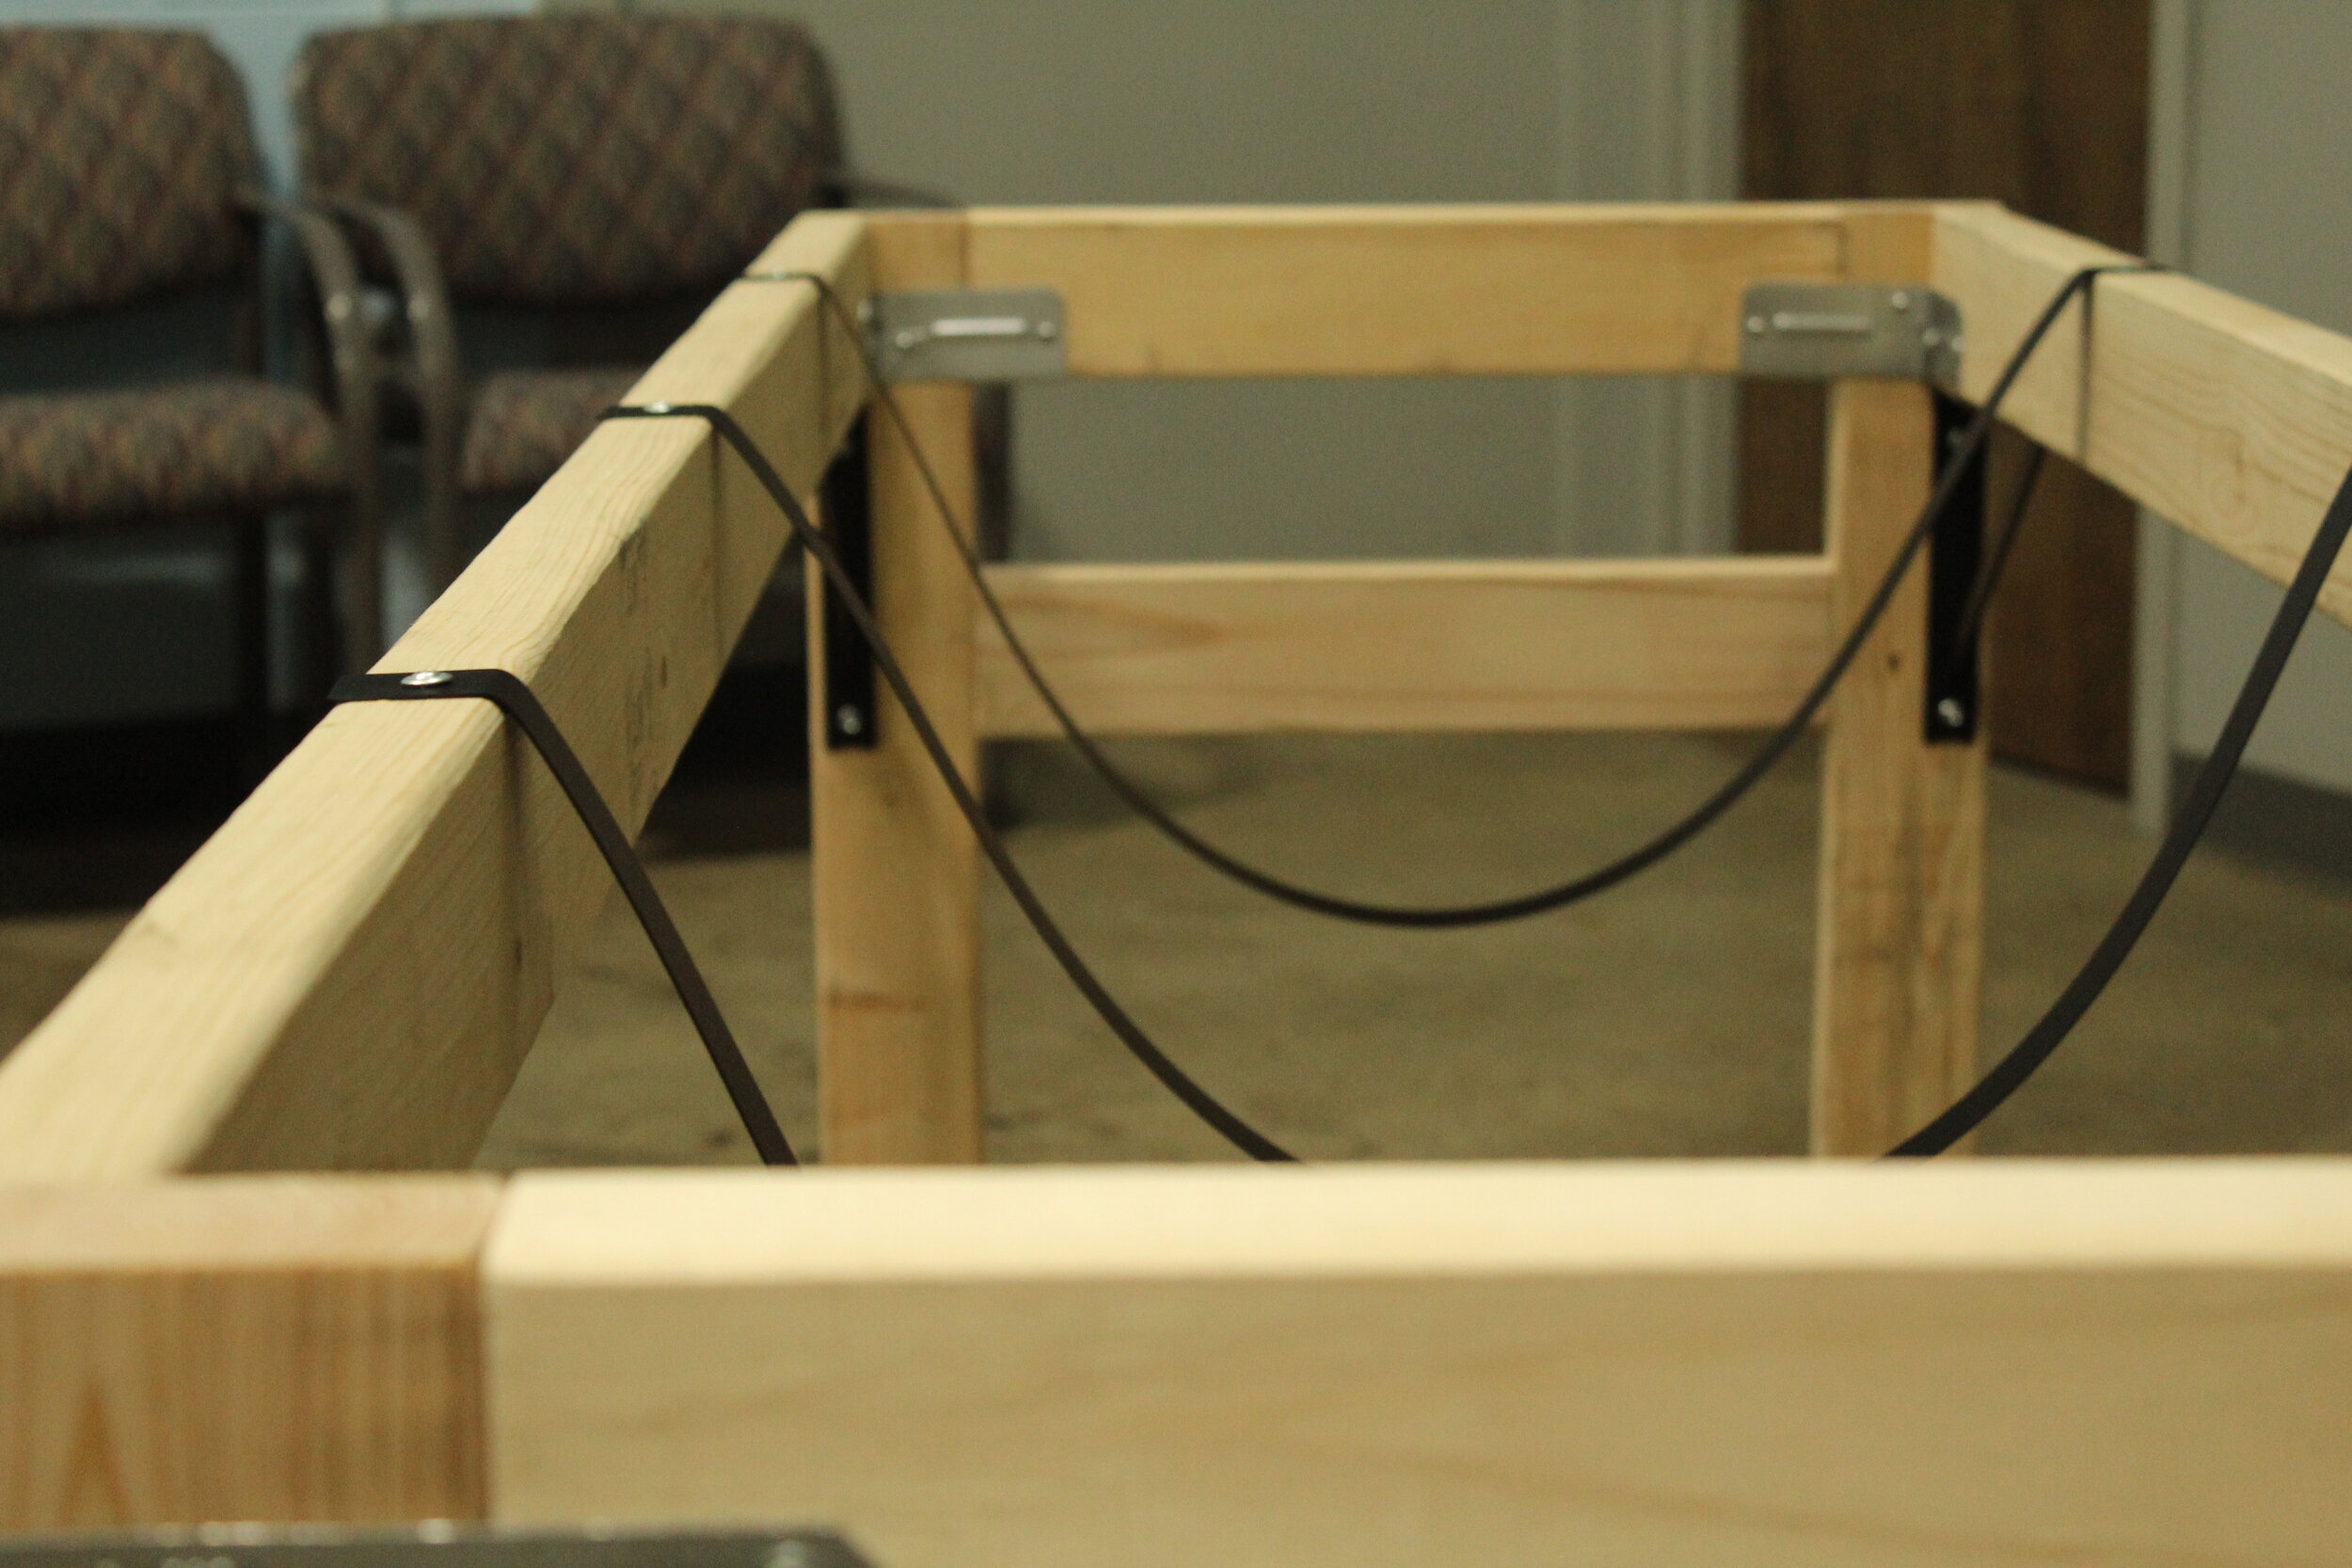
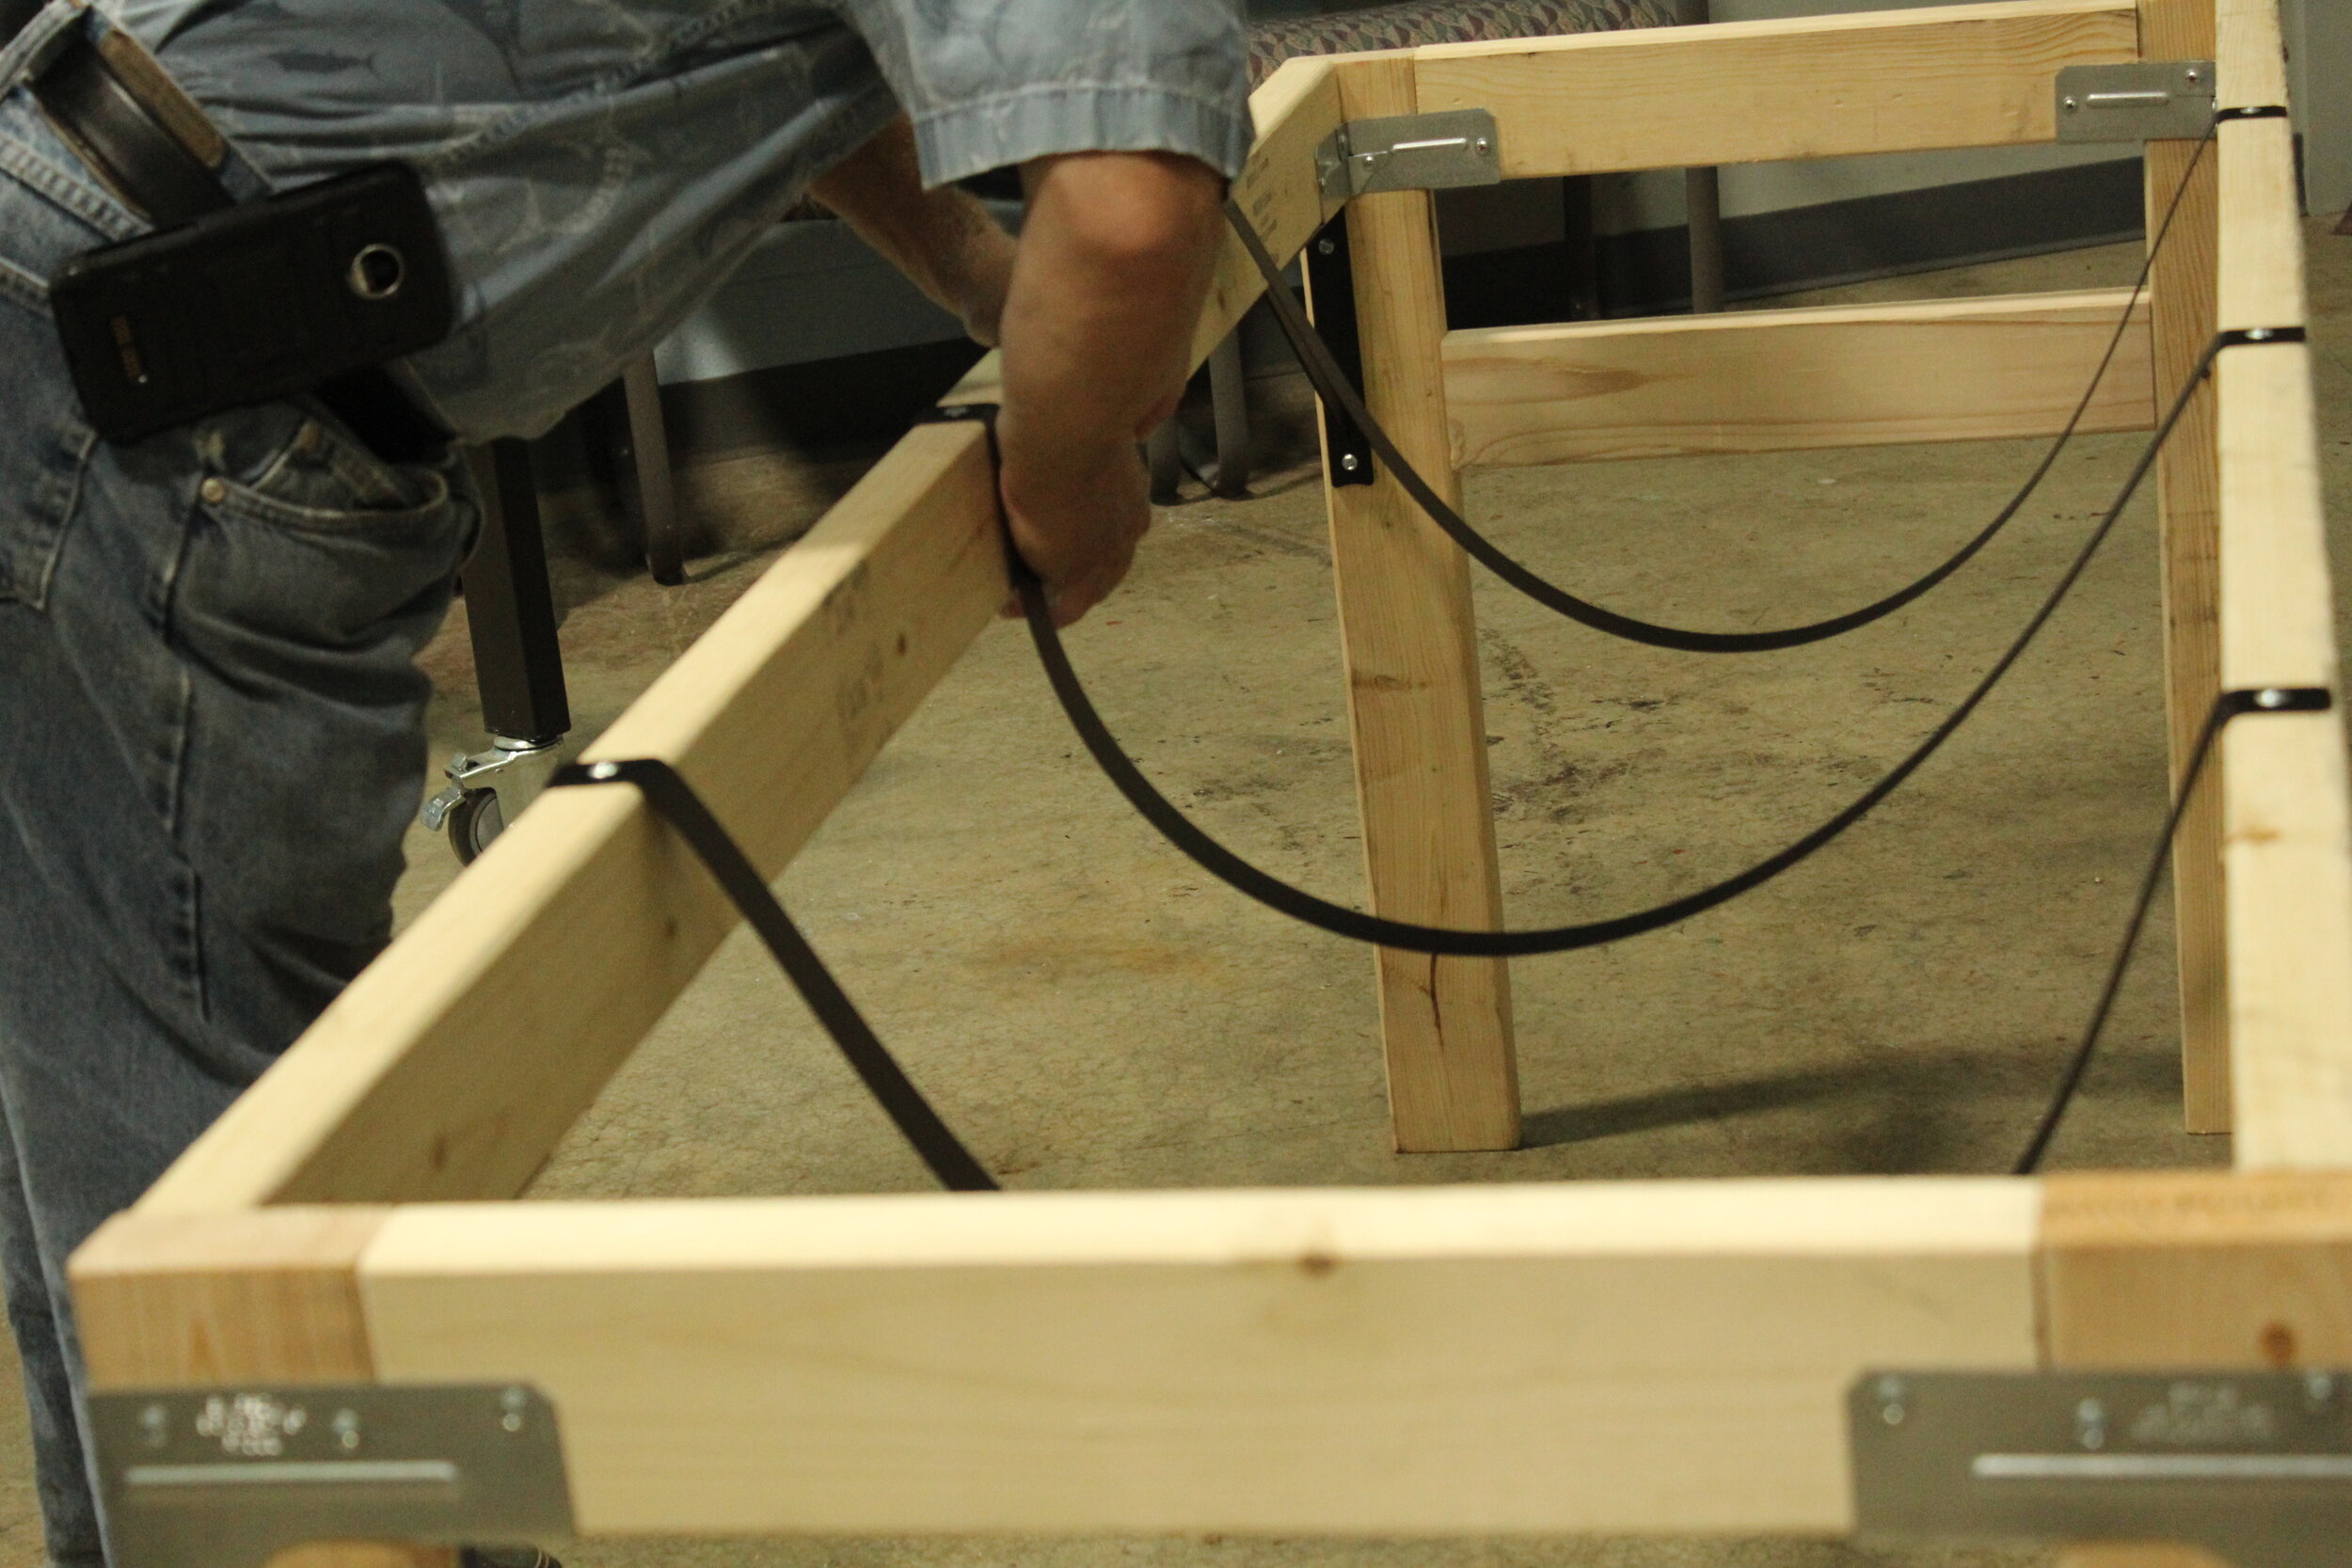
Bungie cord 48 inches or adjustable strap (optional)
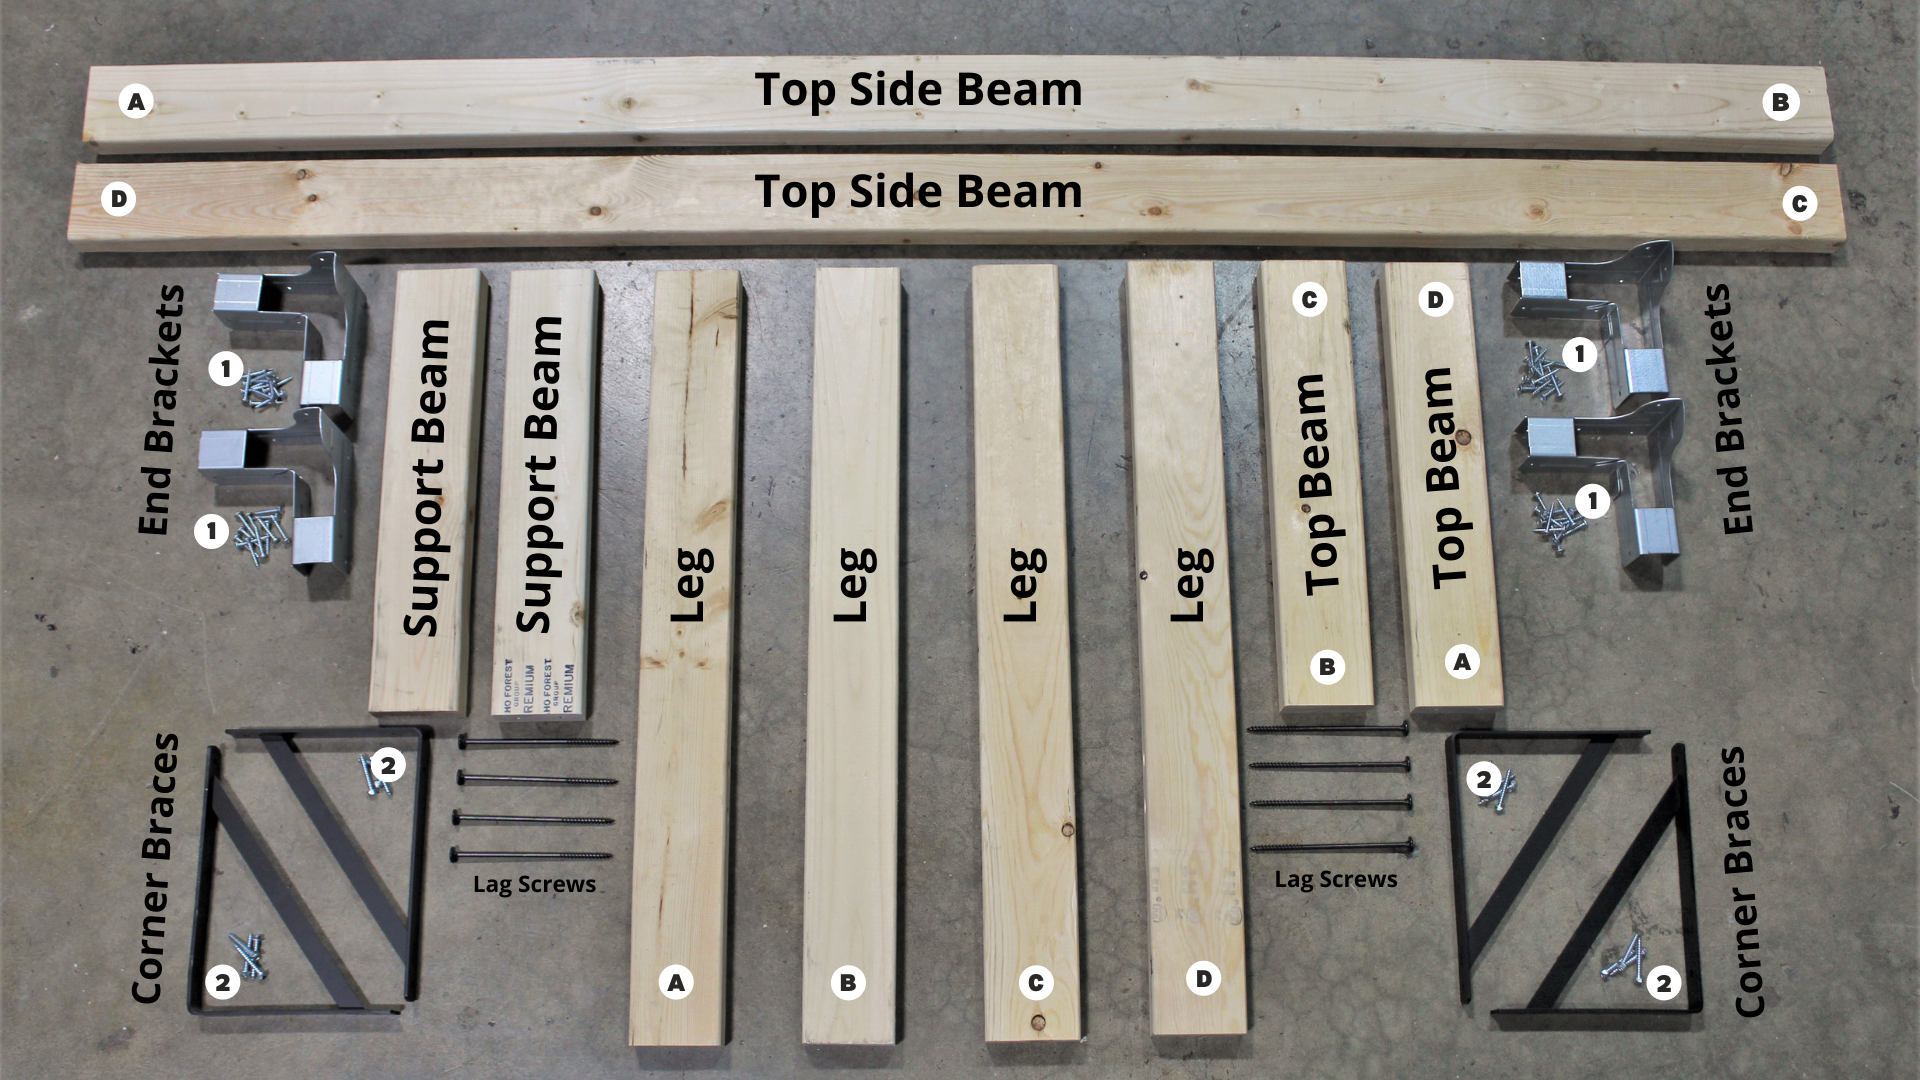
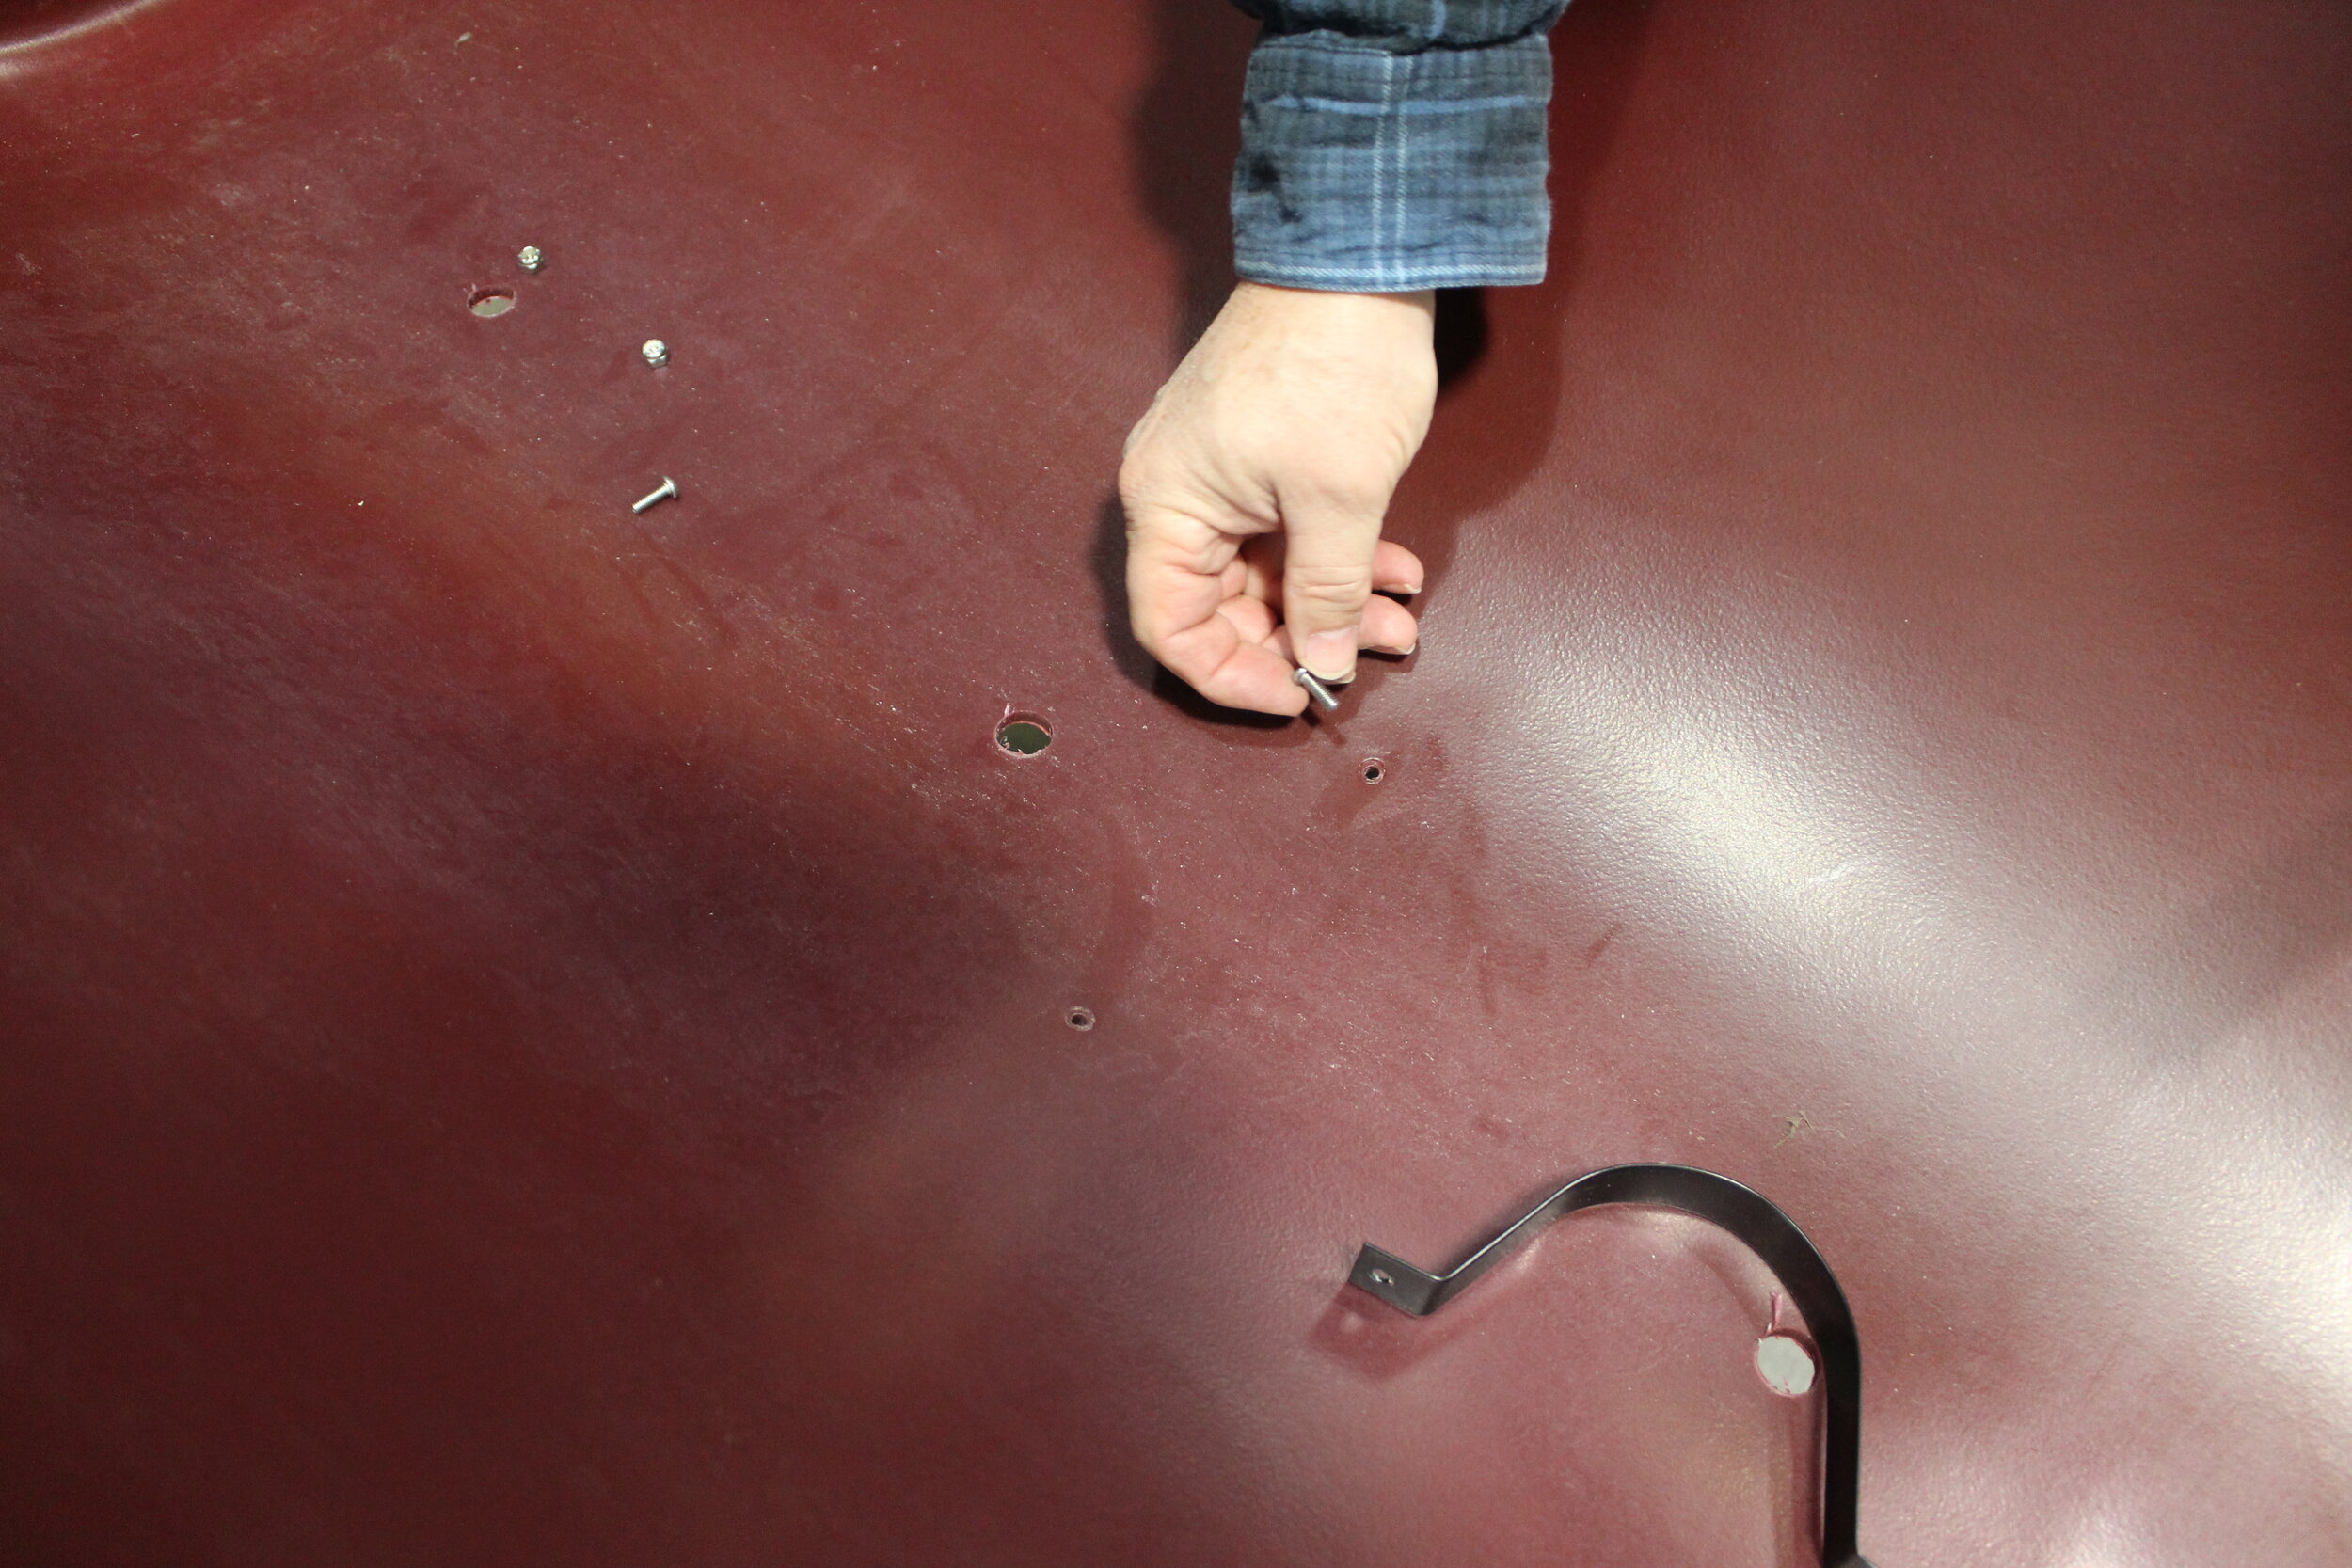
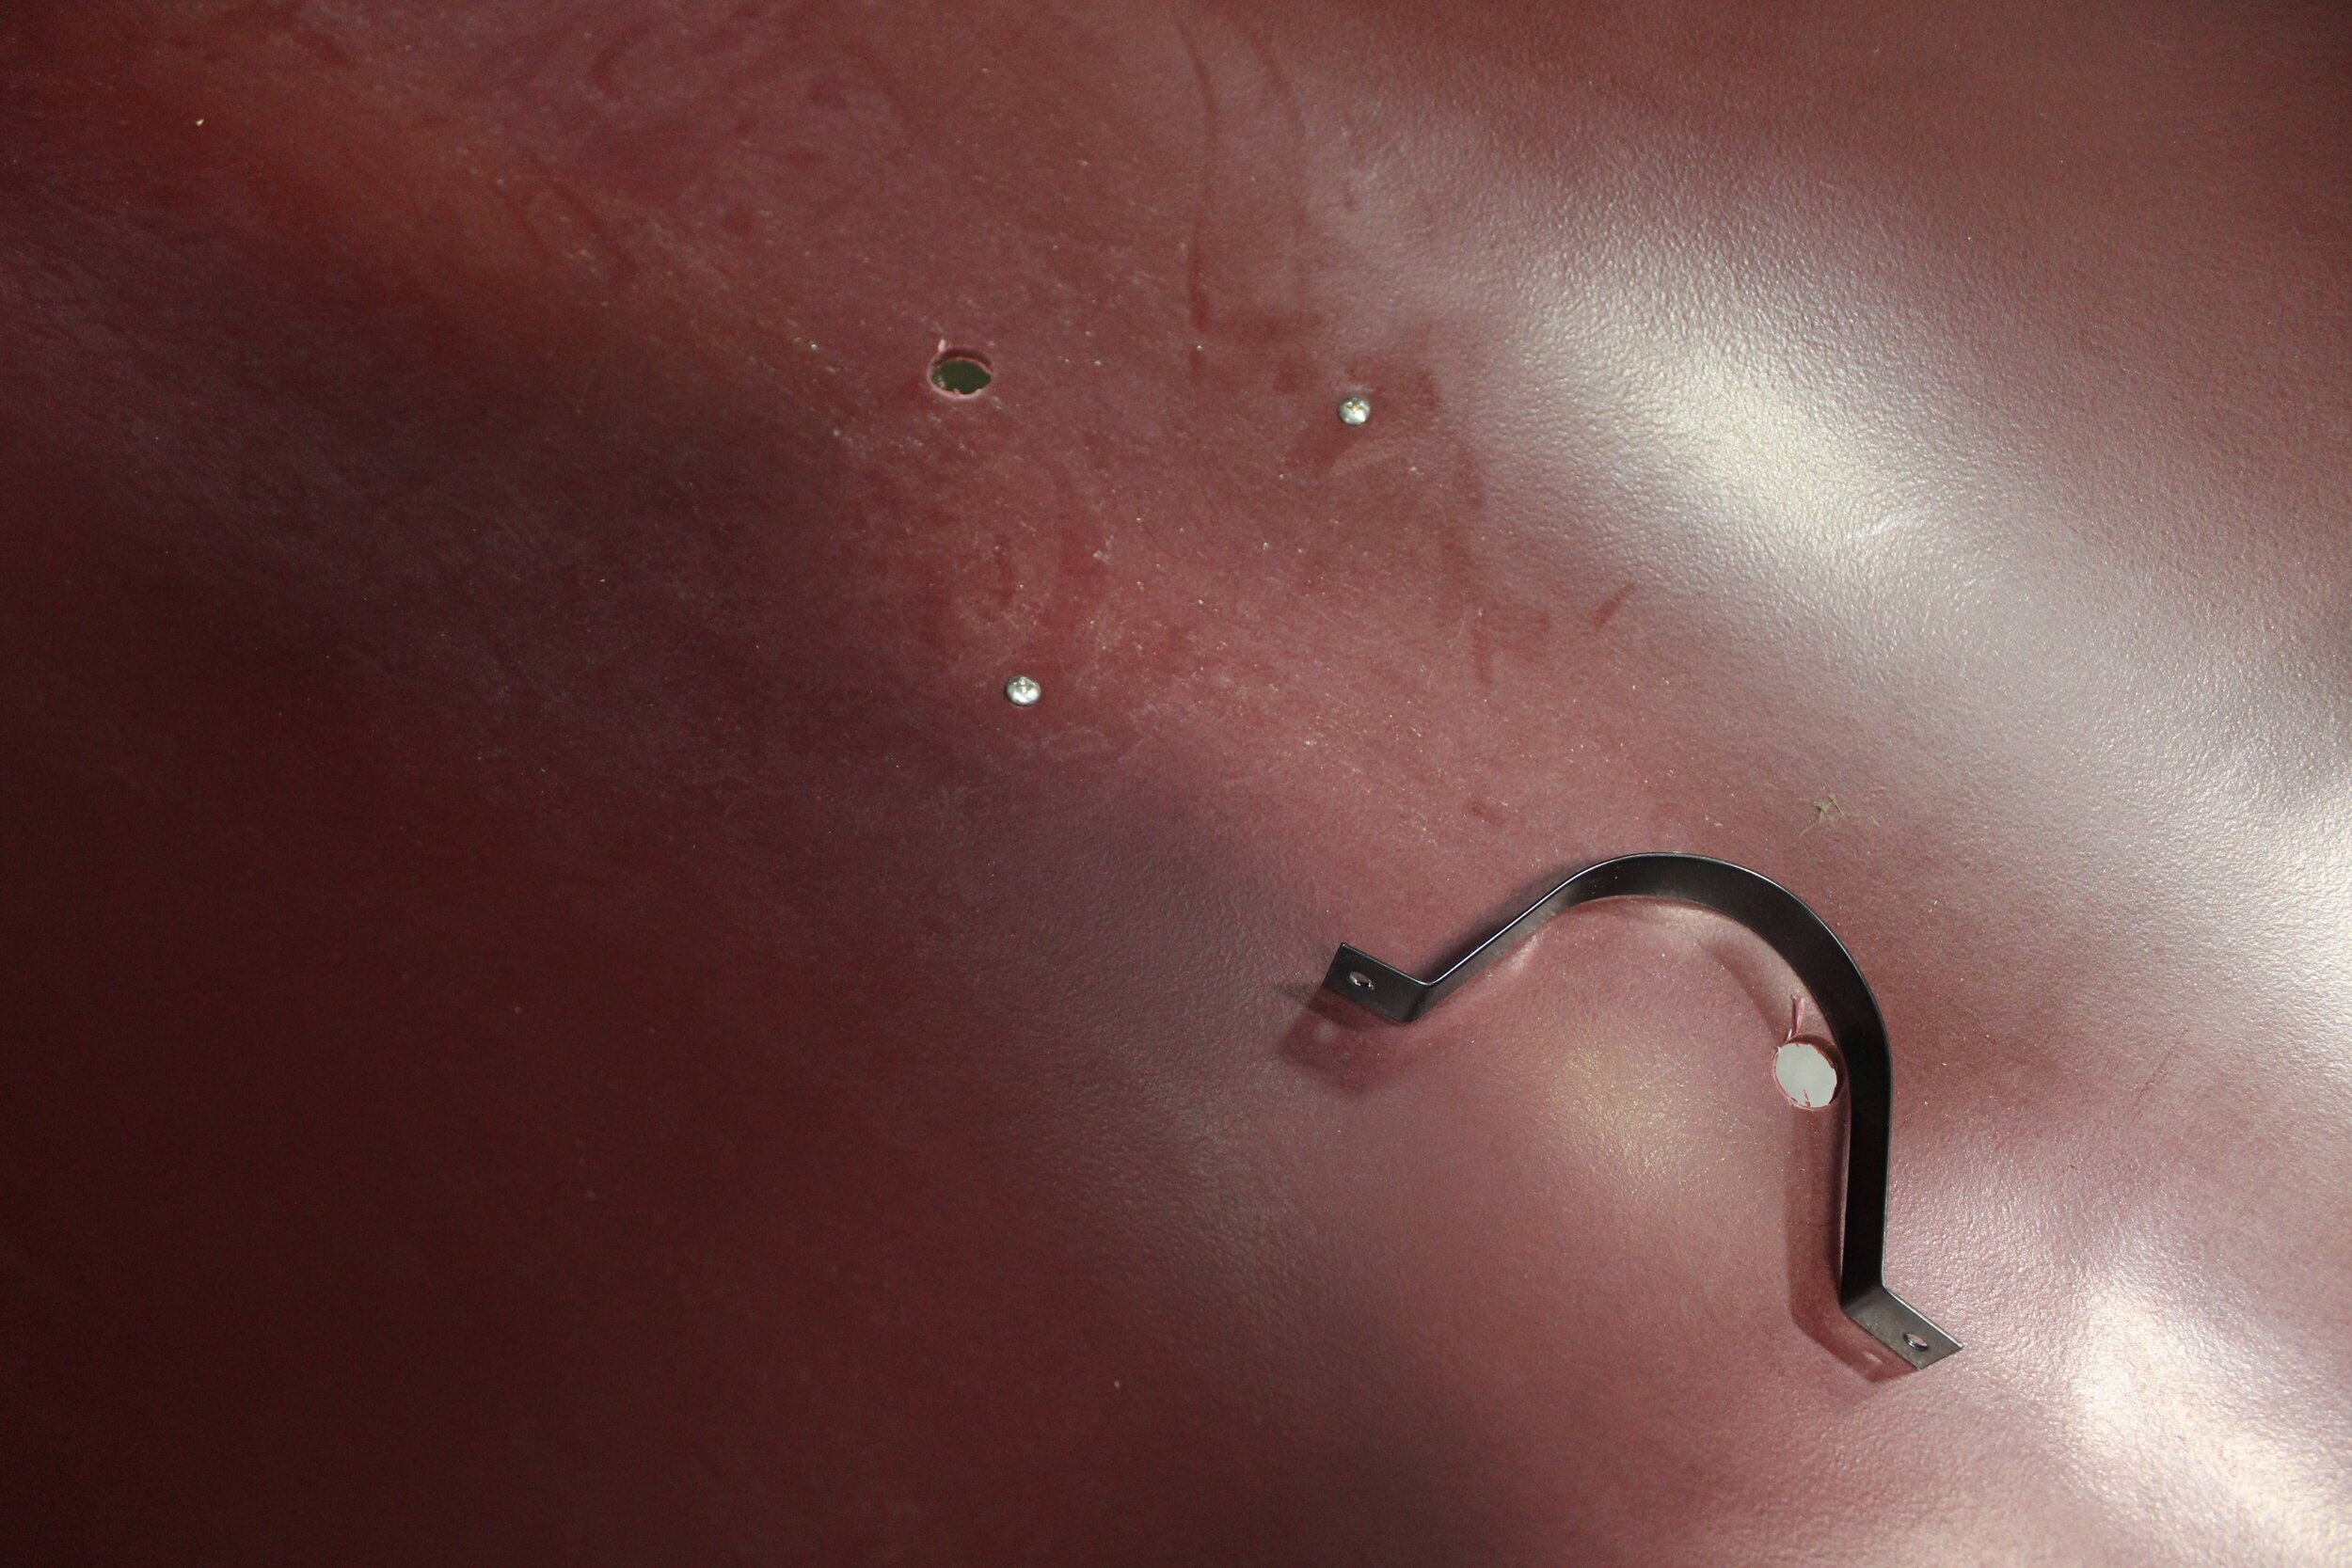
Parts List
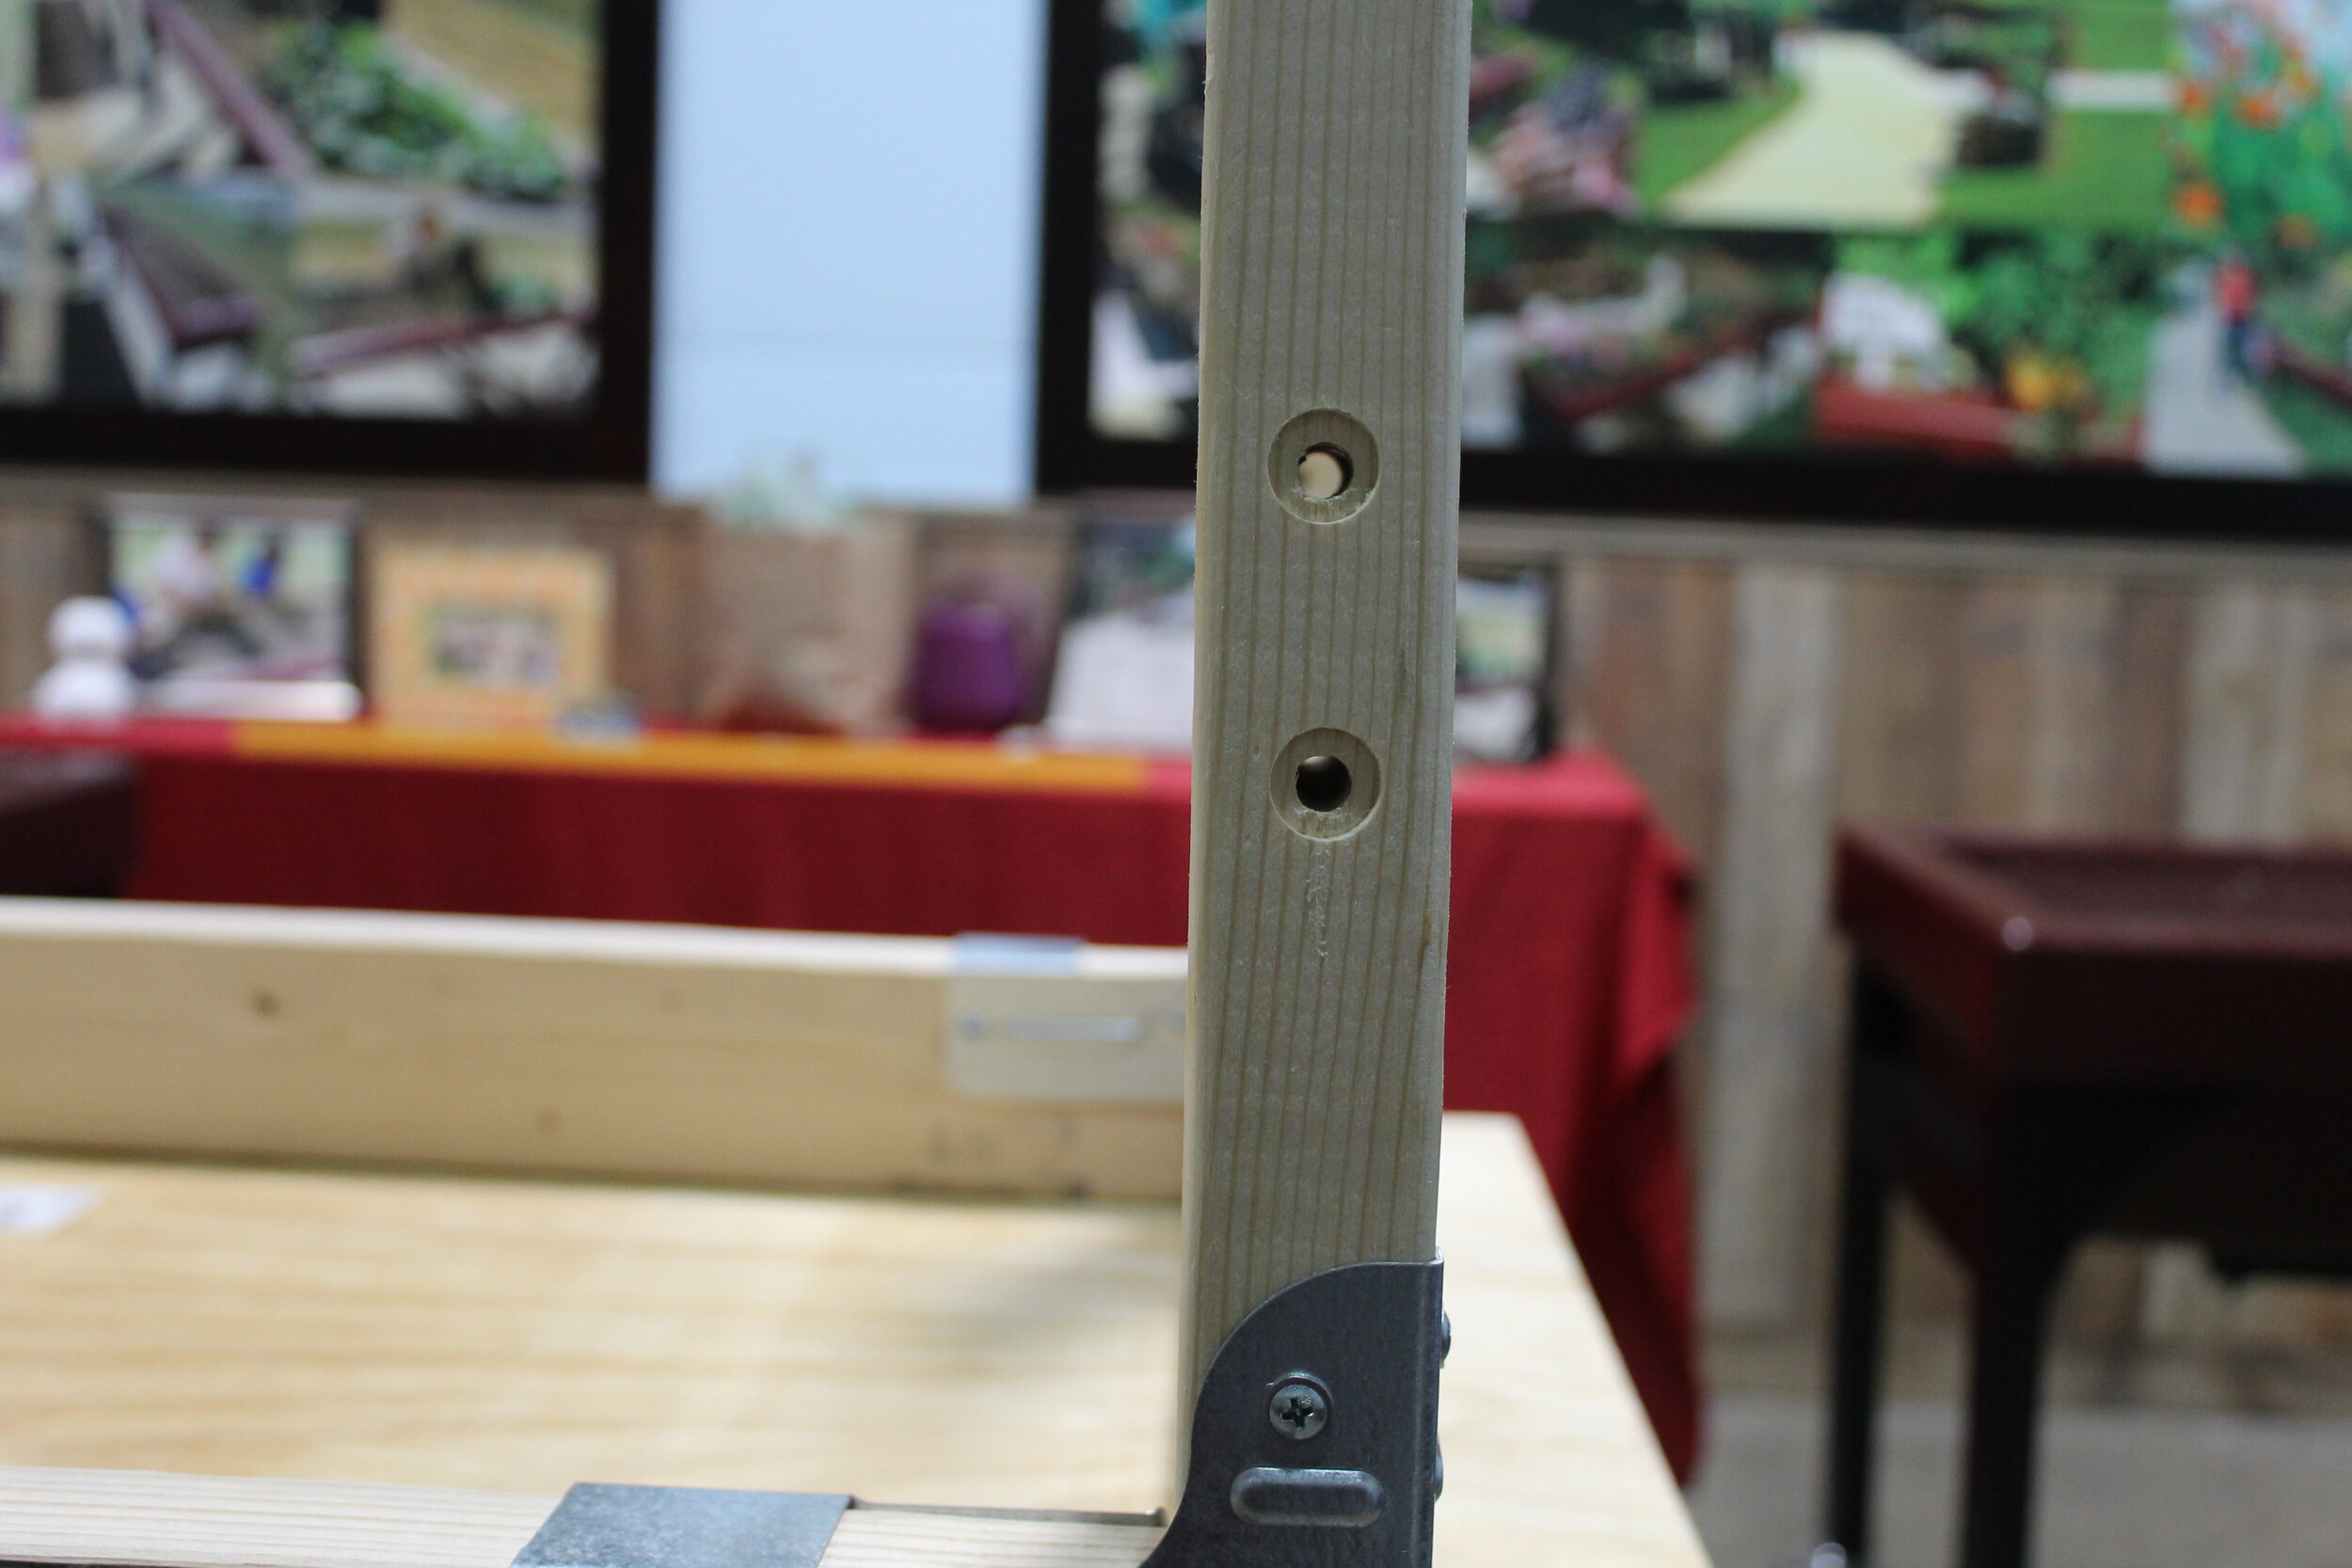
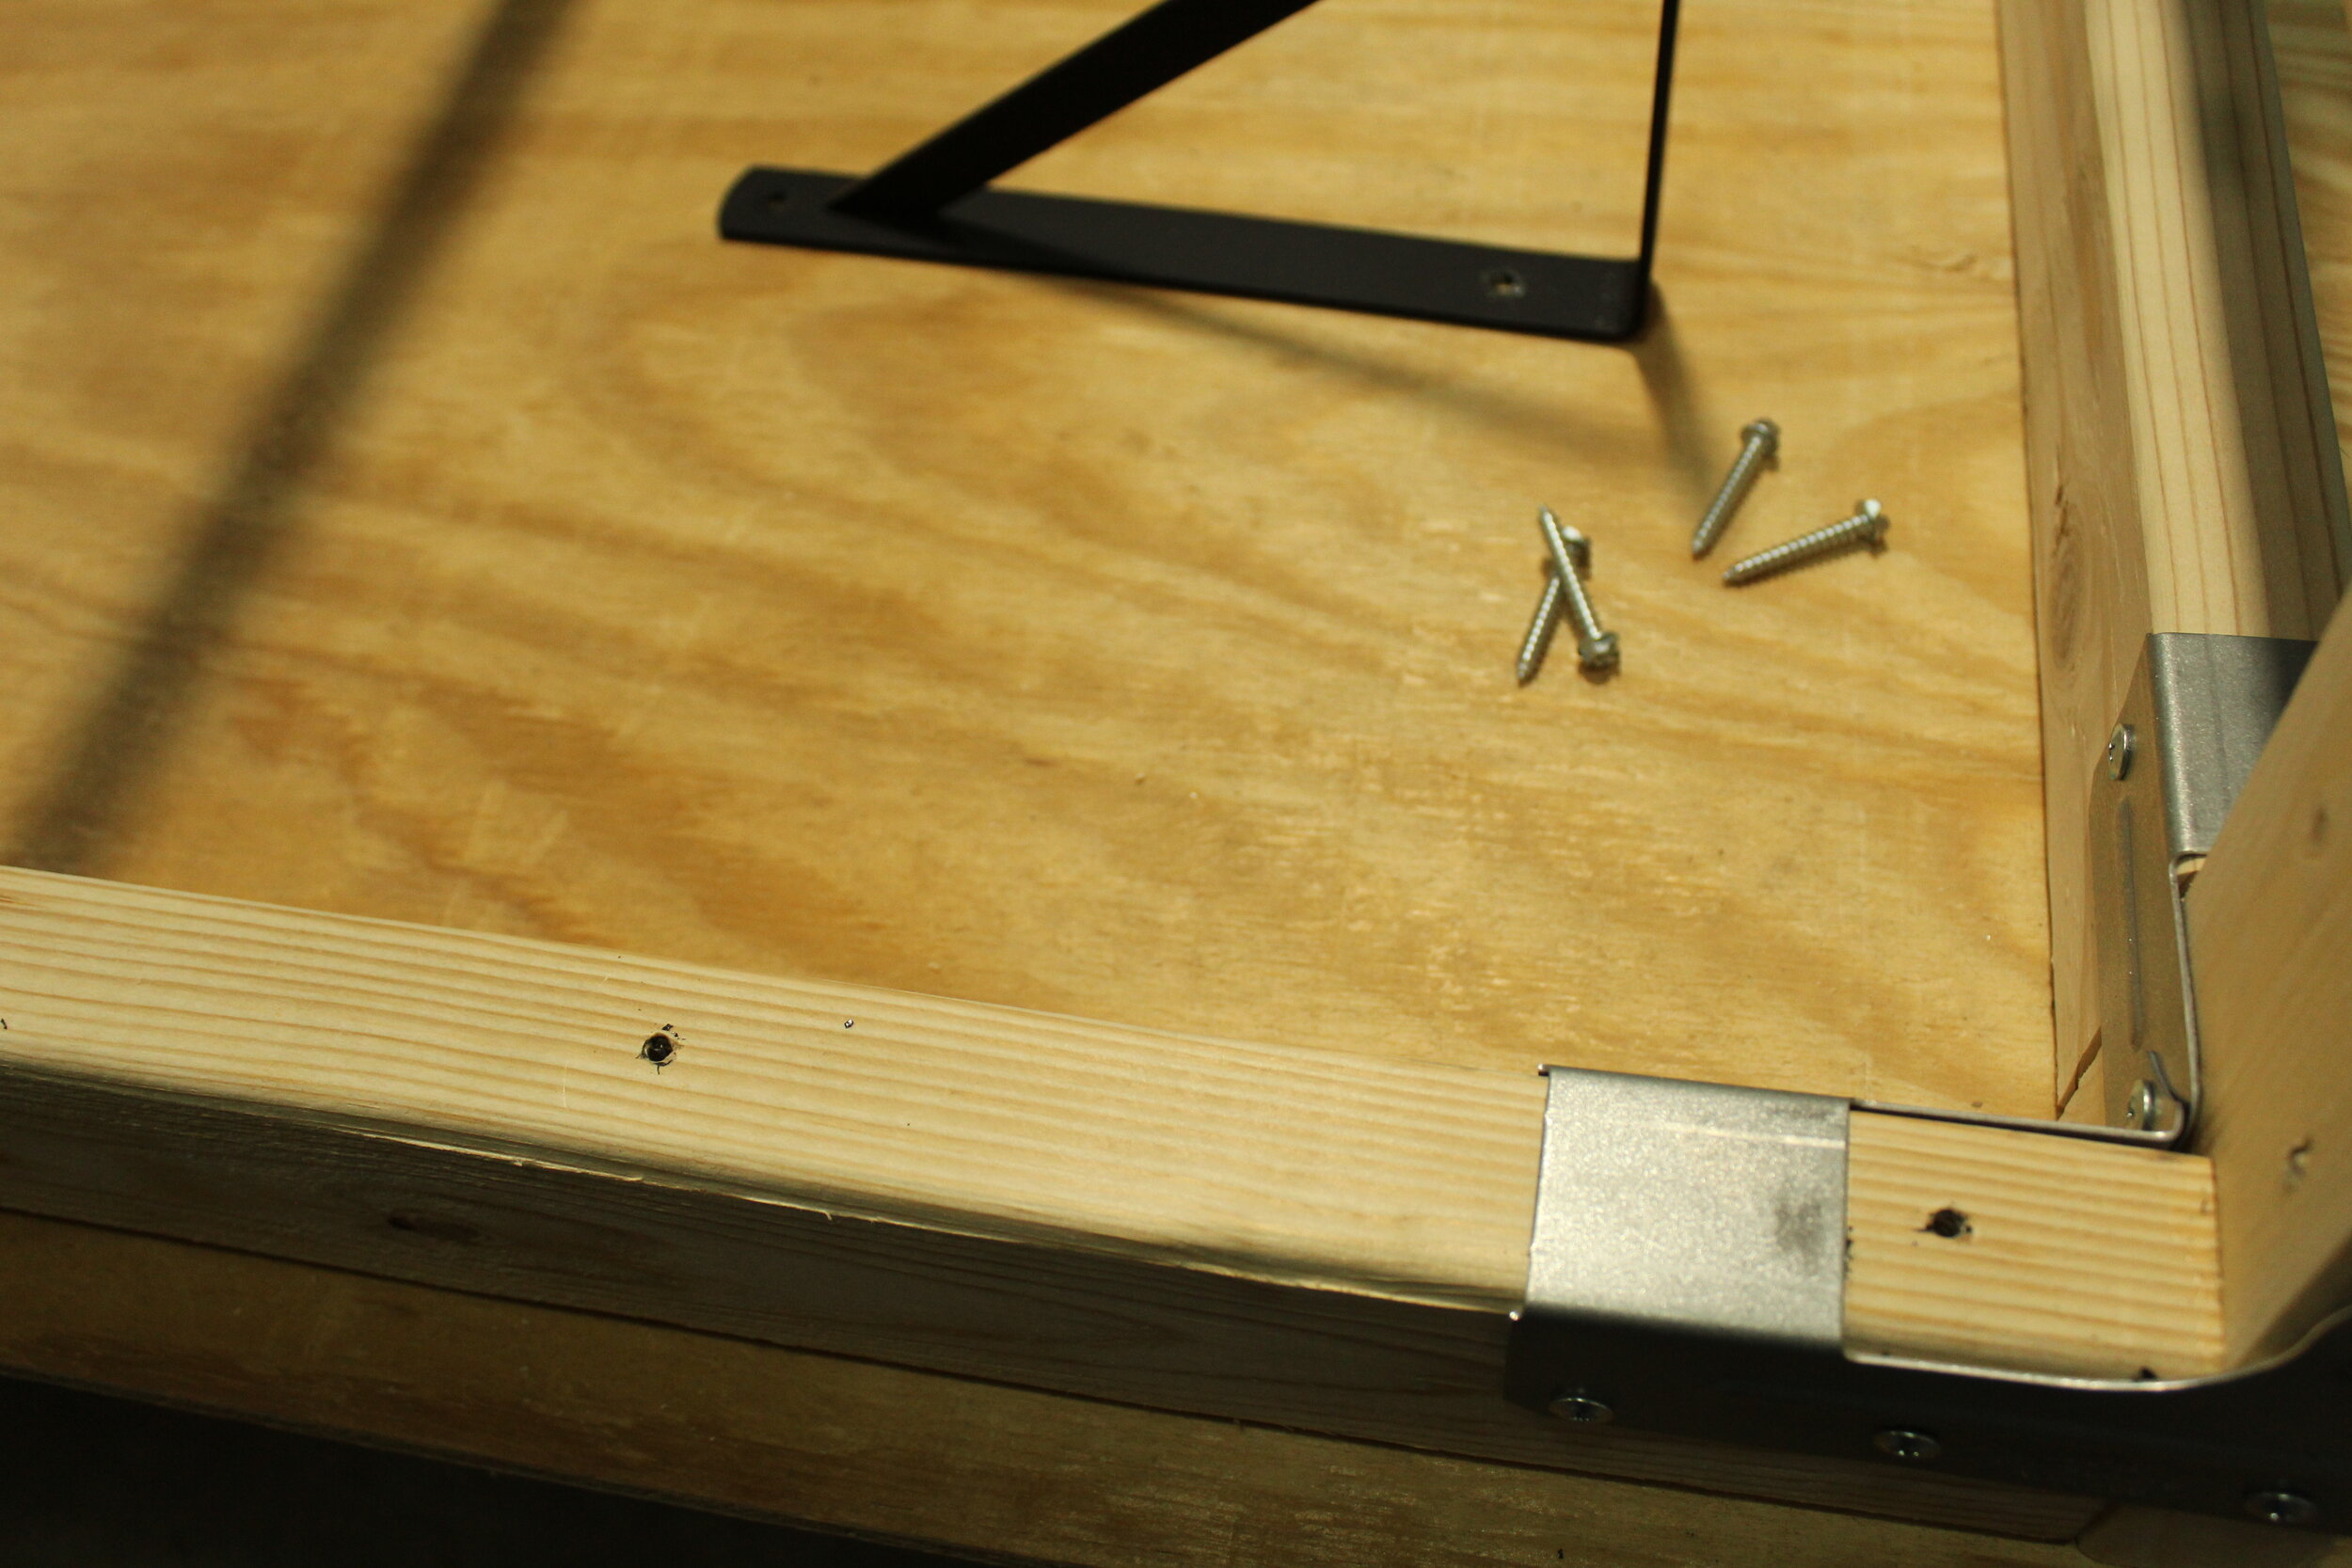
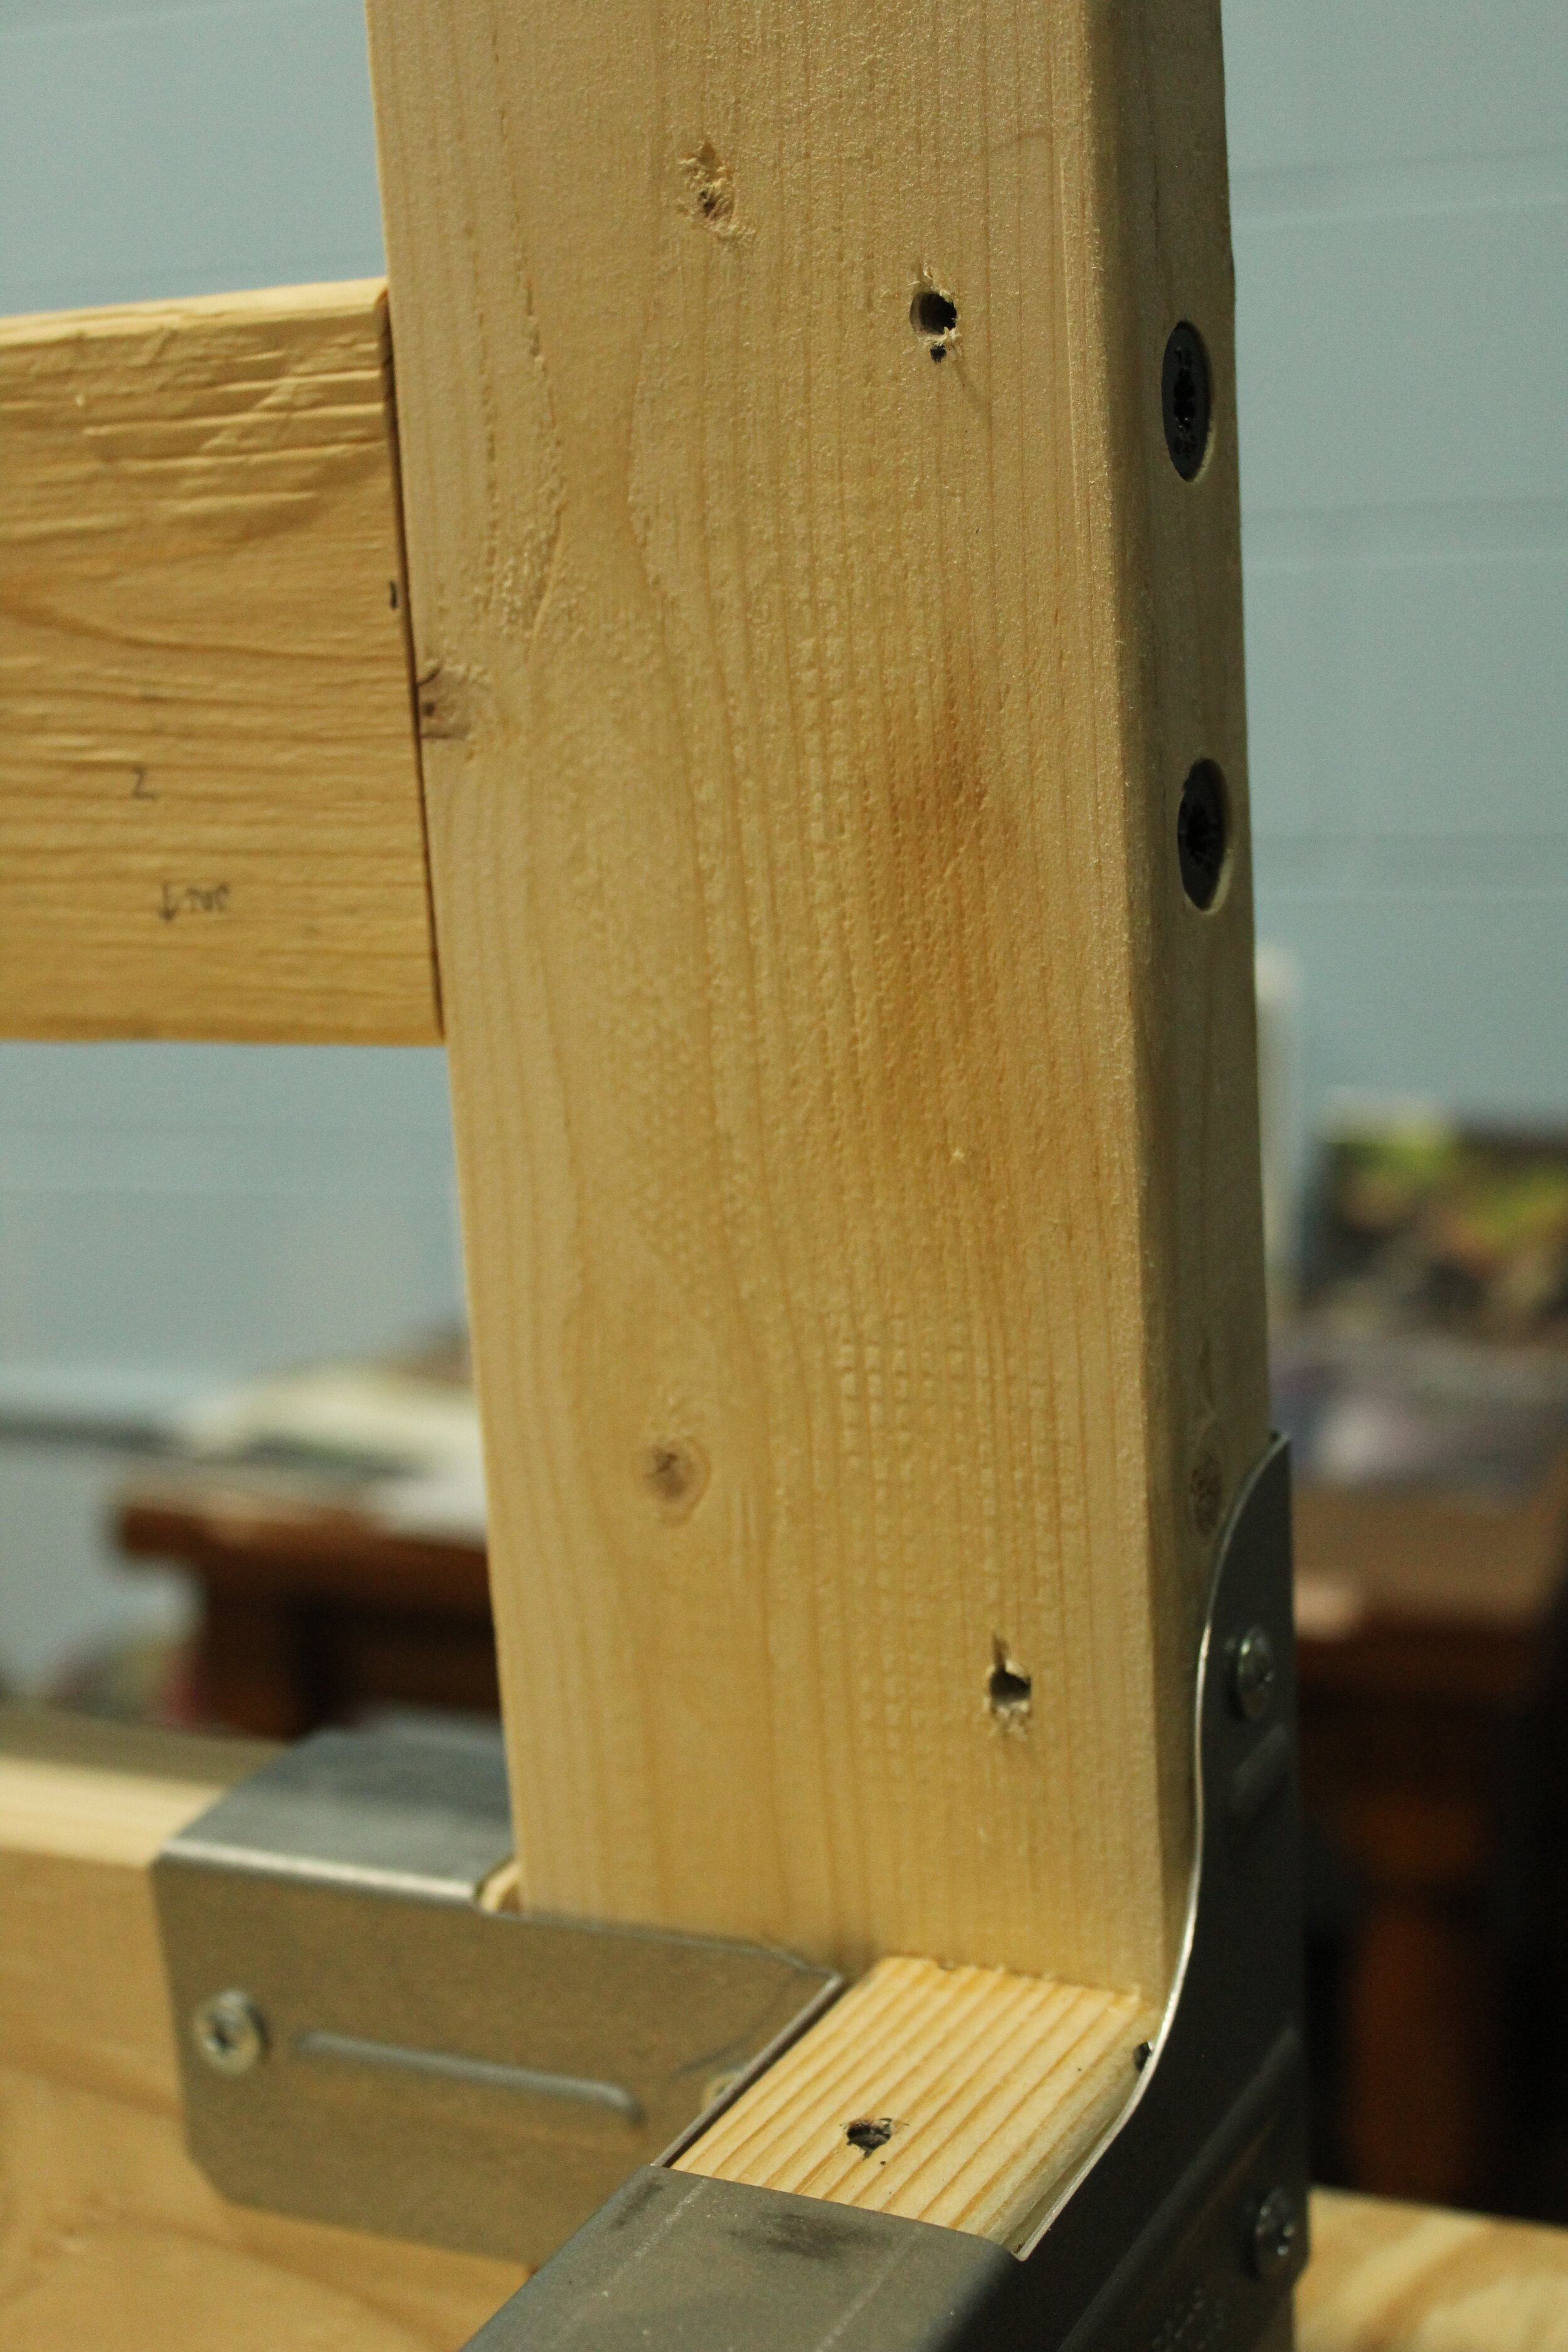
1 1/4 wafer head screws (40)
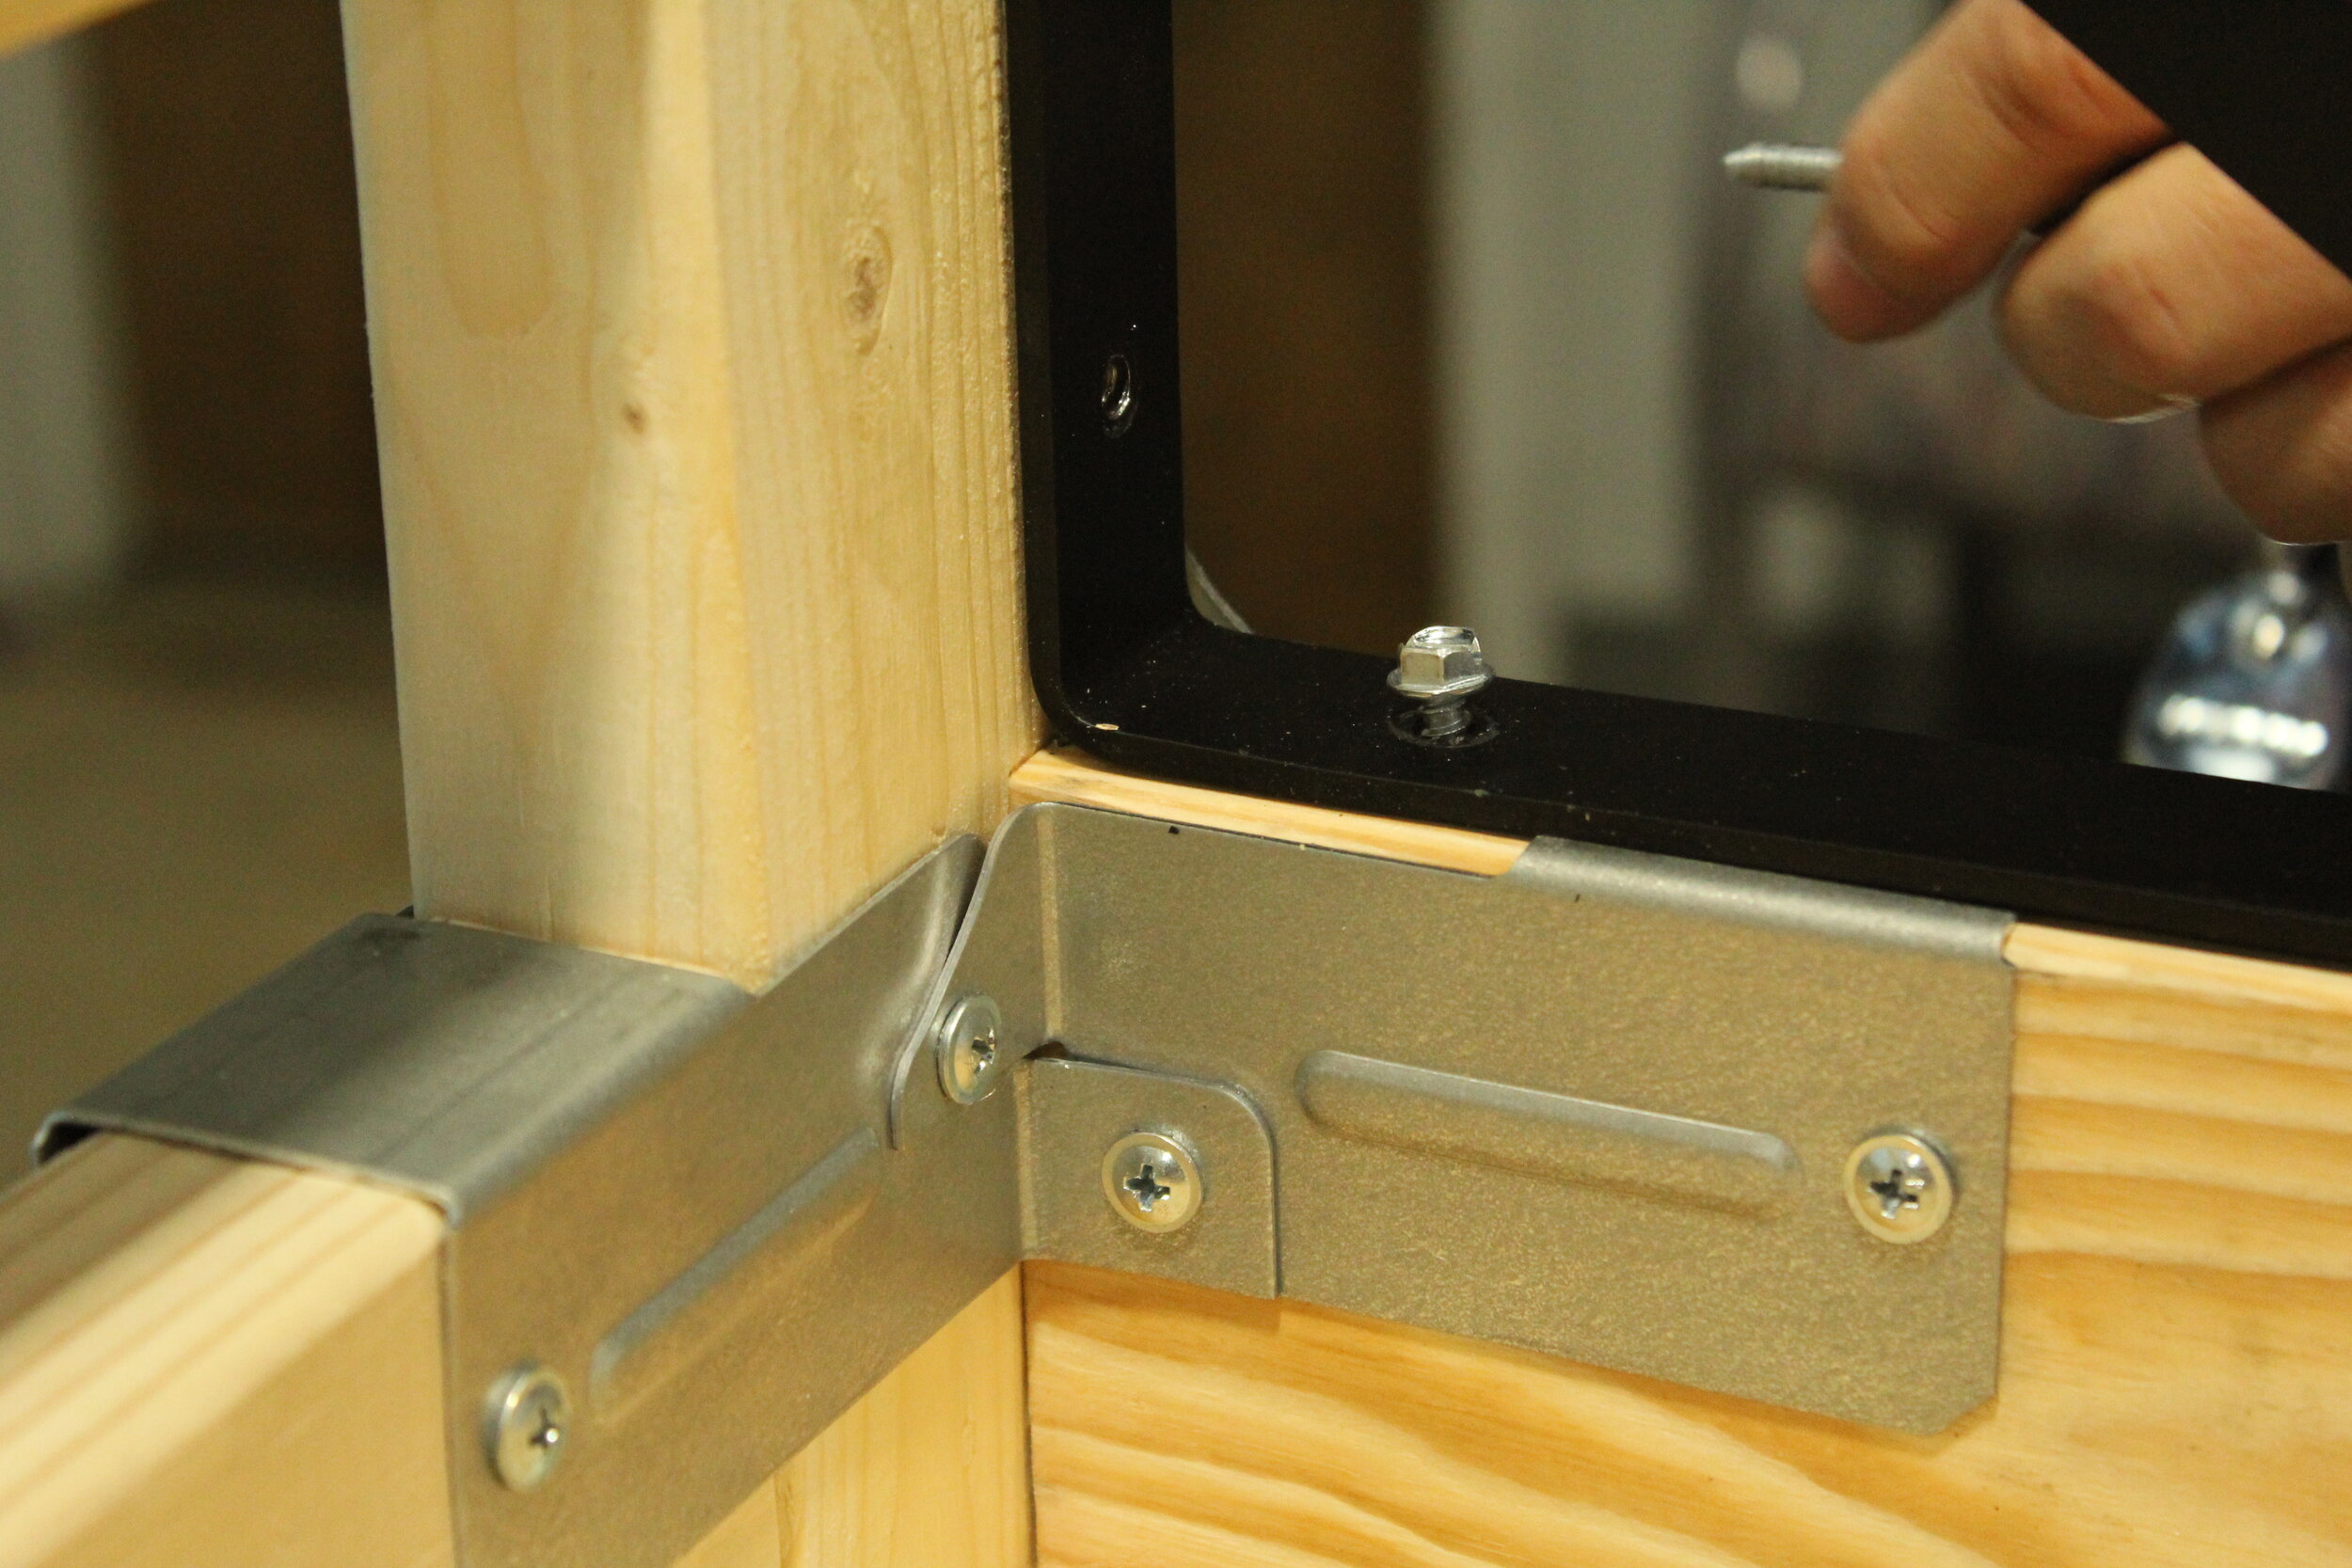
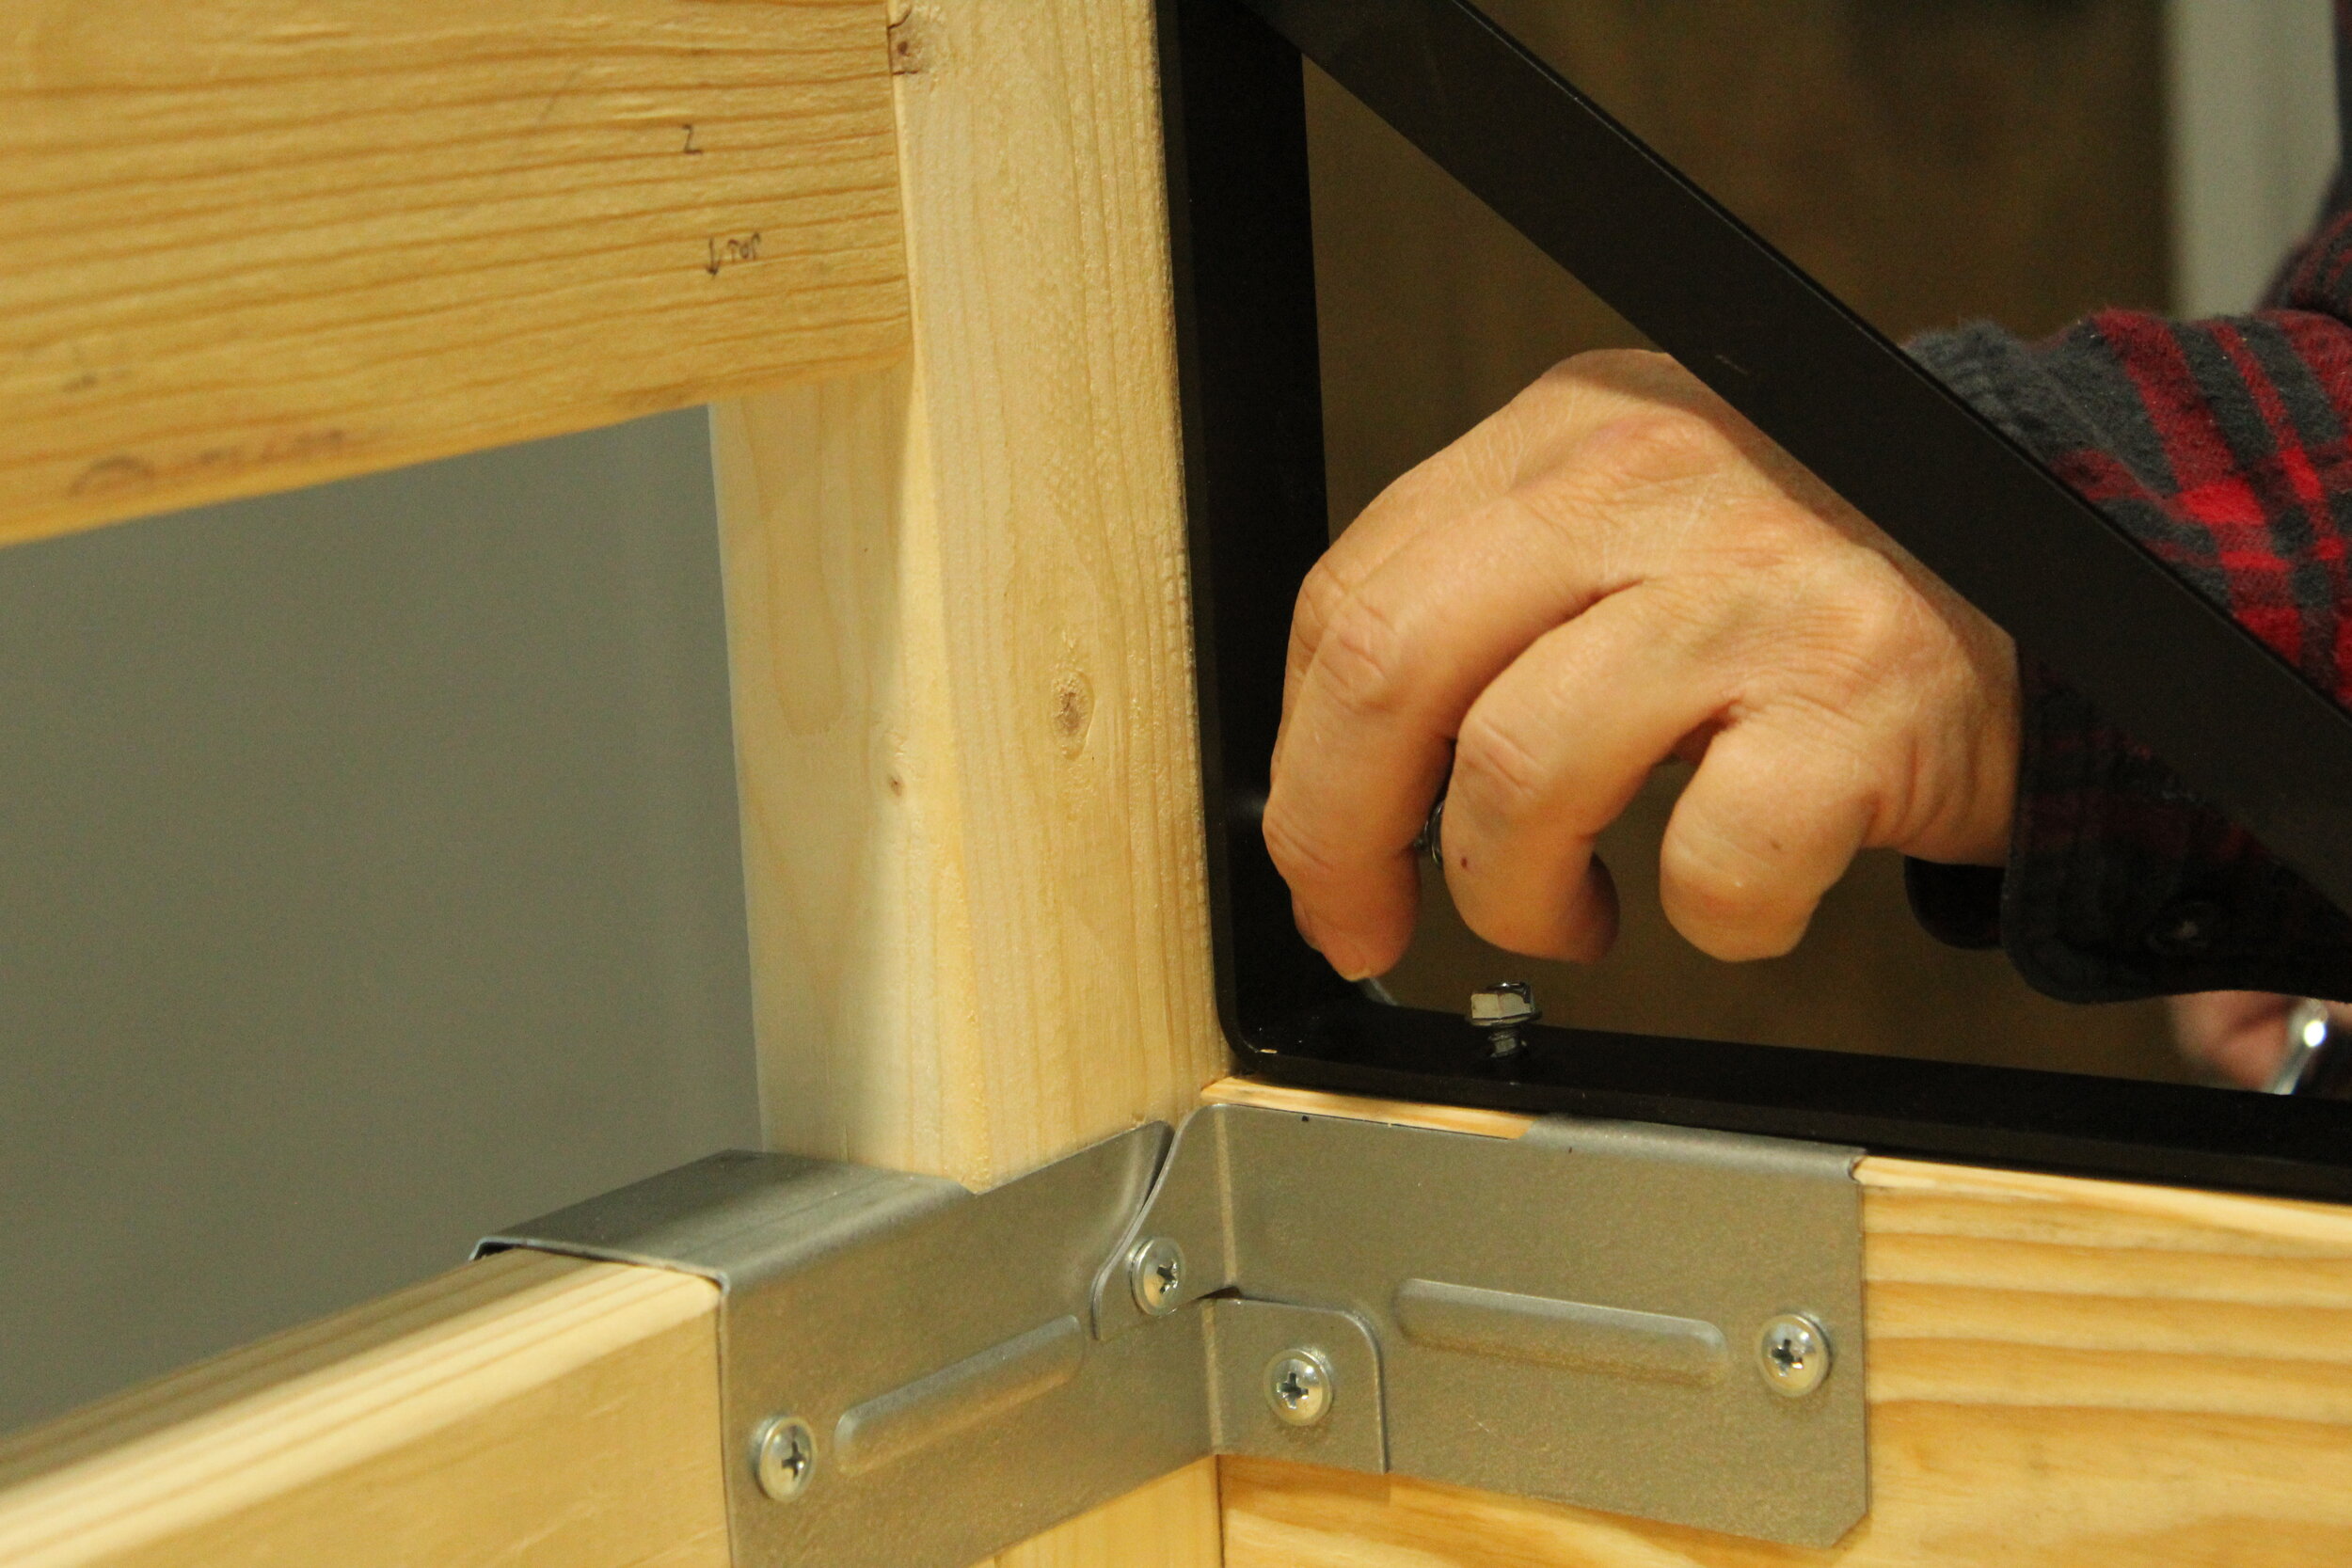
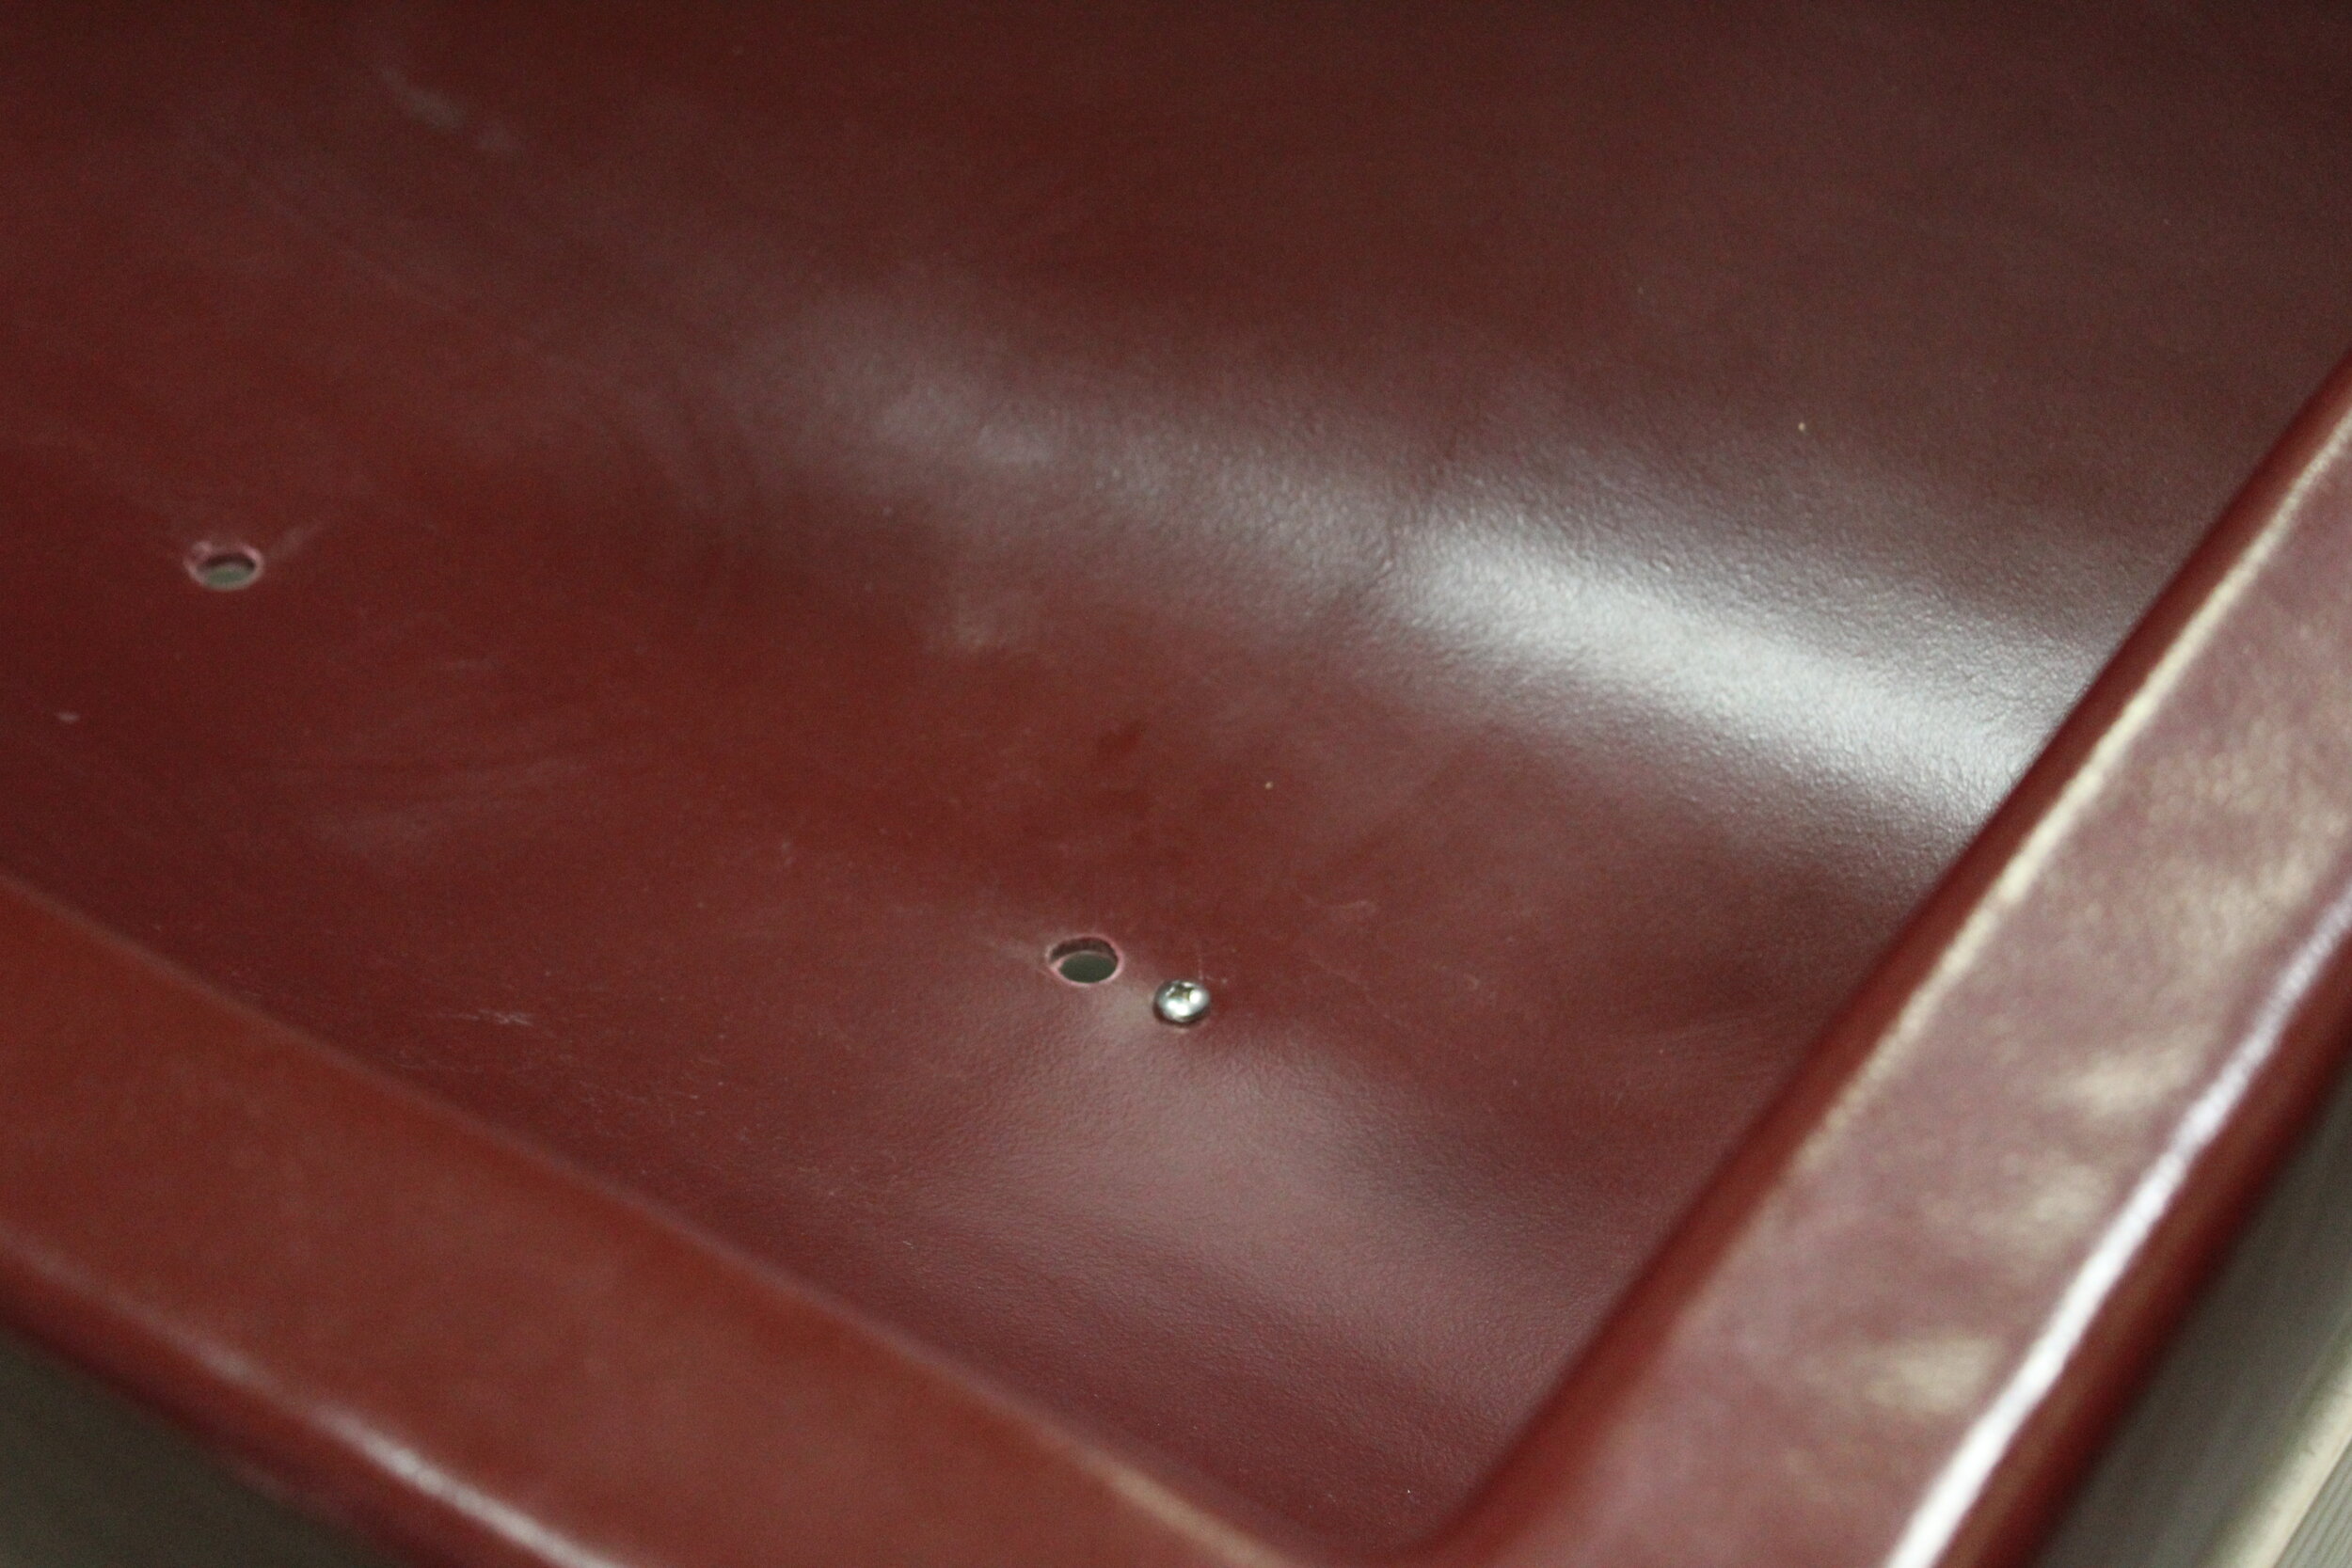
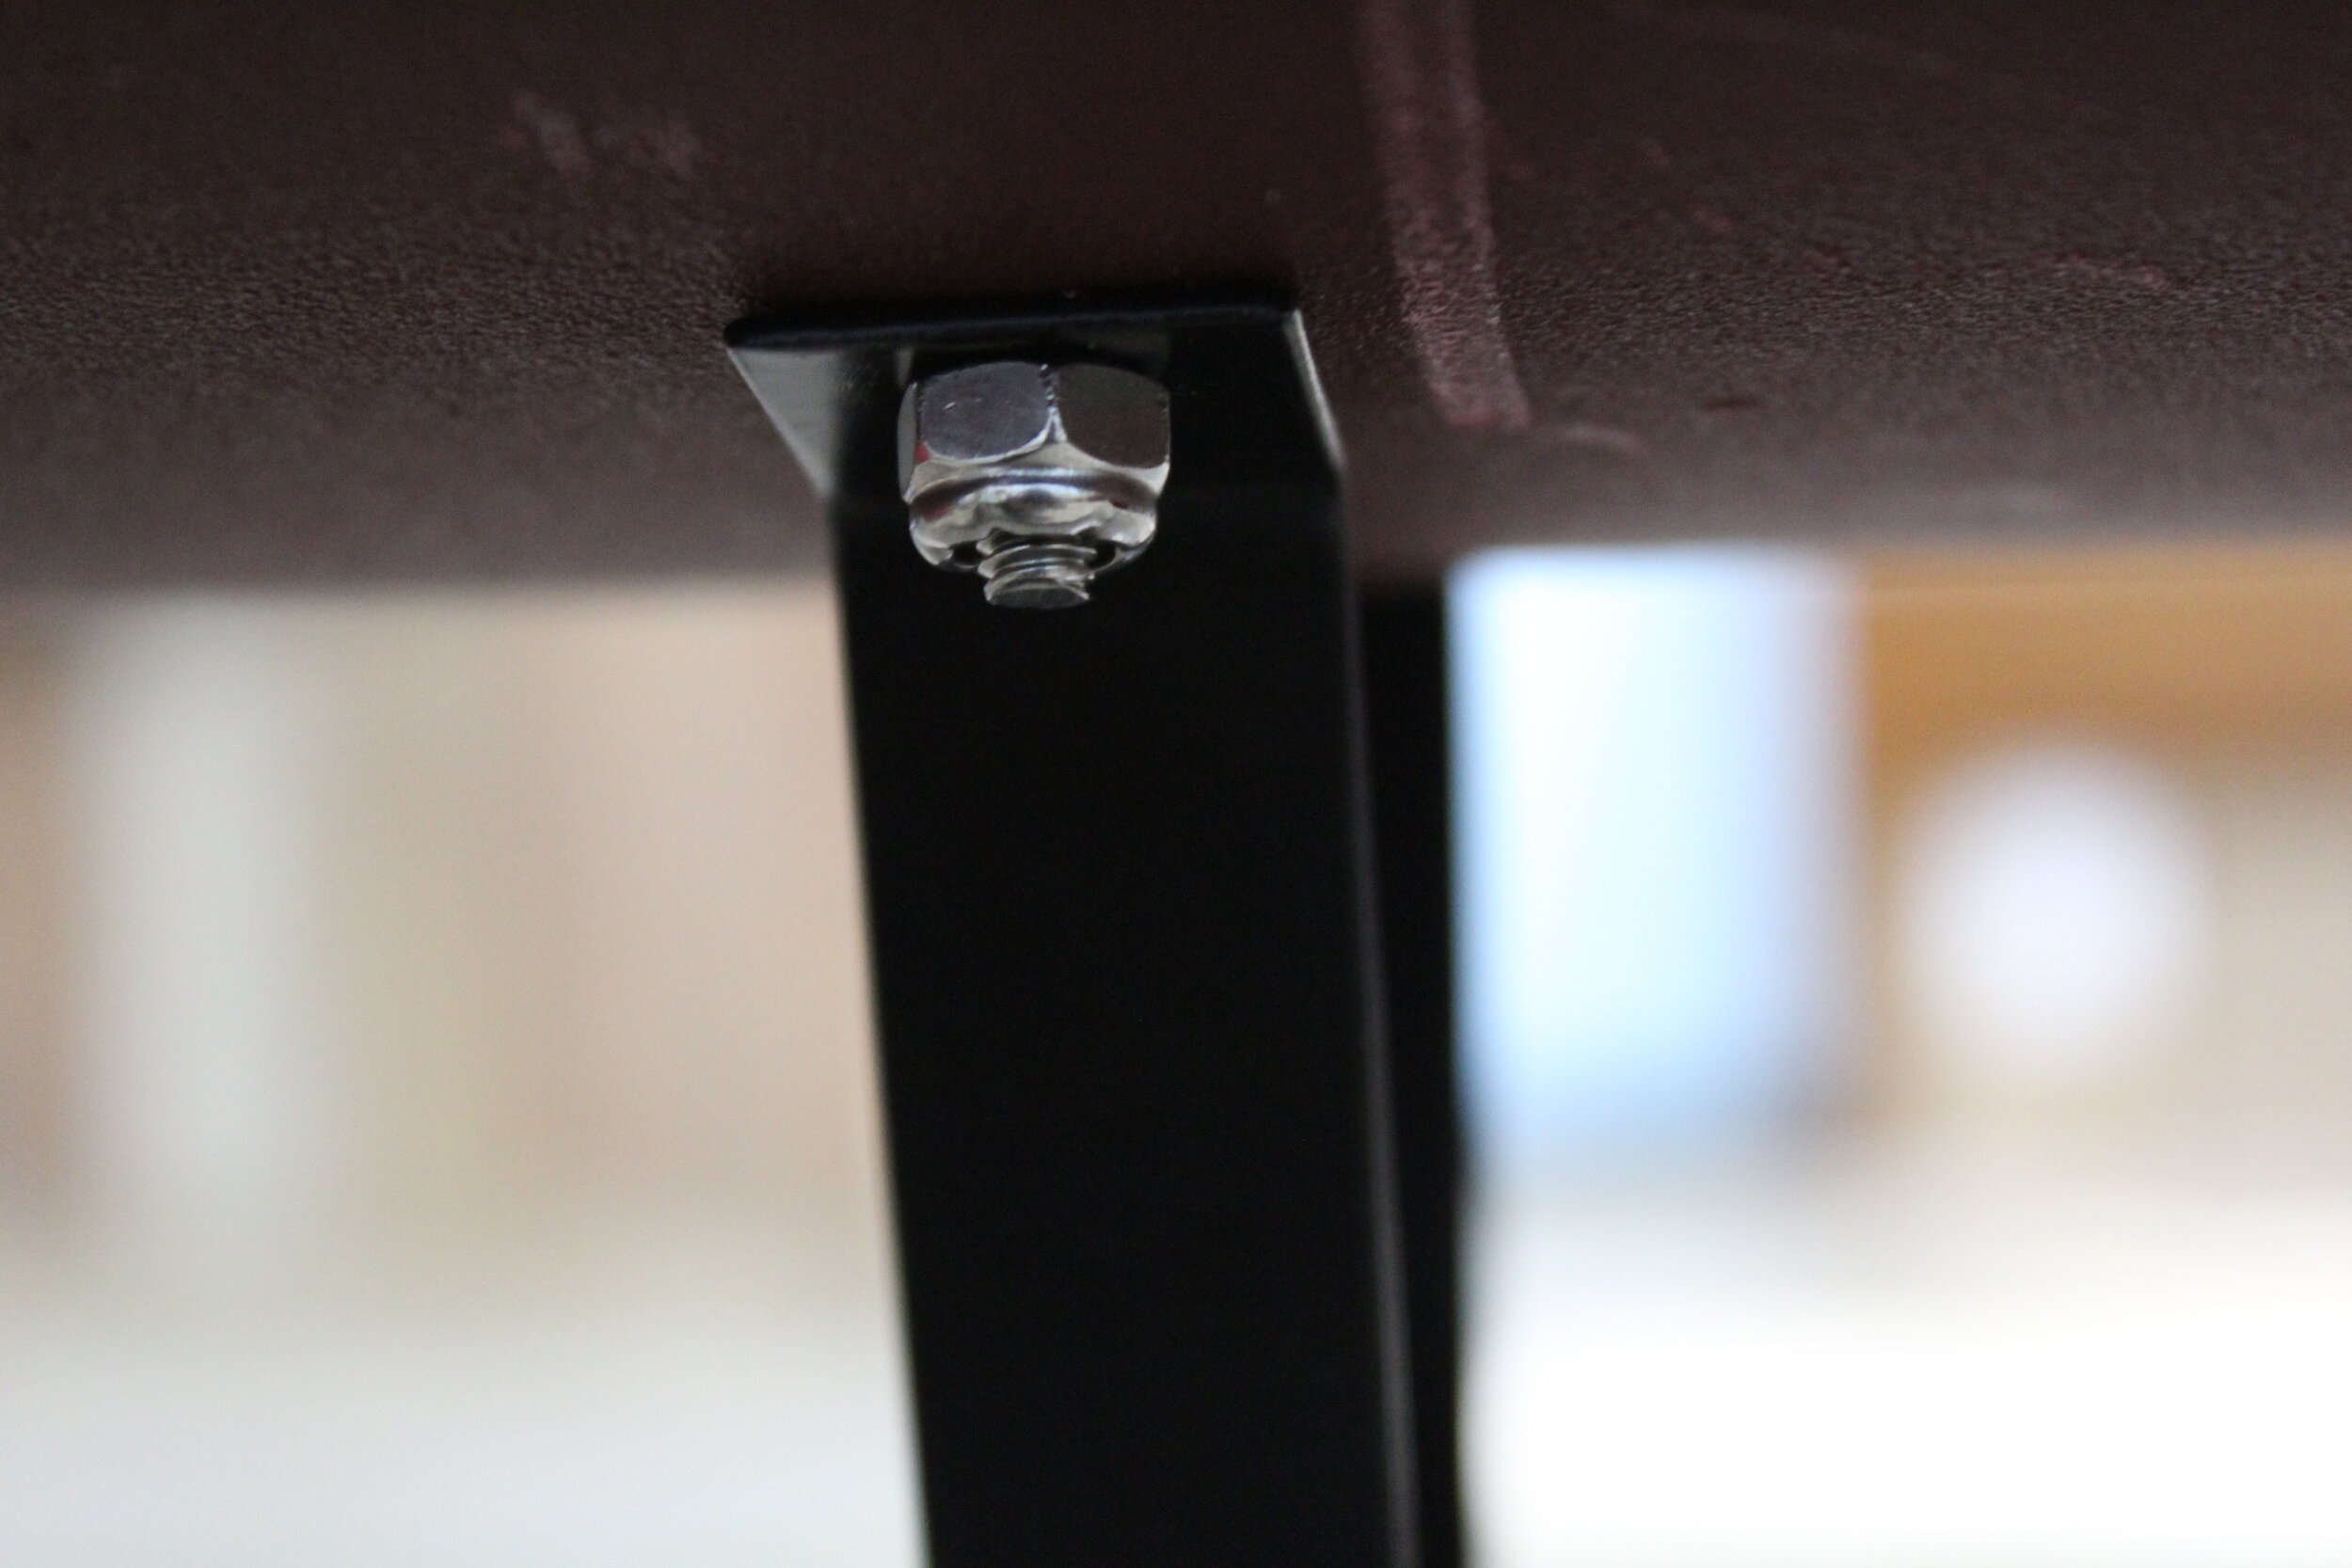
Hex head screws (16)
Lag Screws (8)
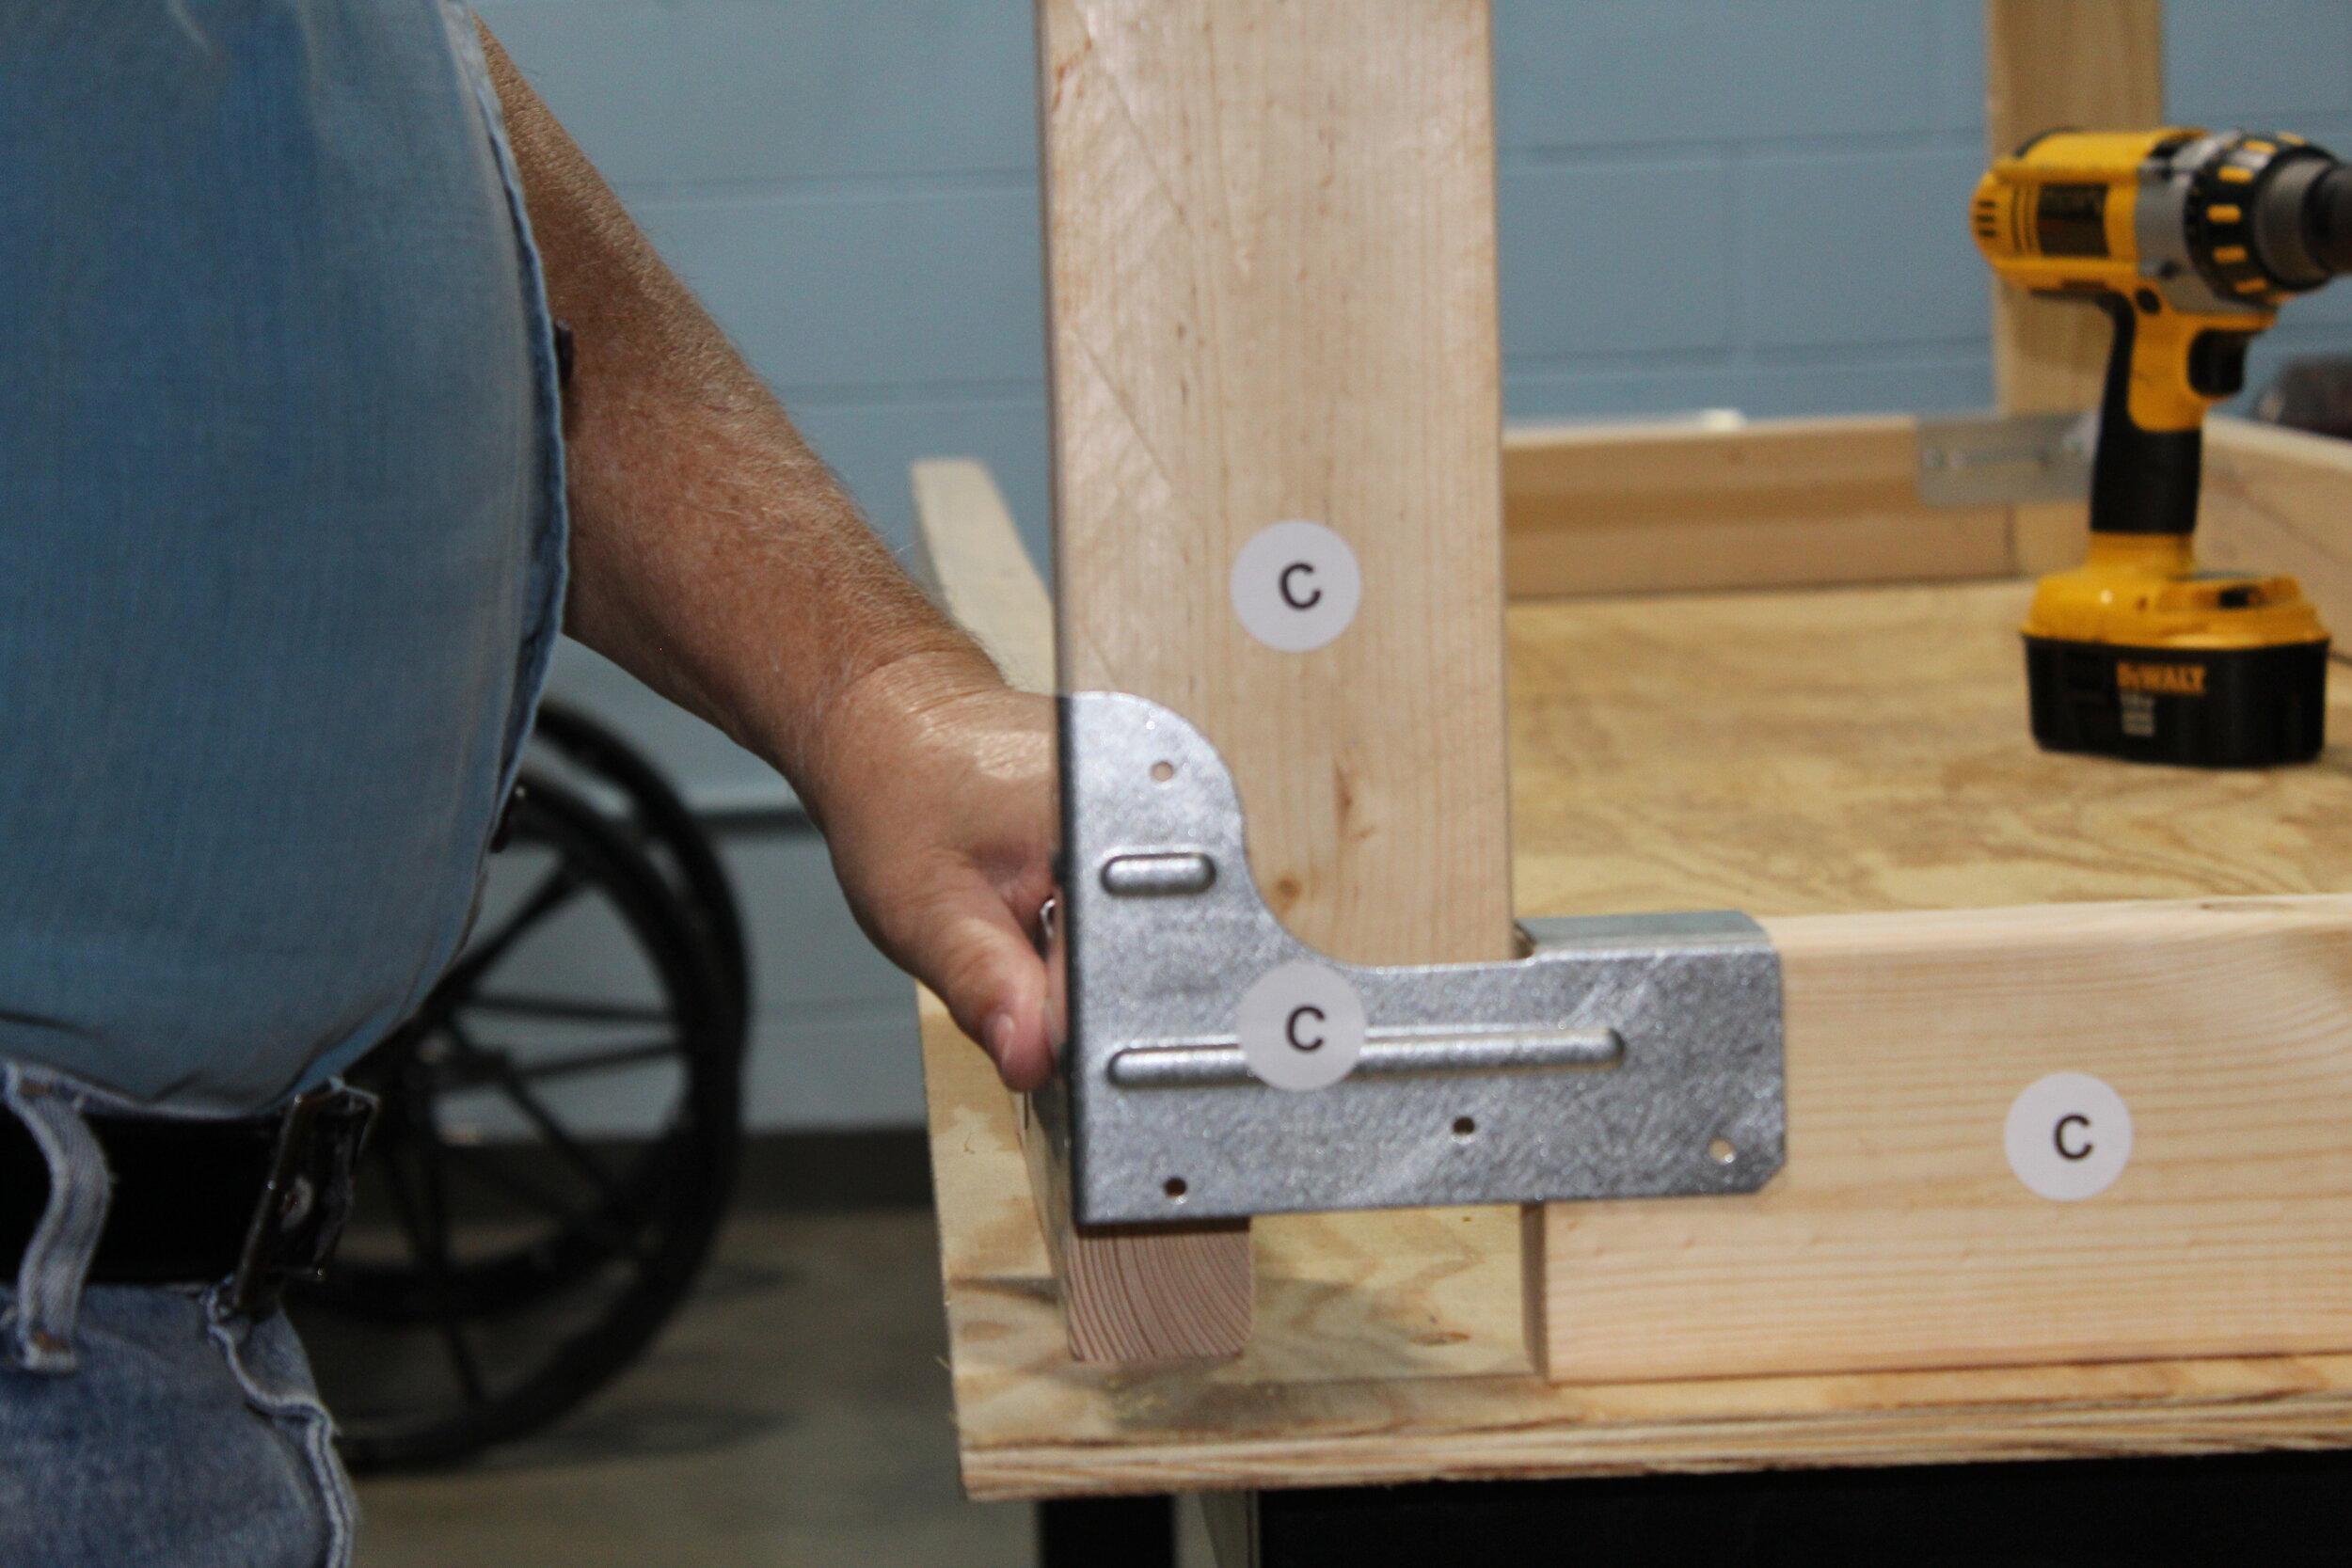
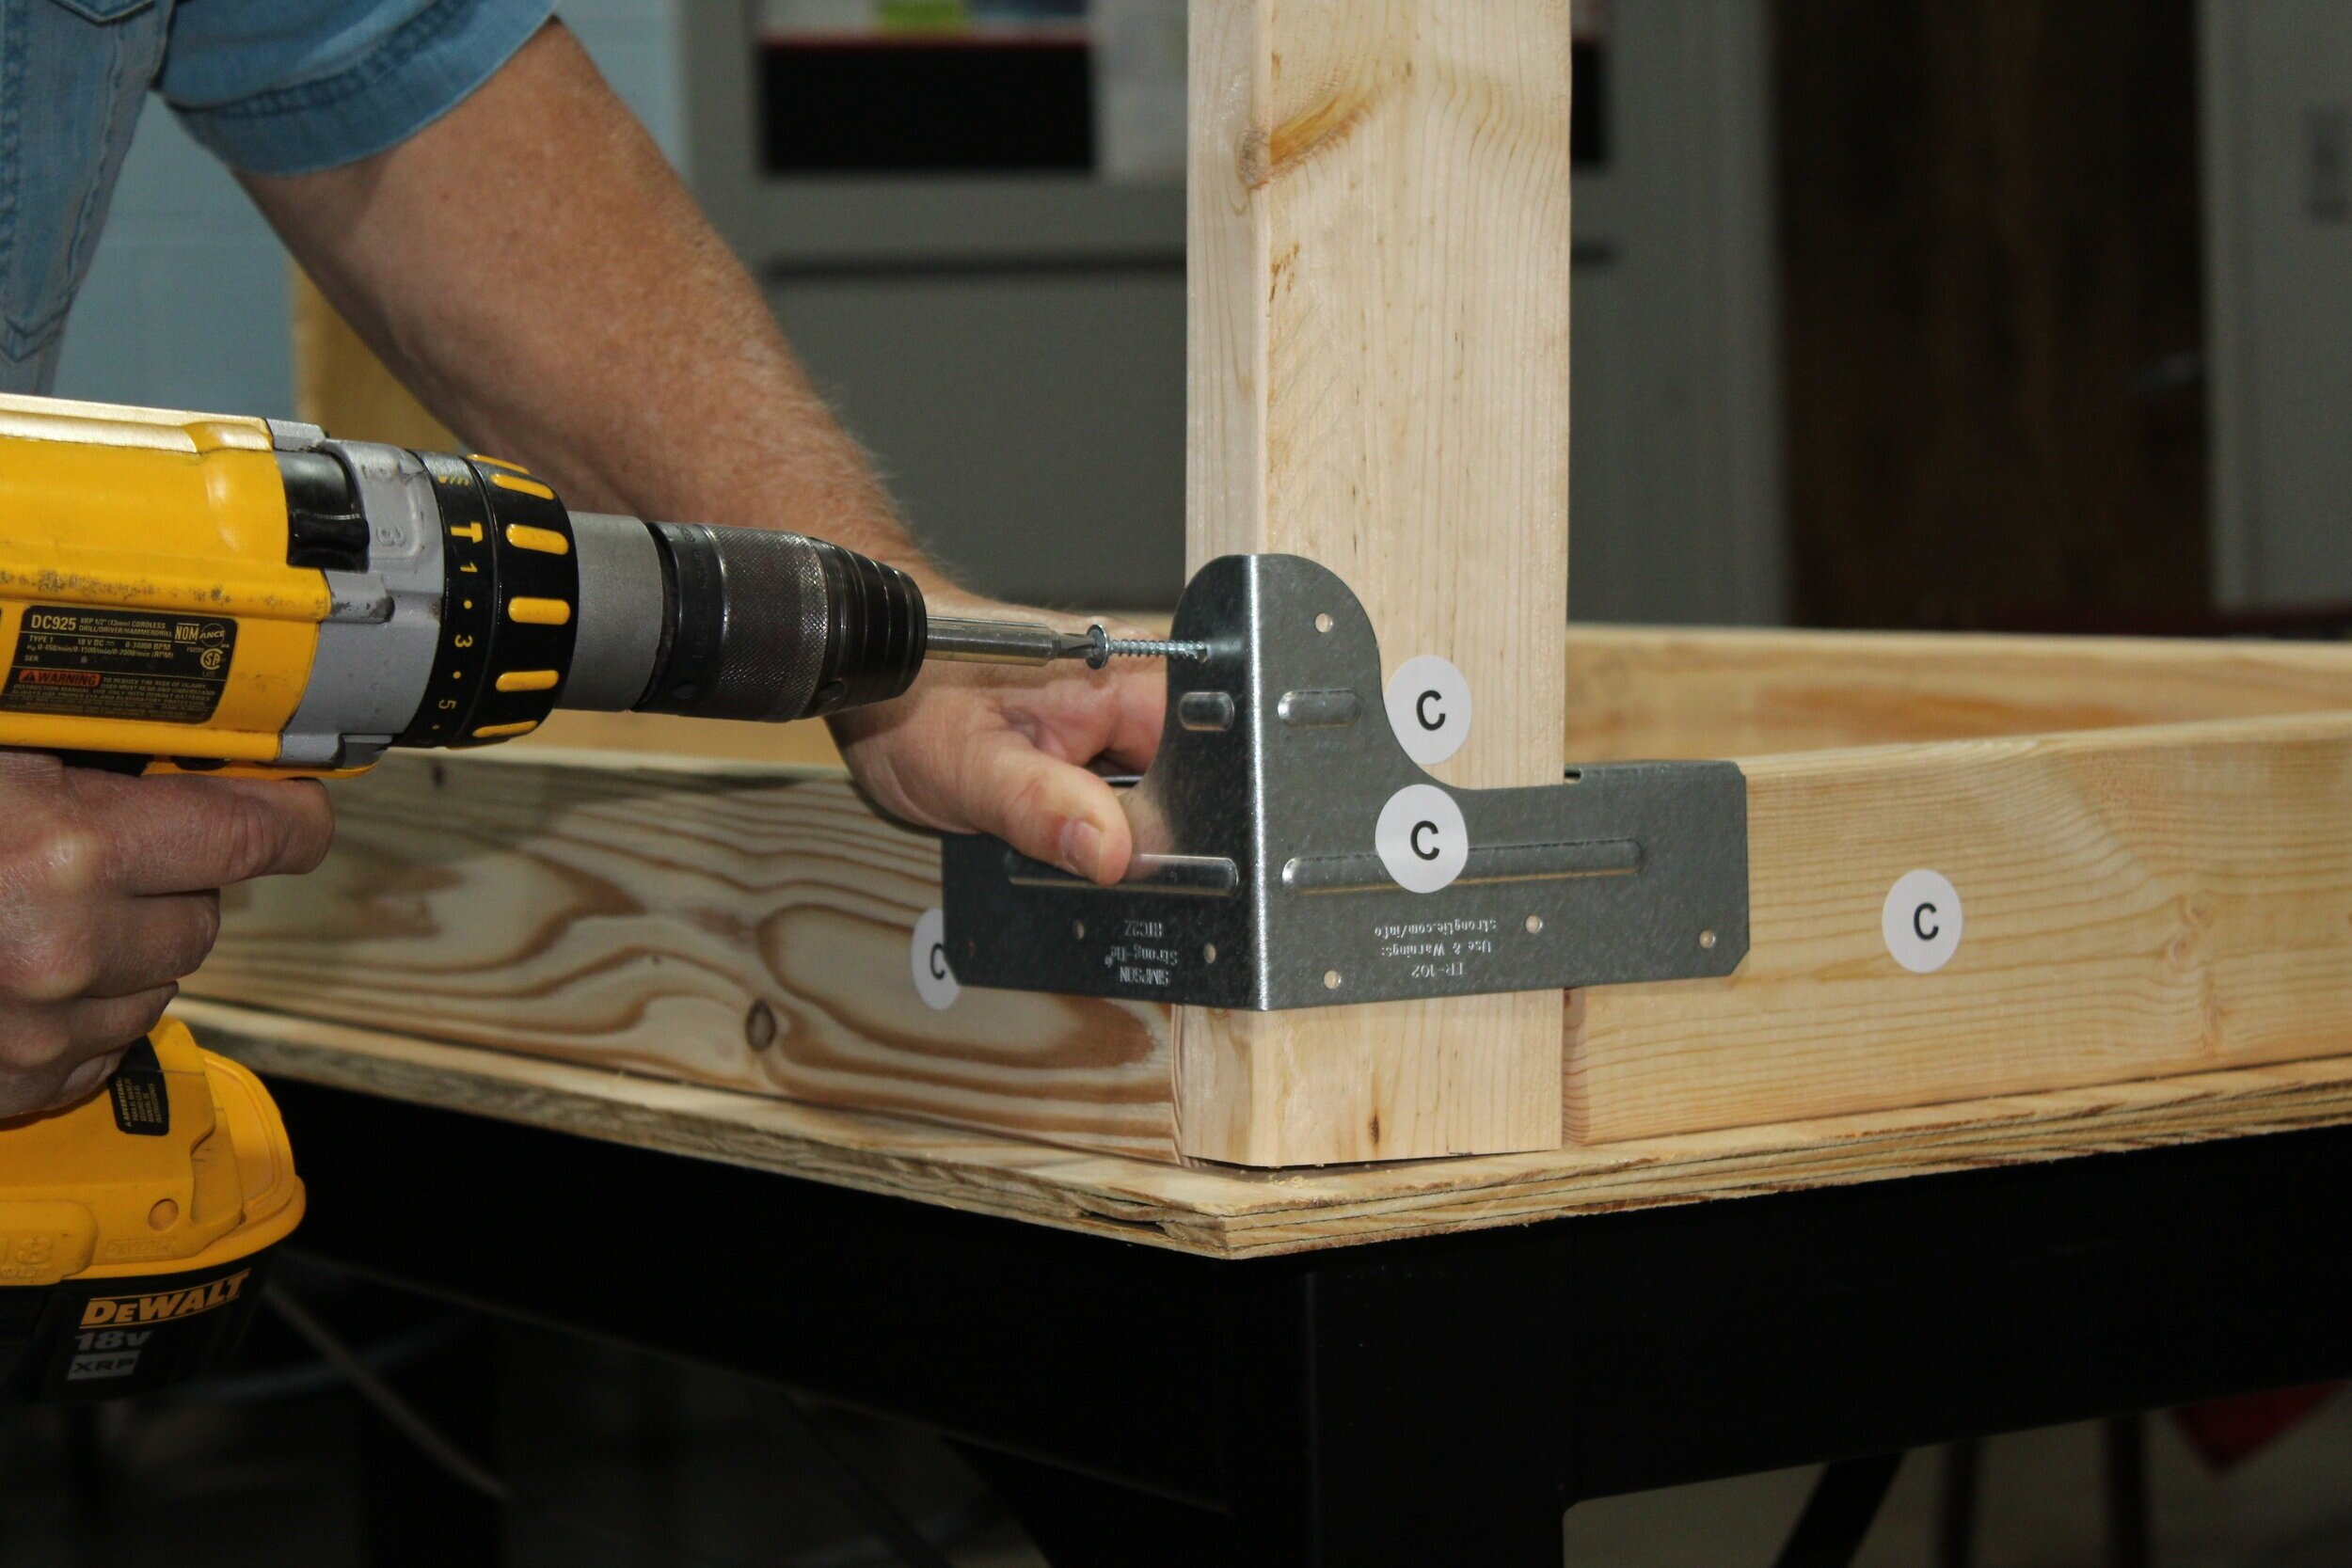
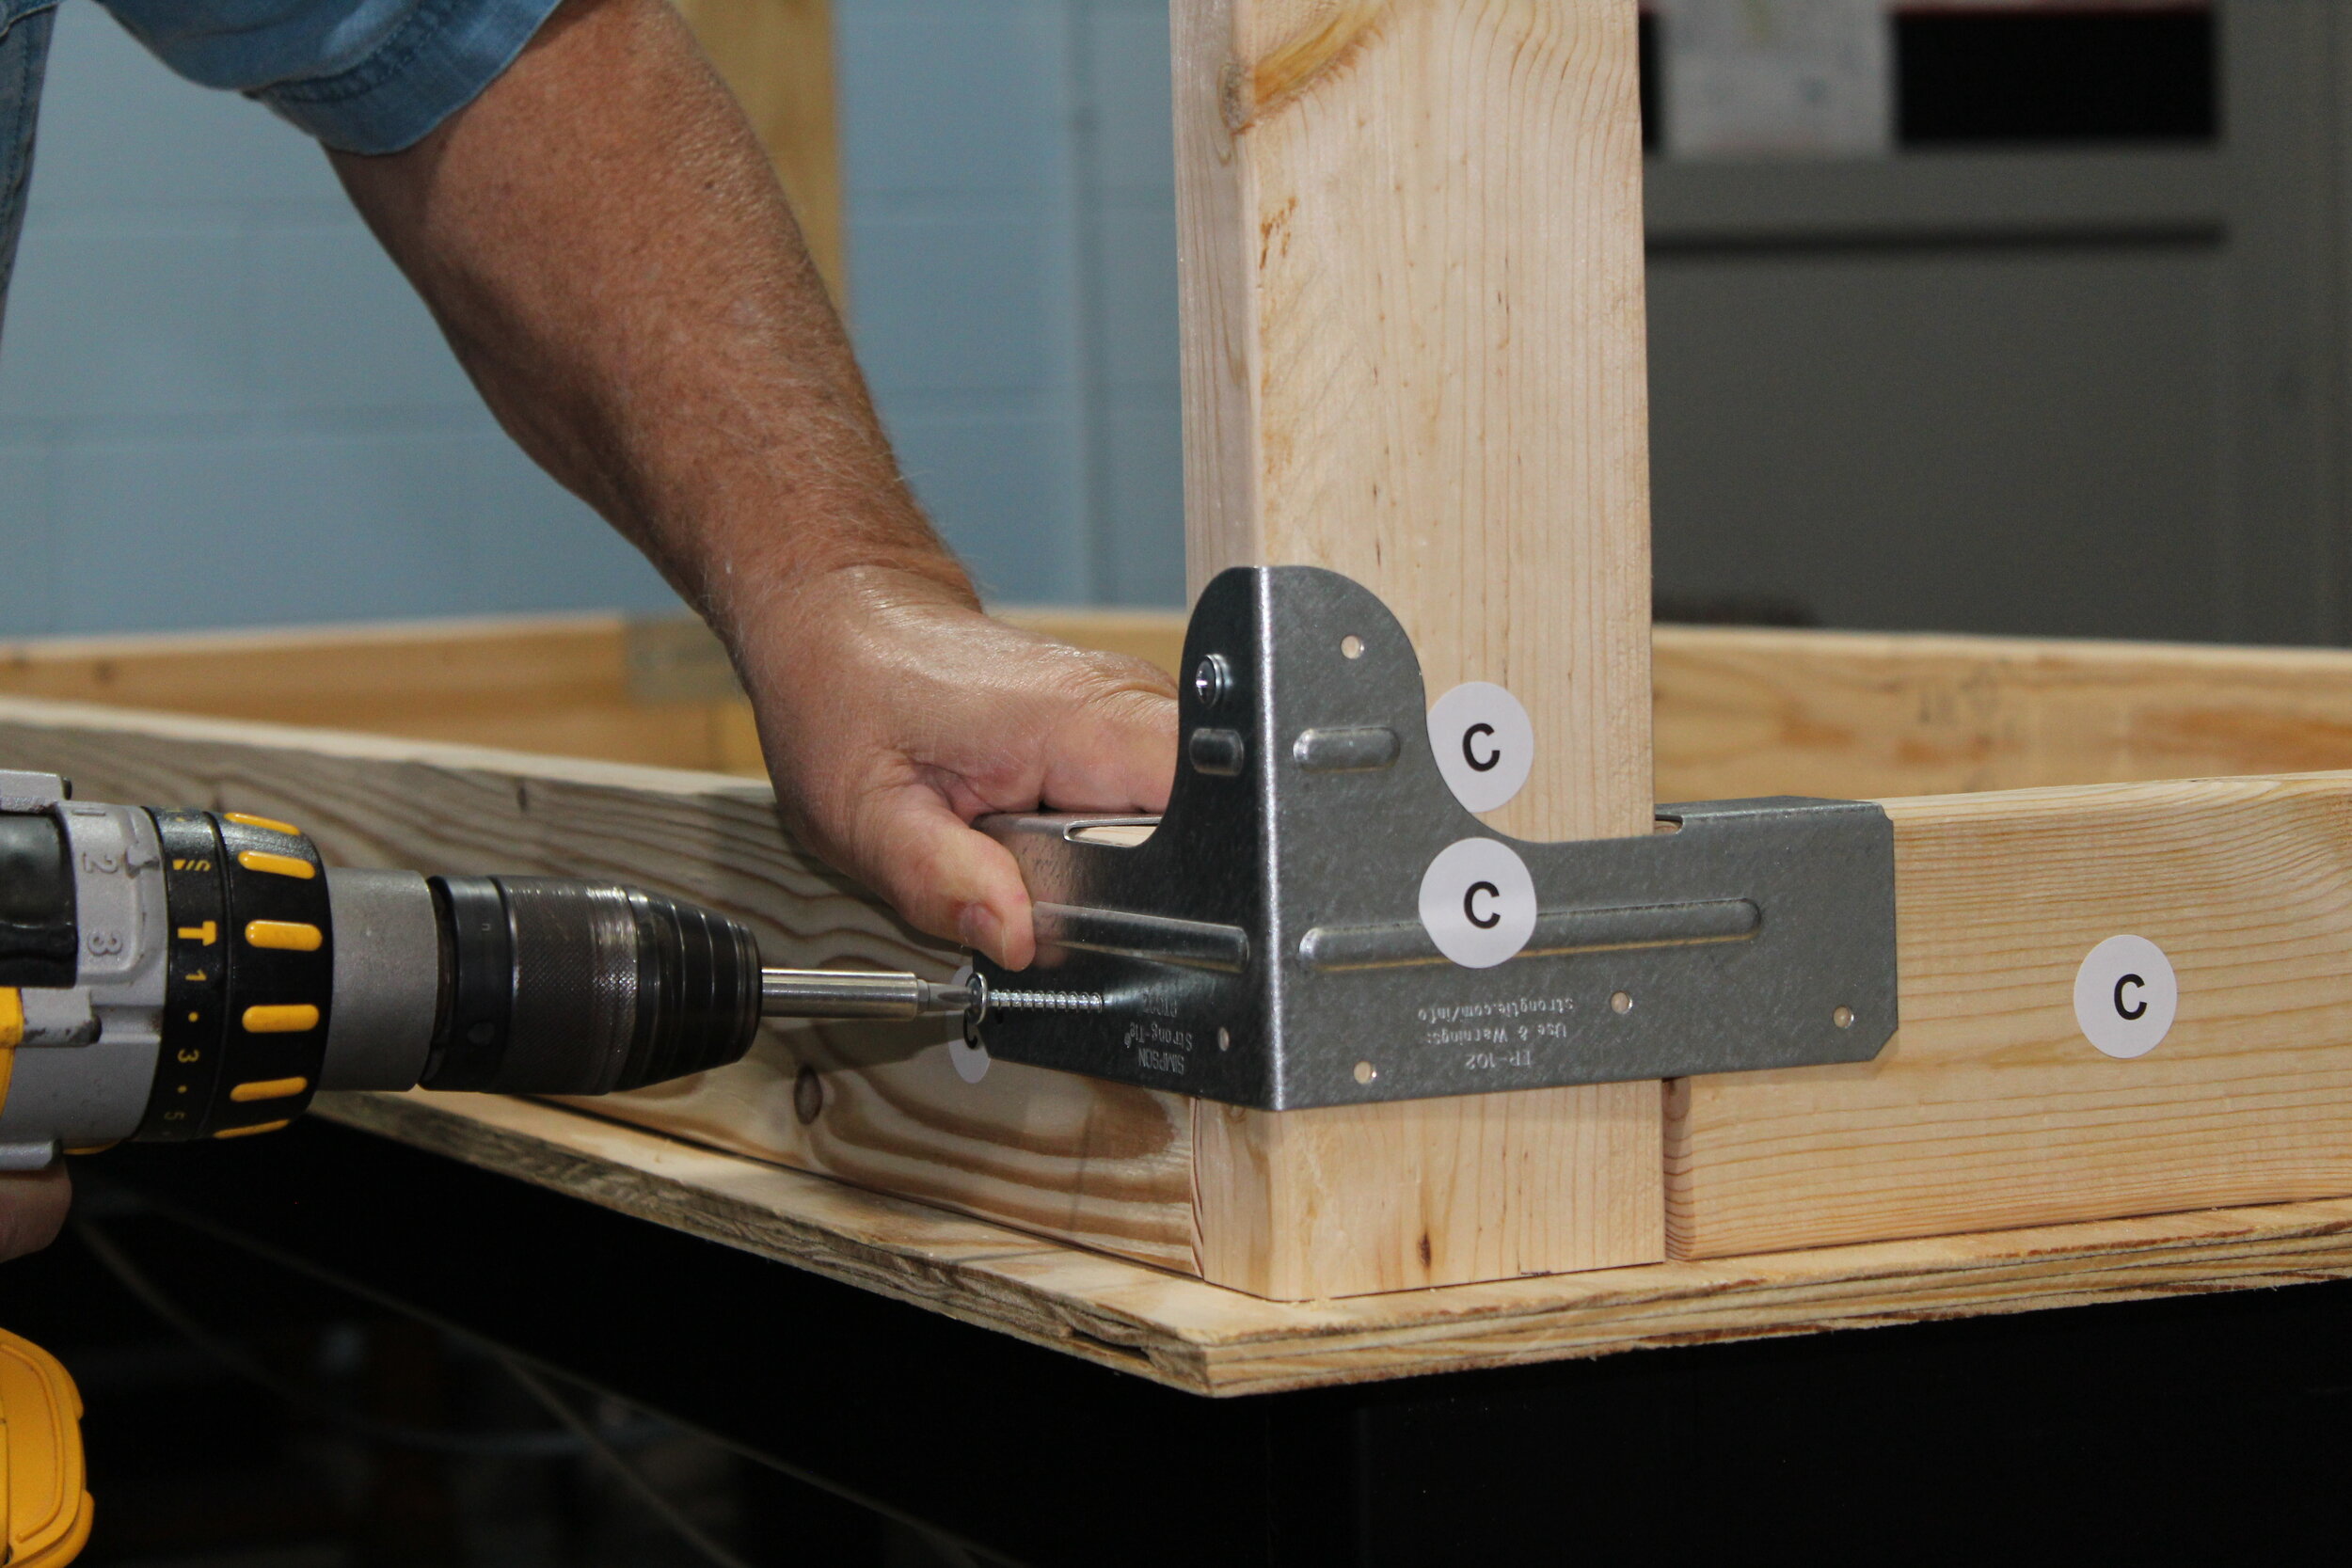
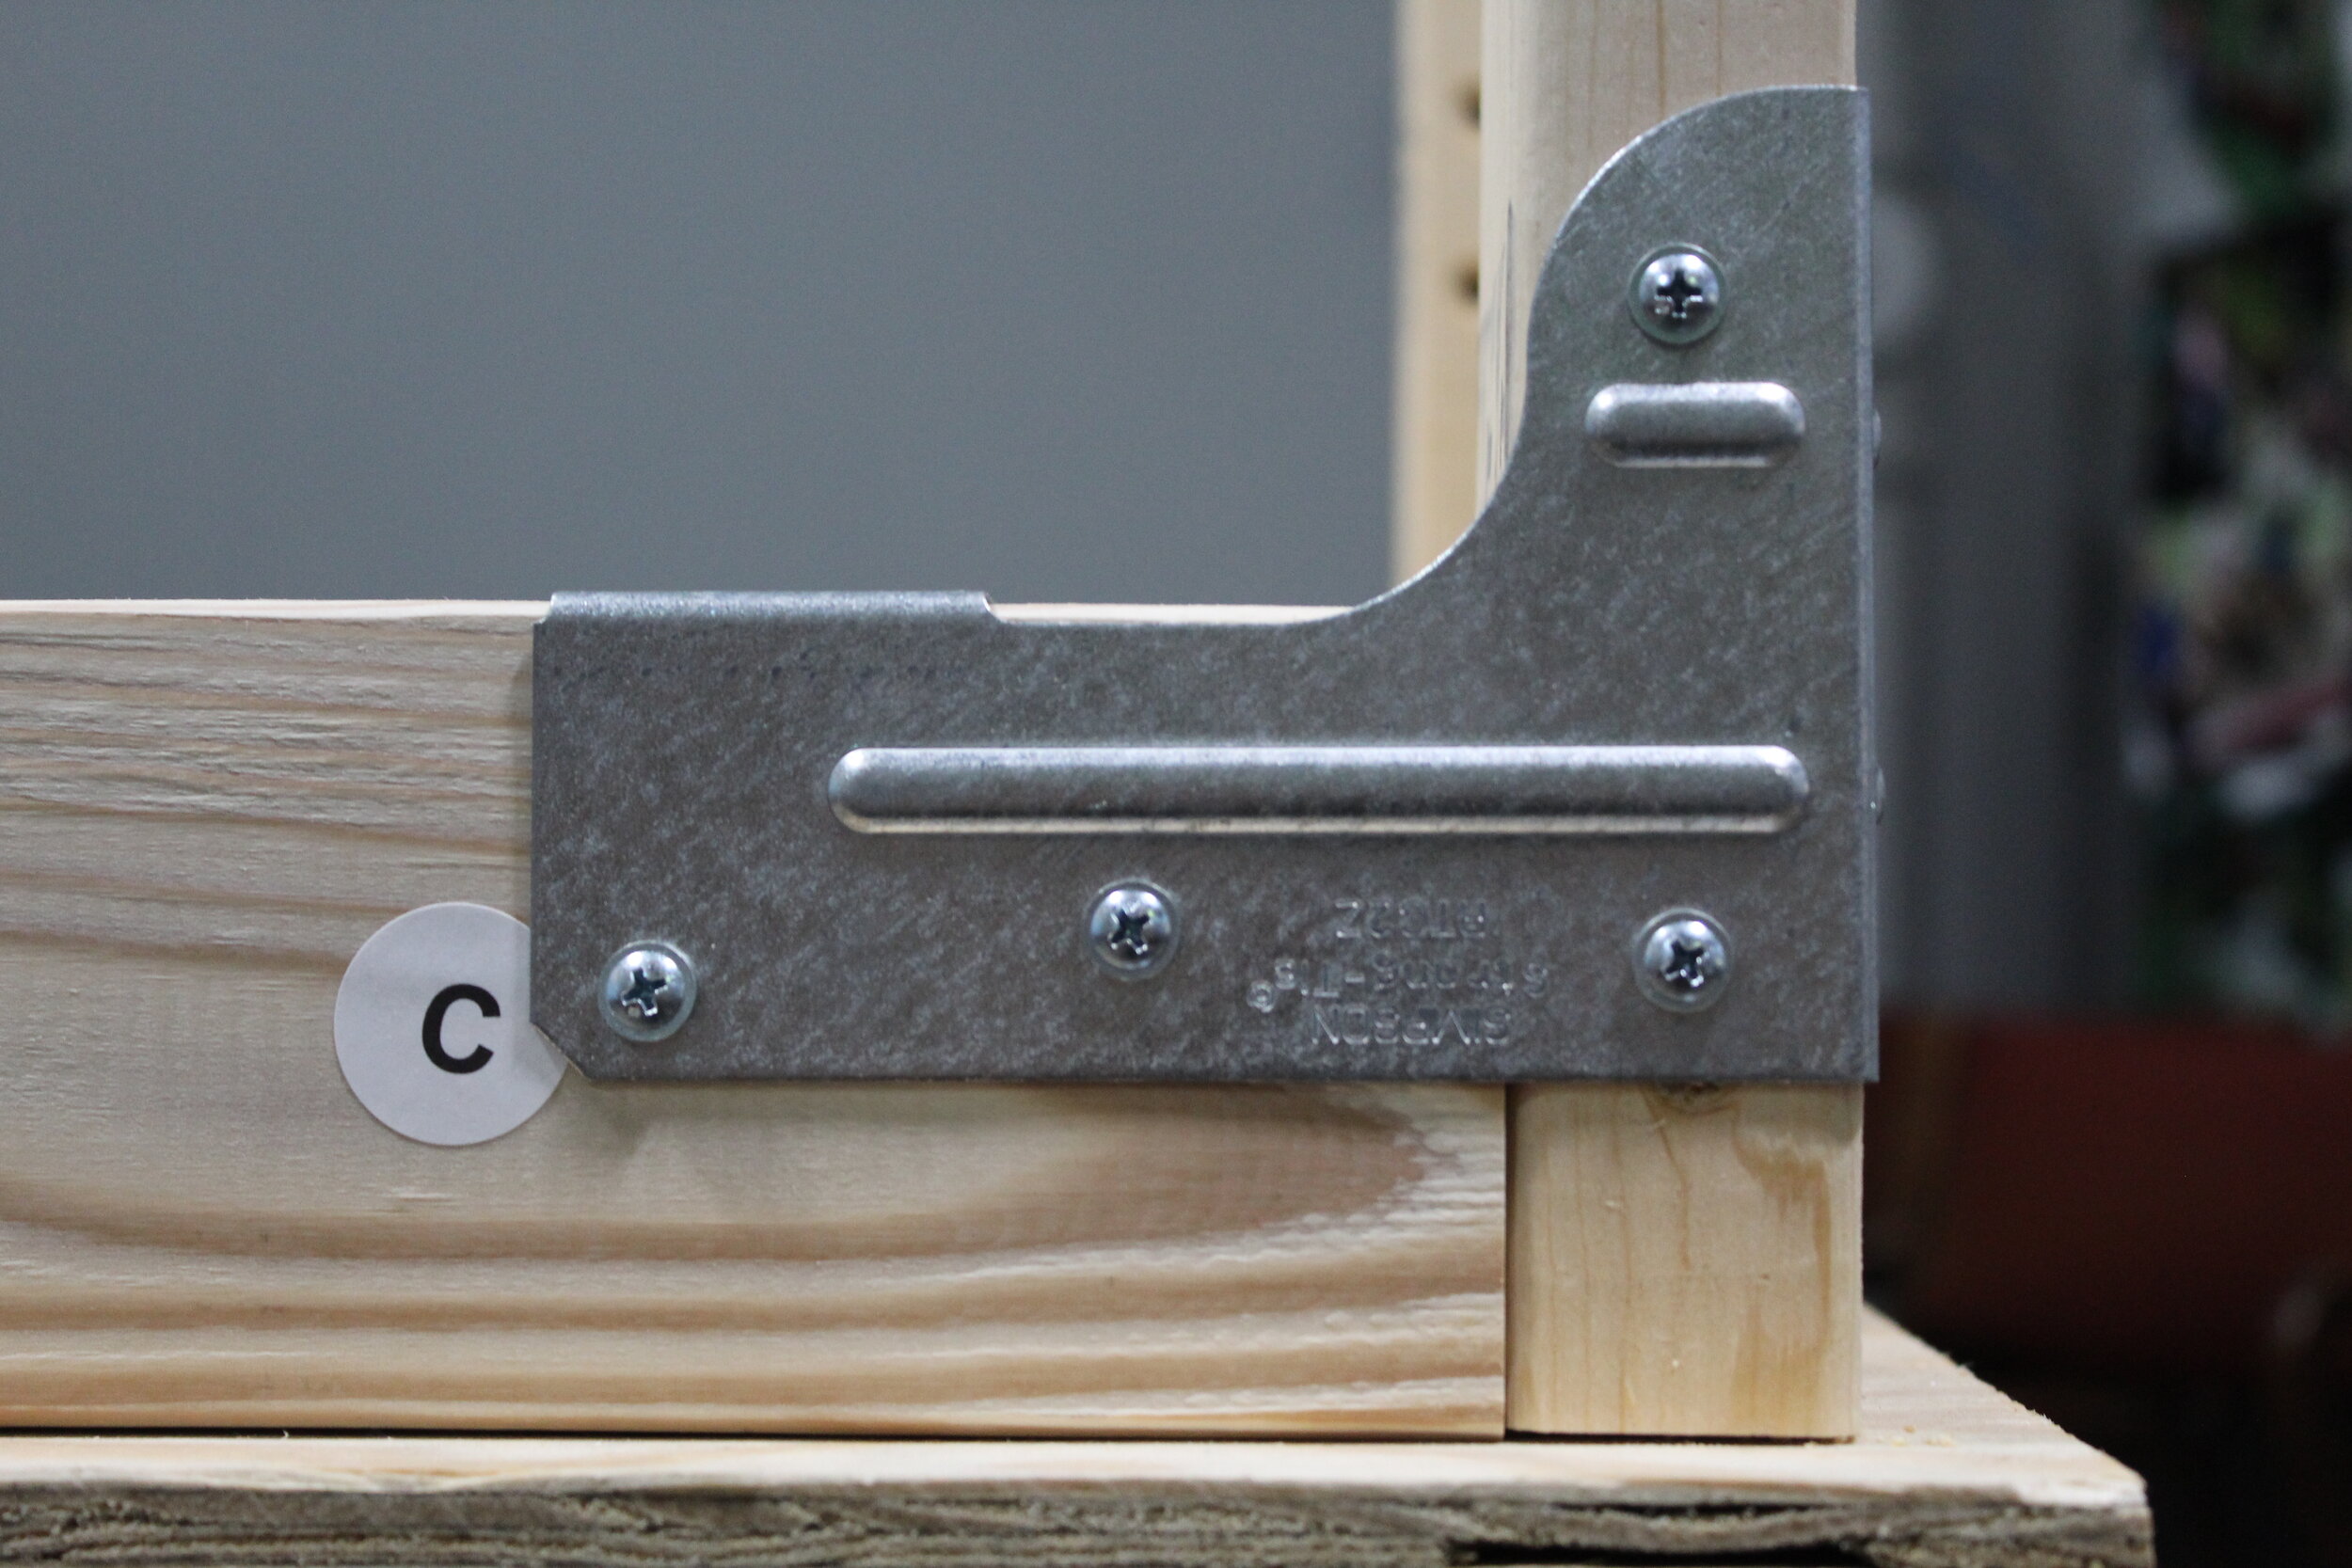
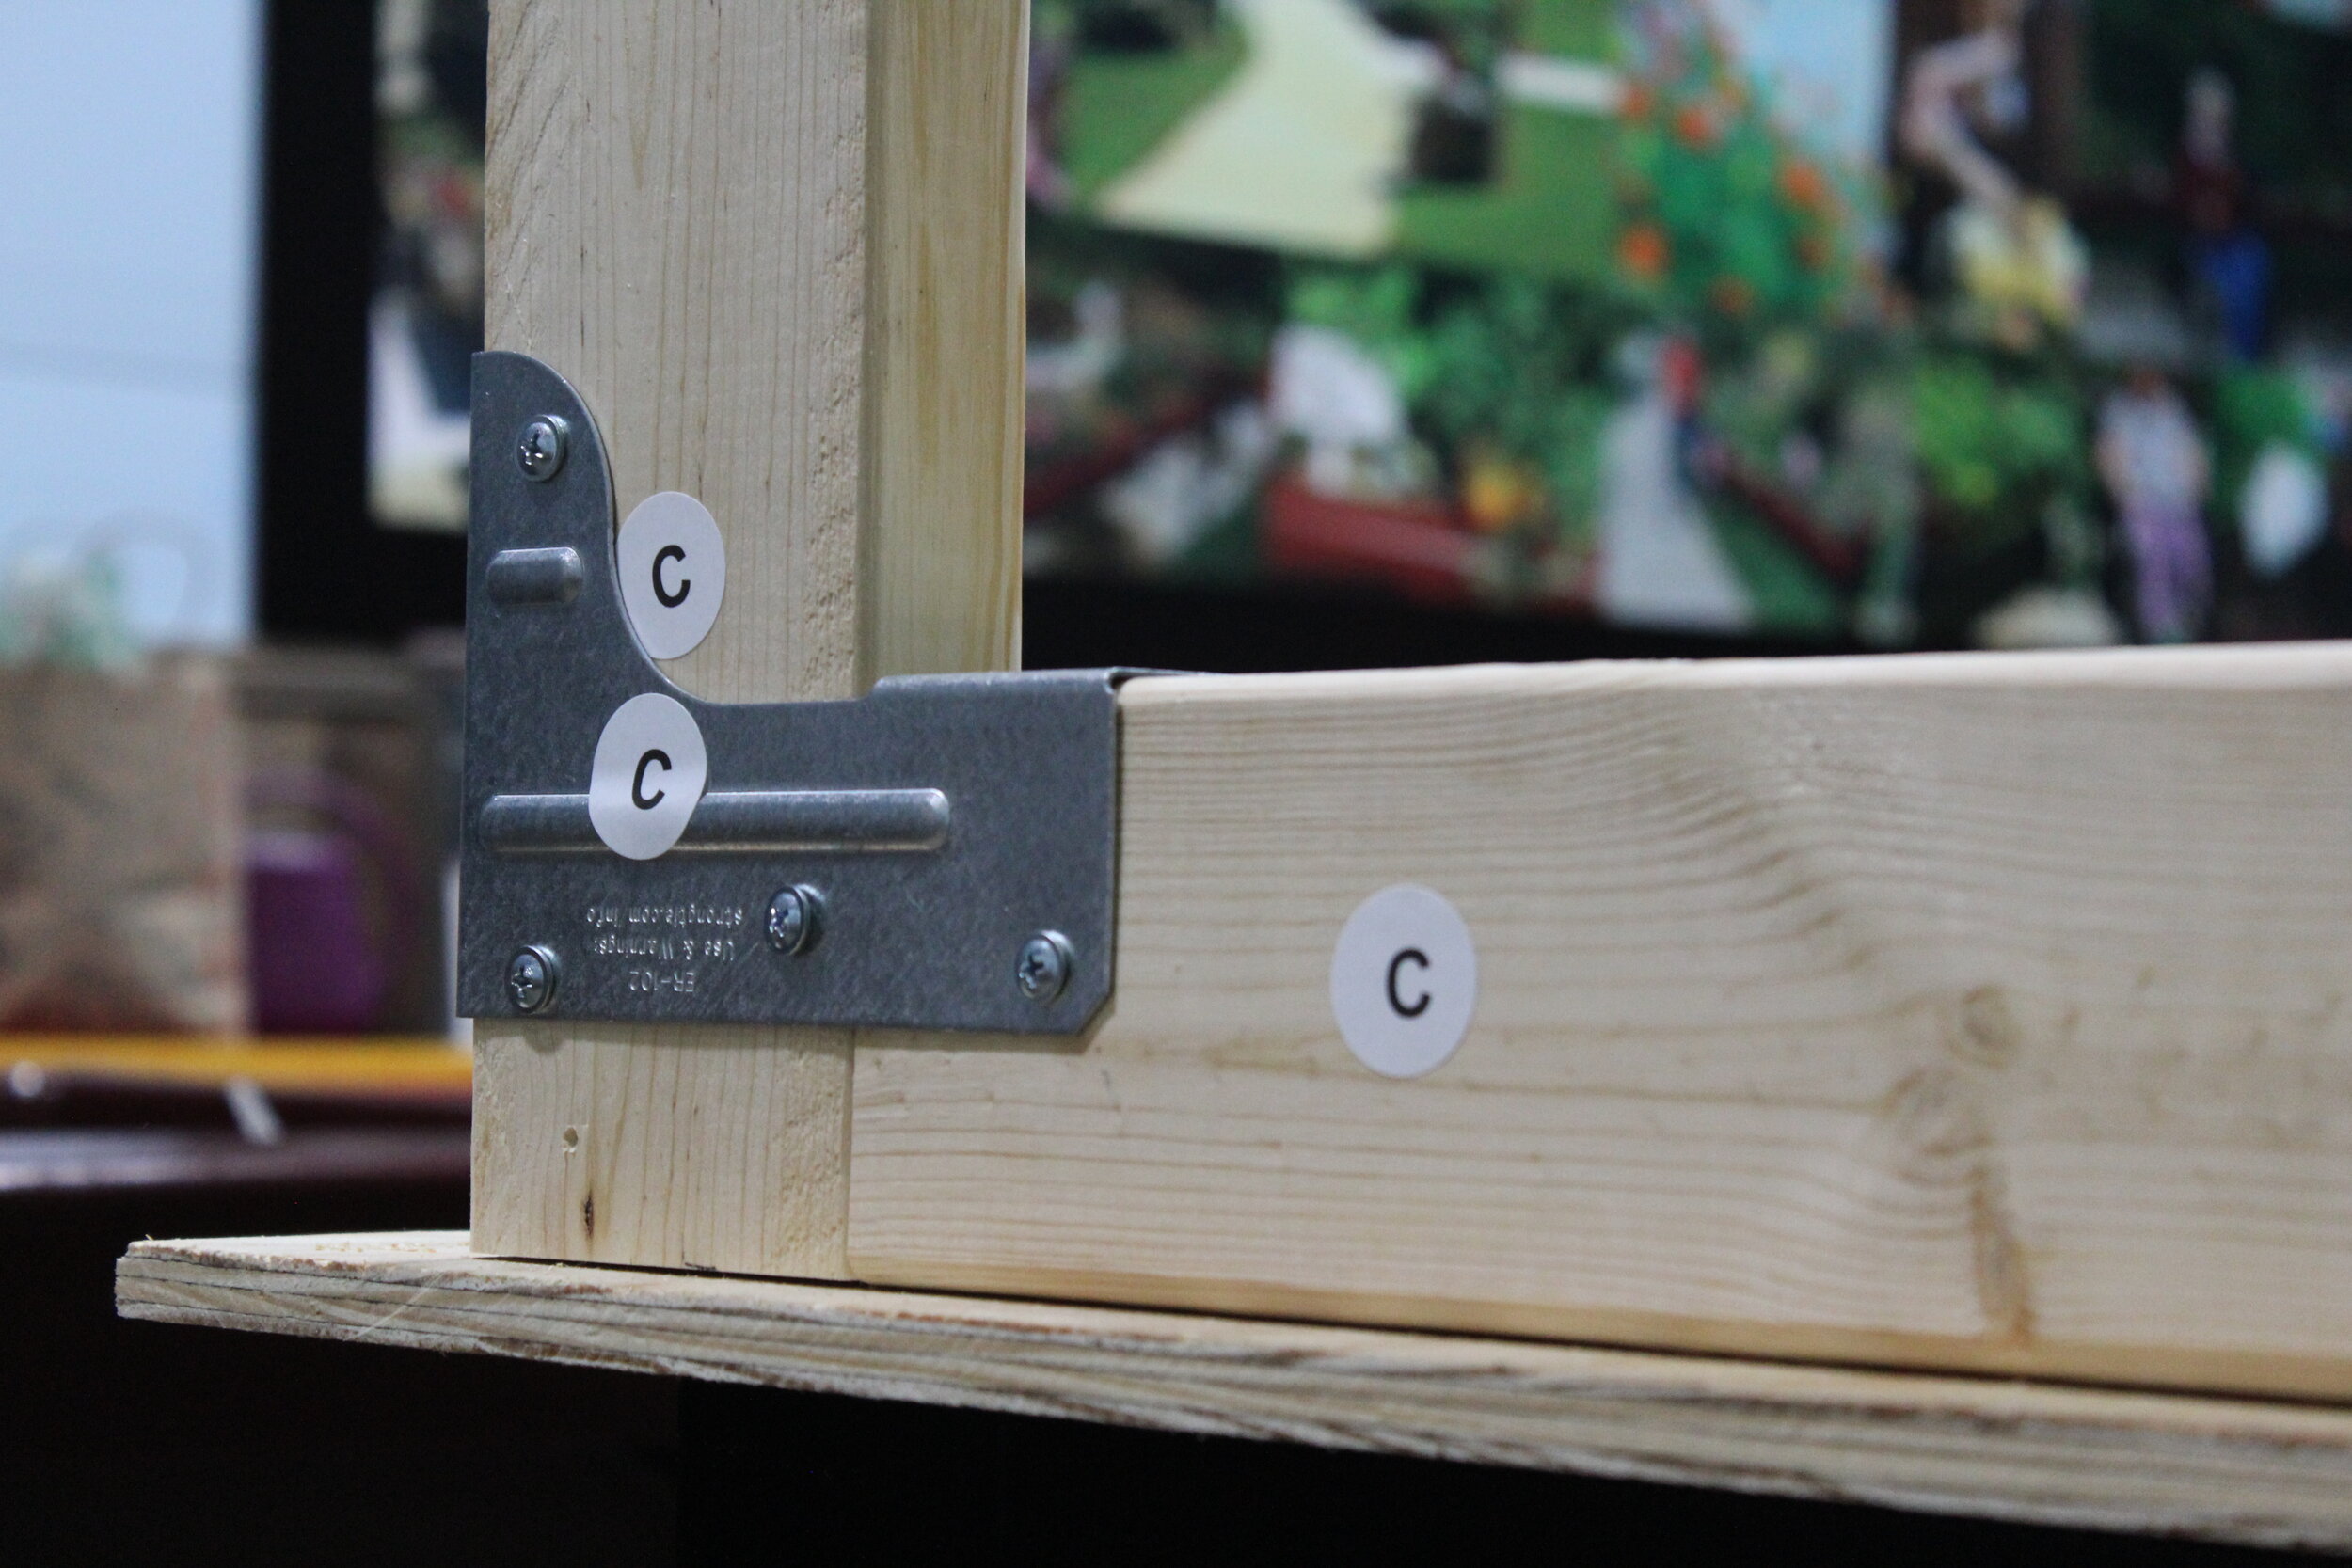
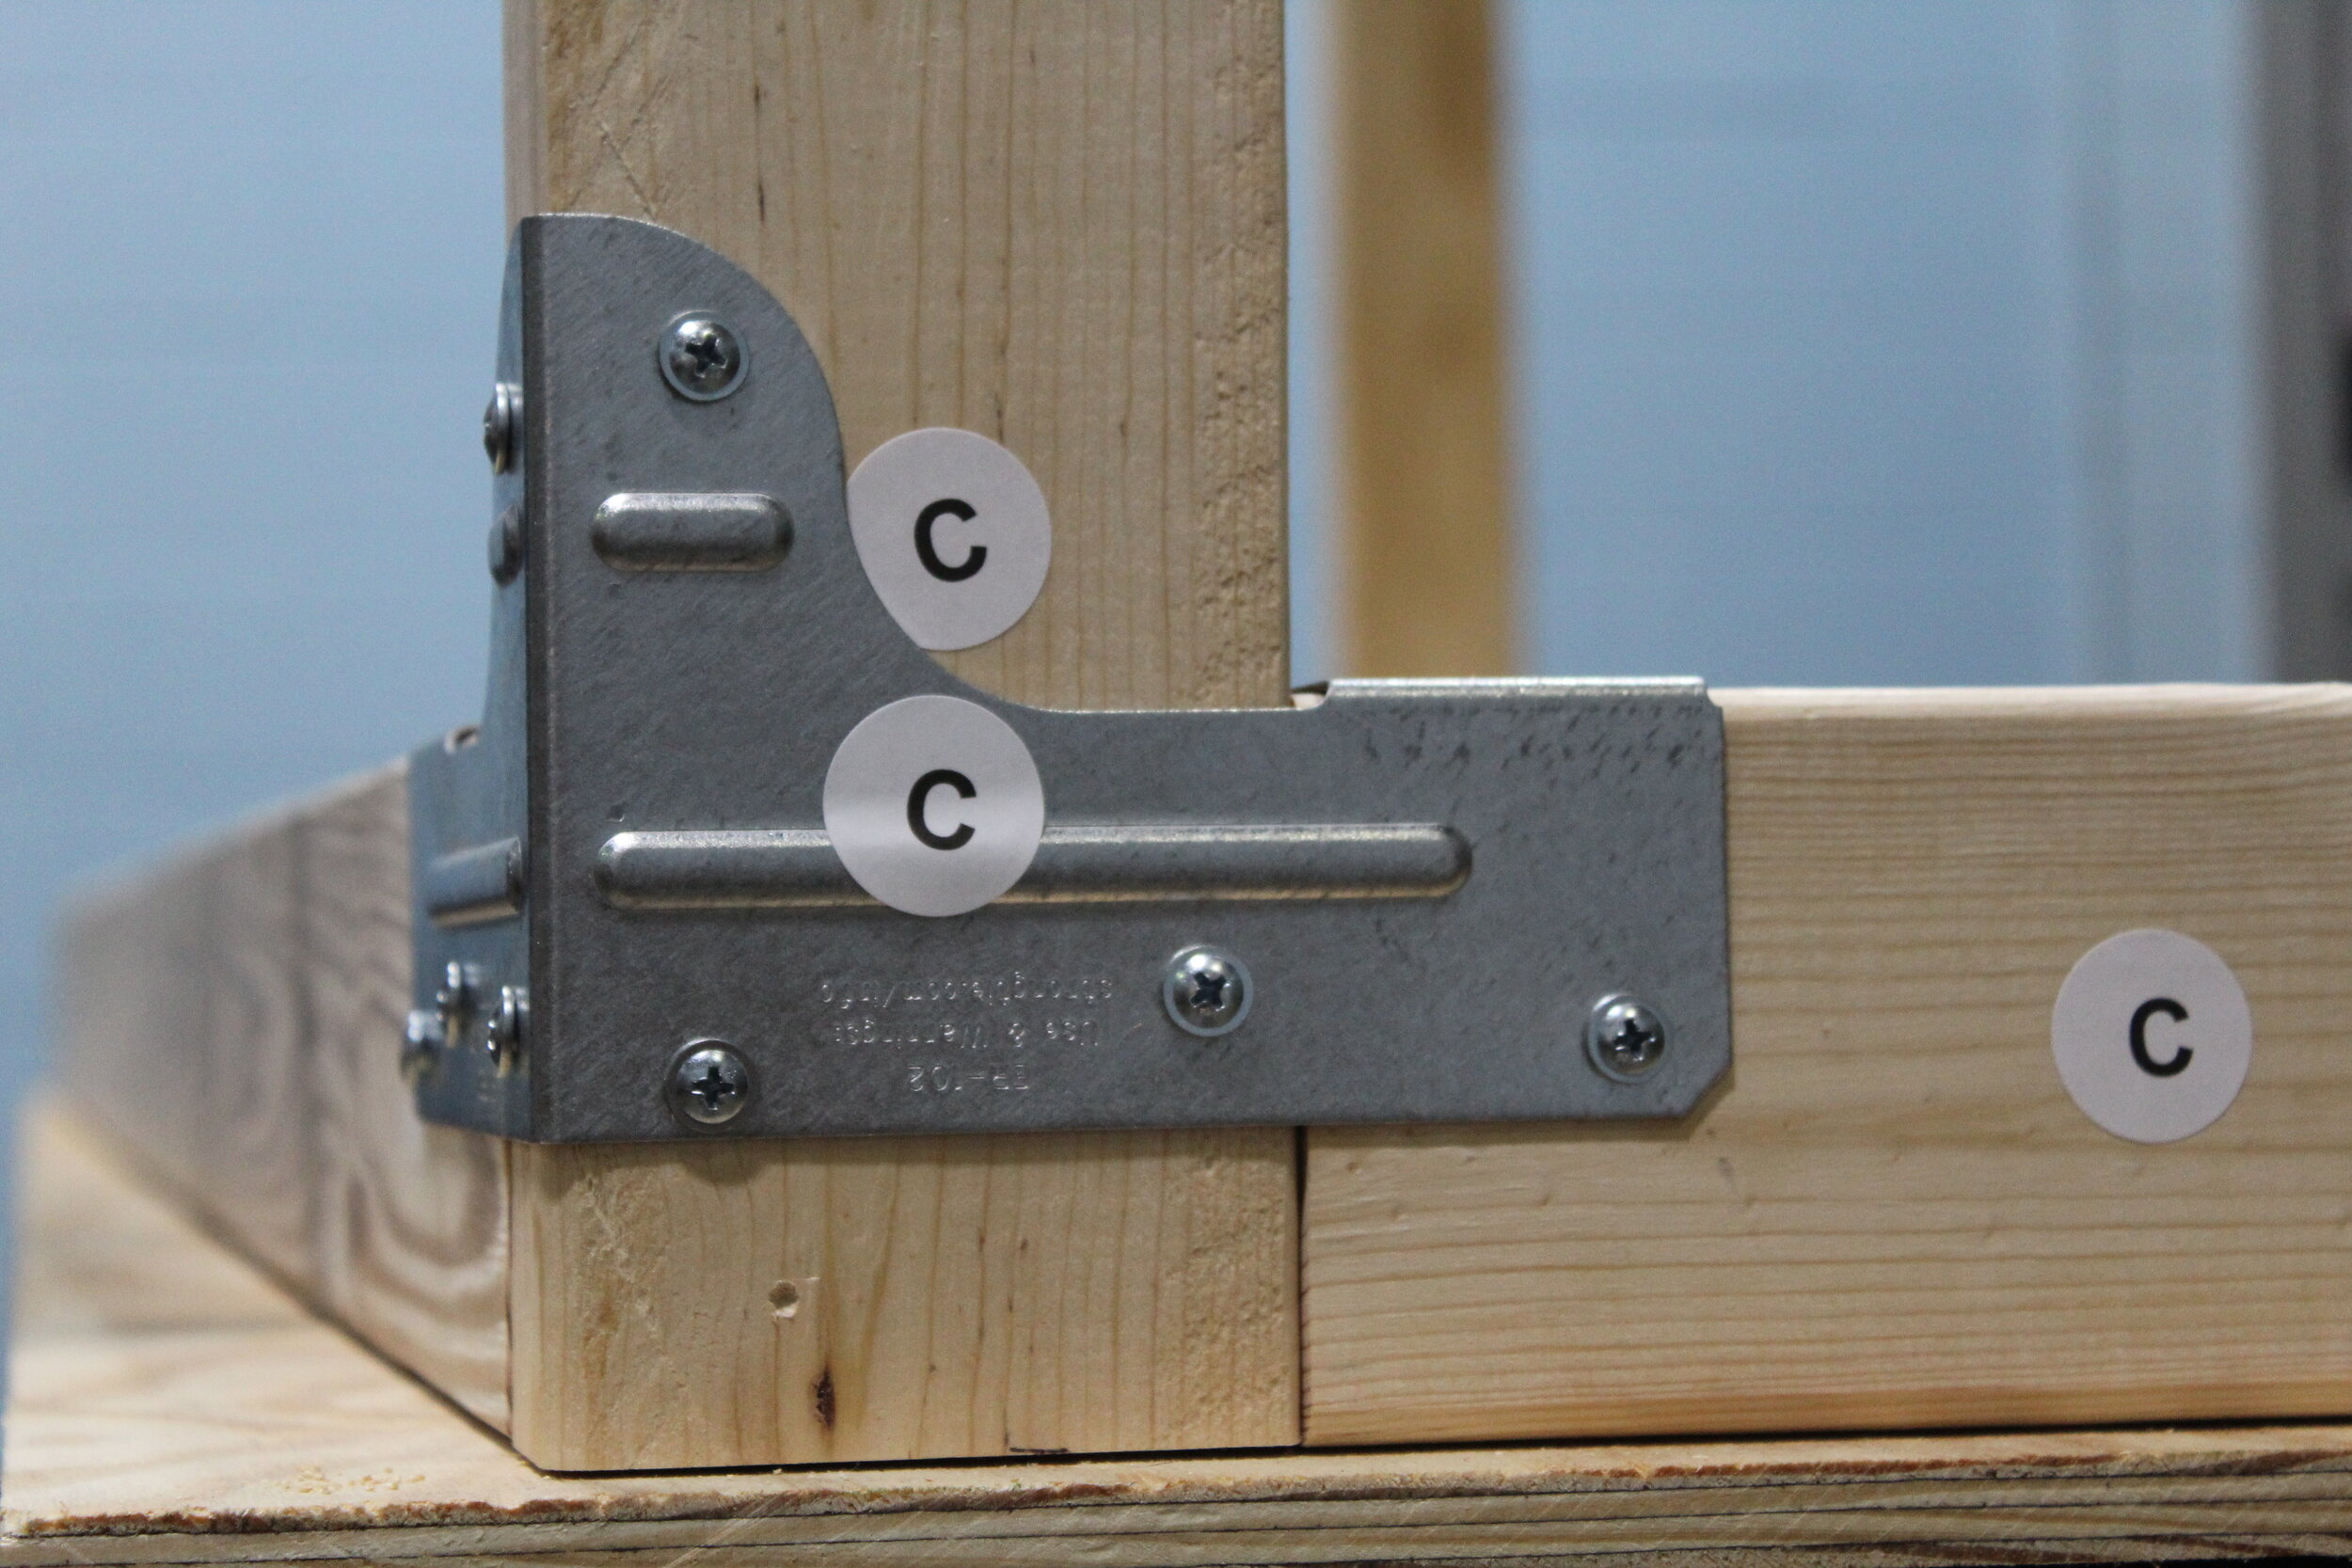
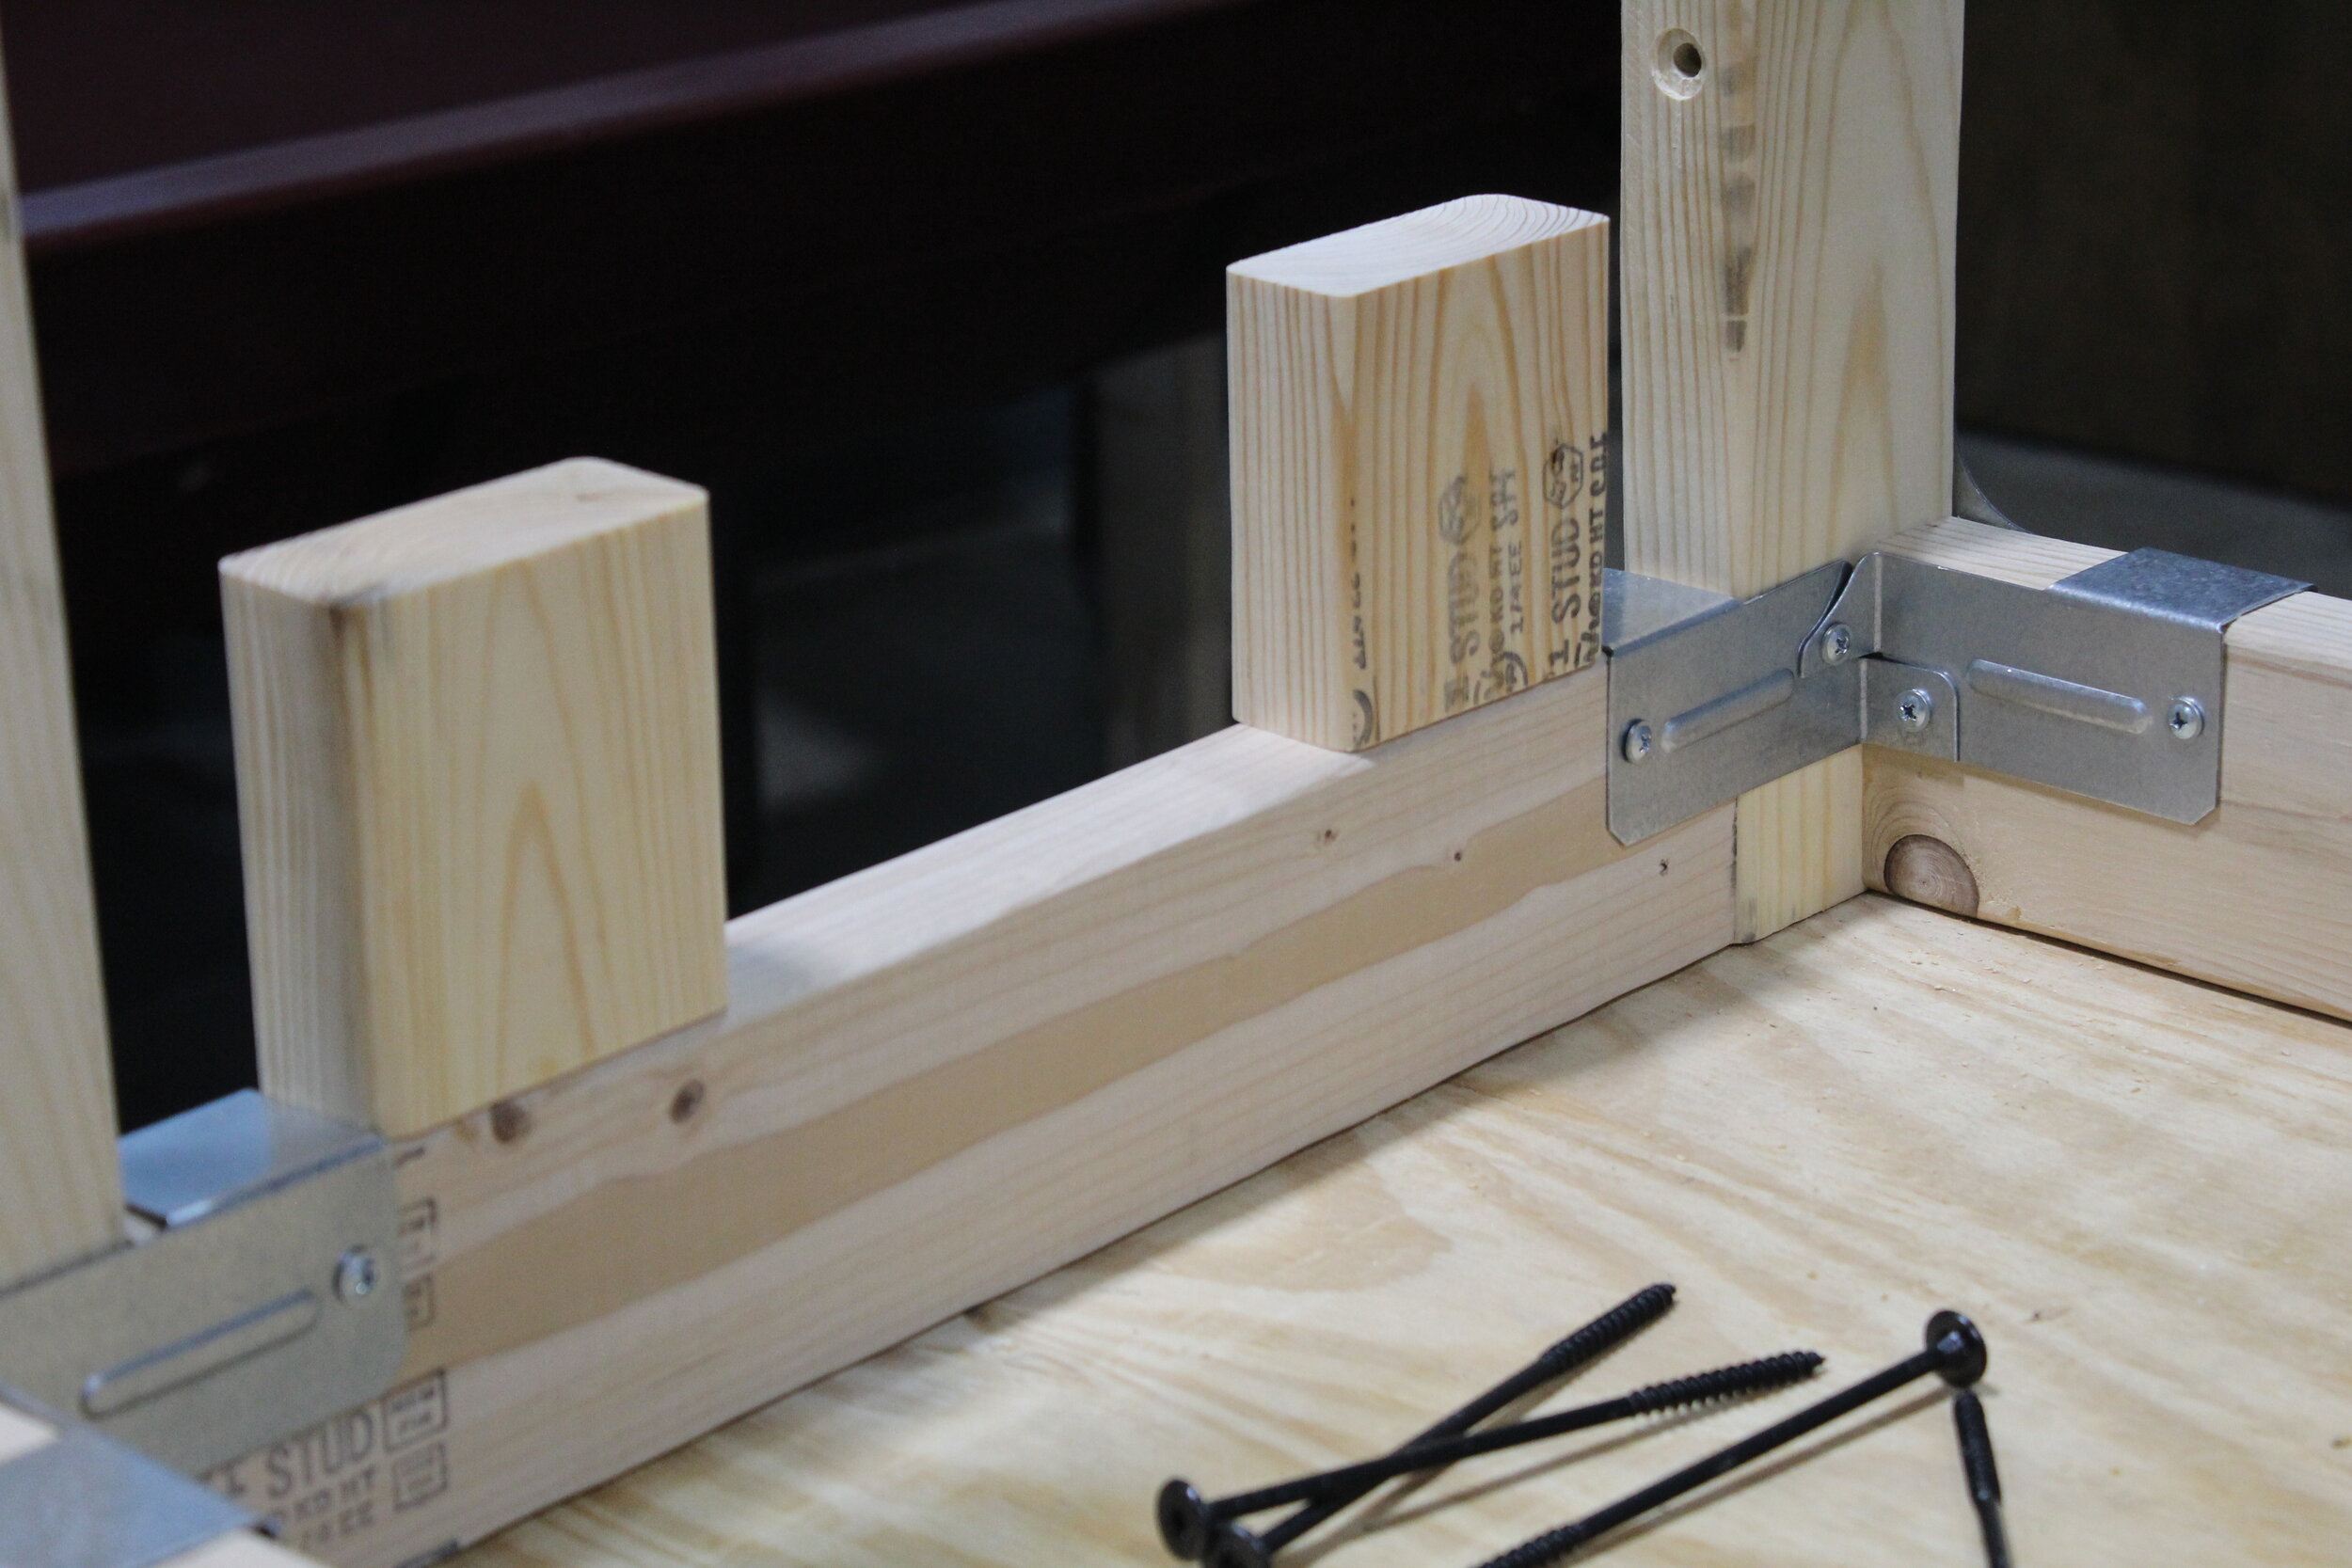
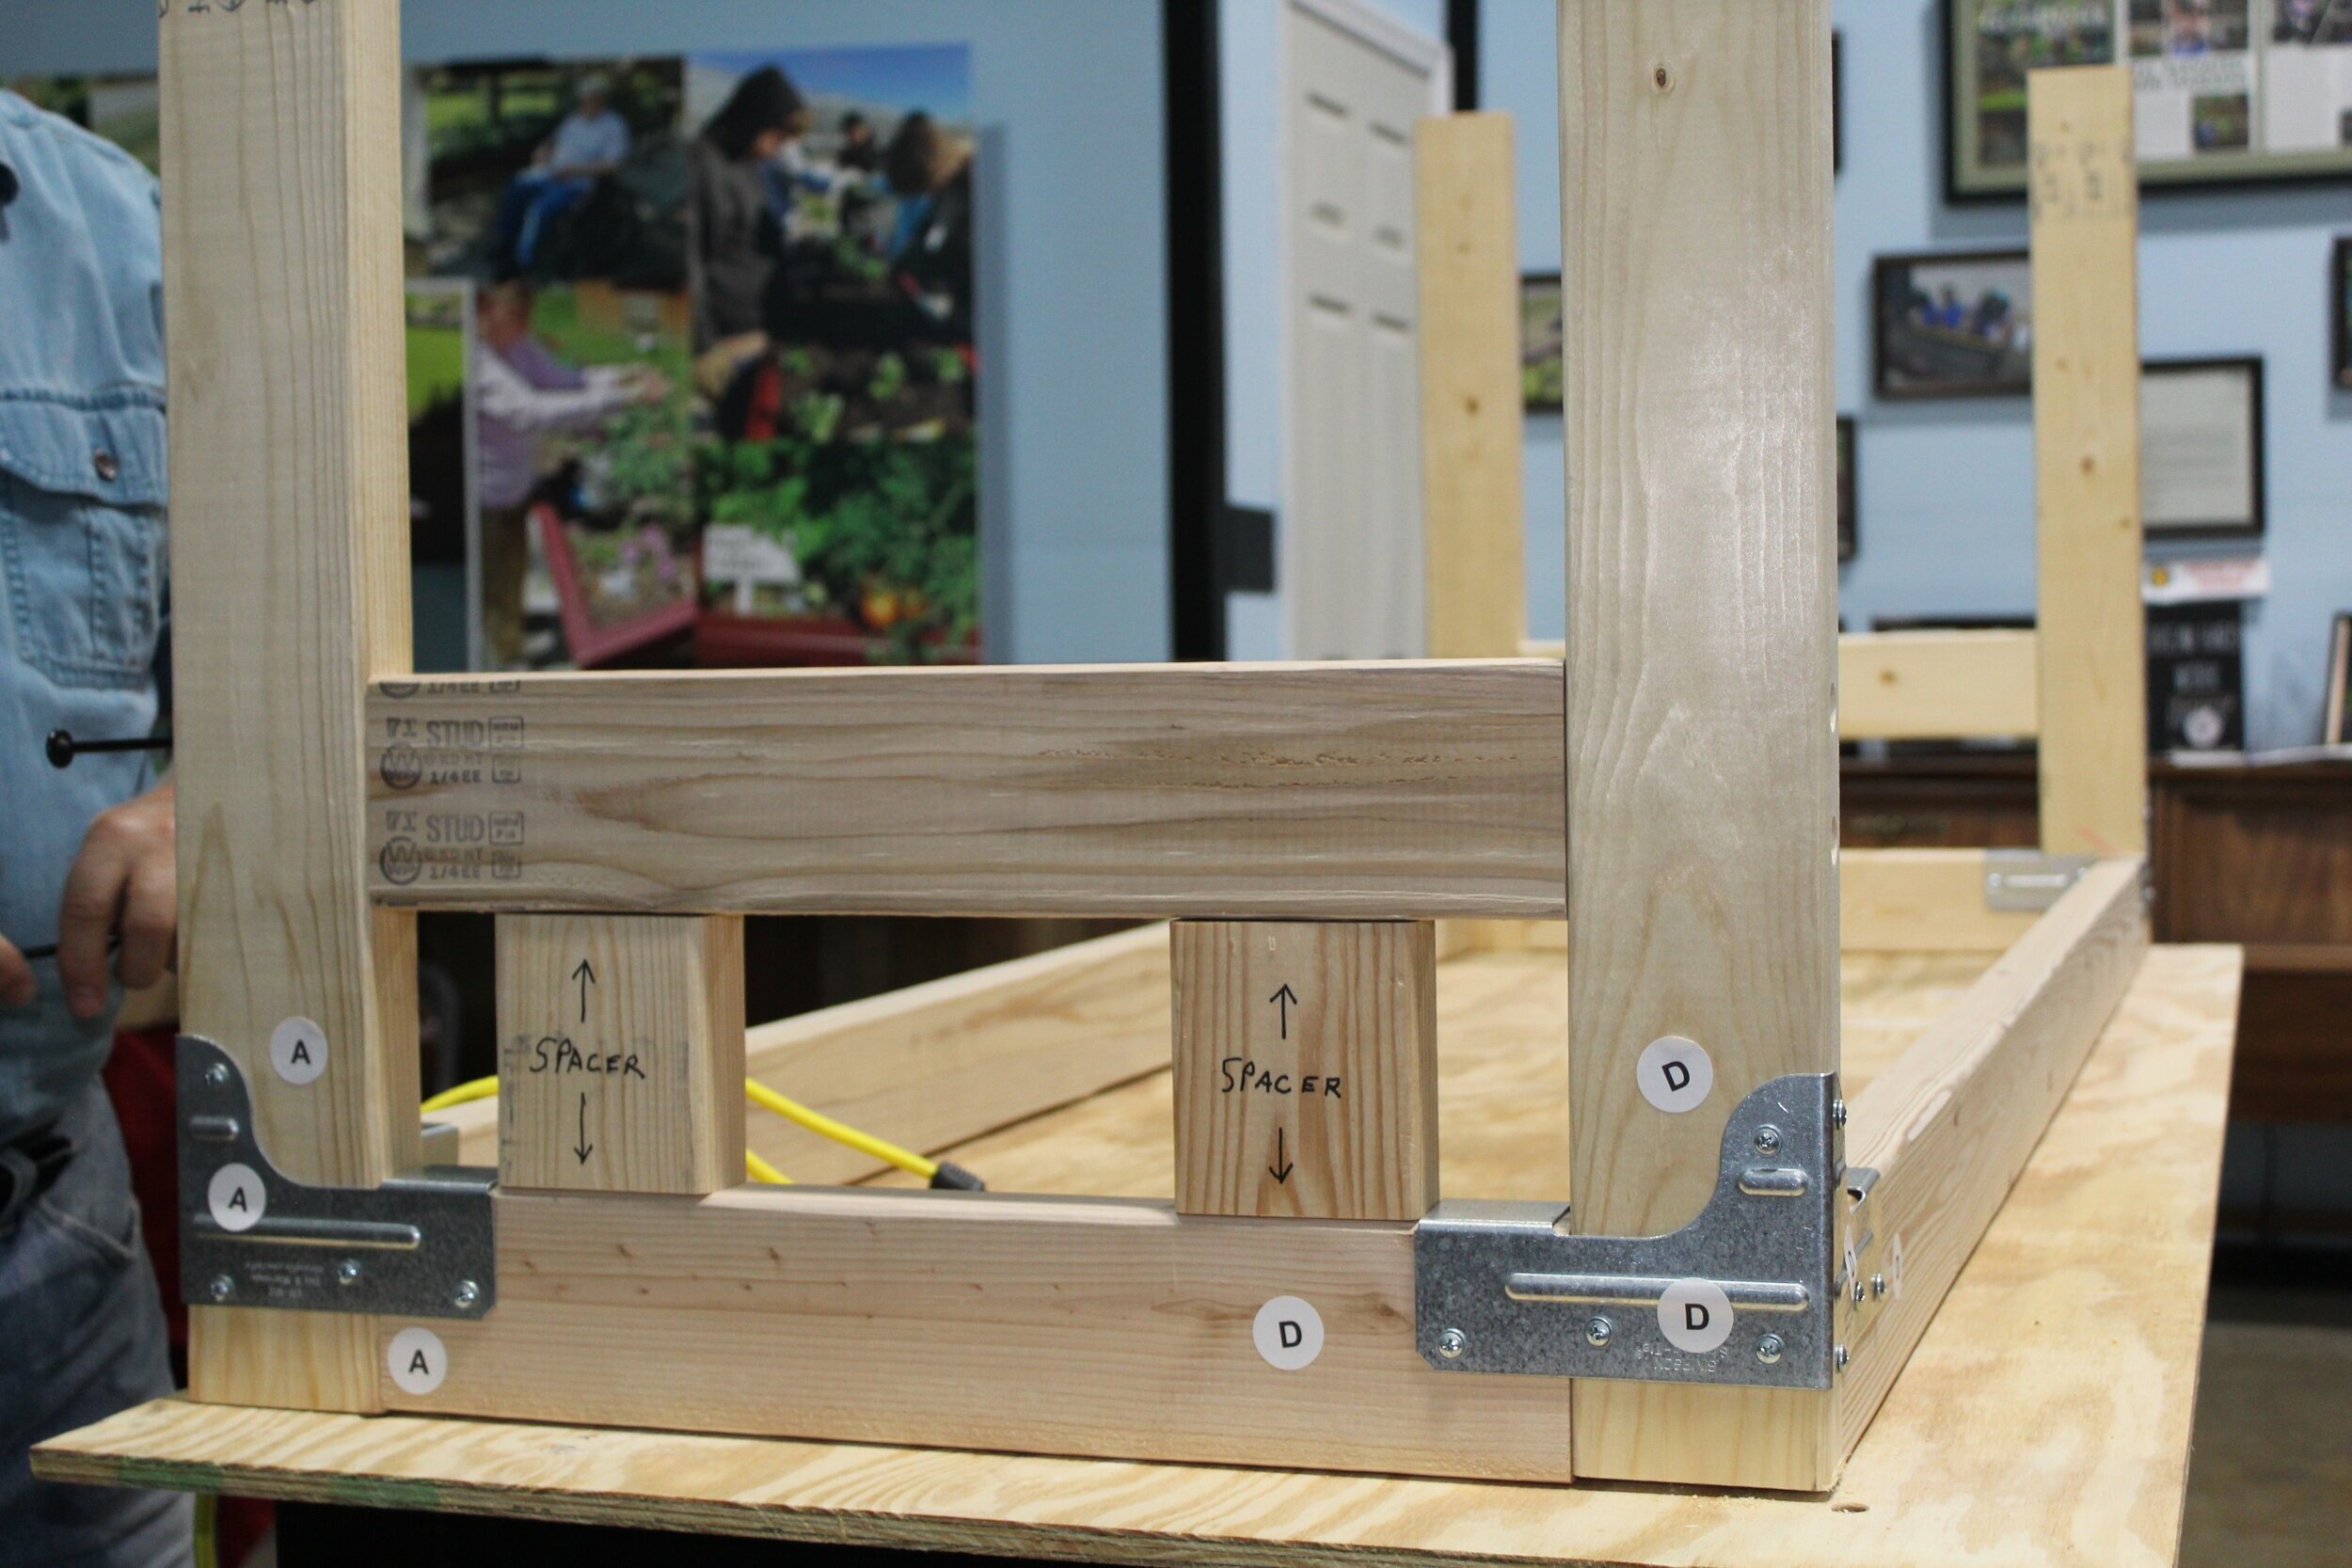
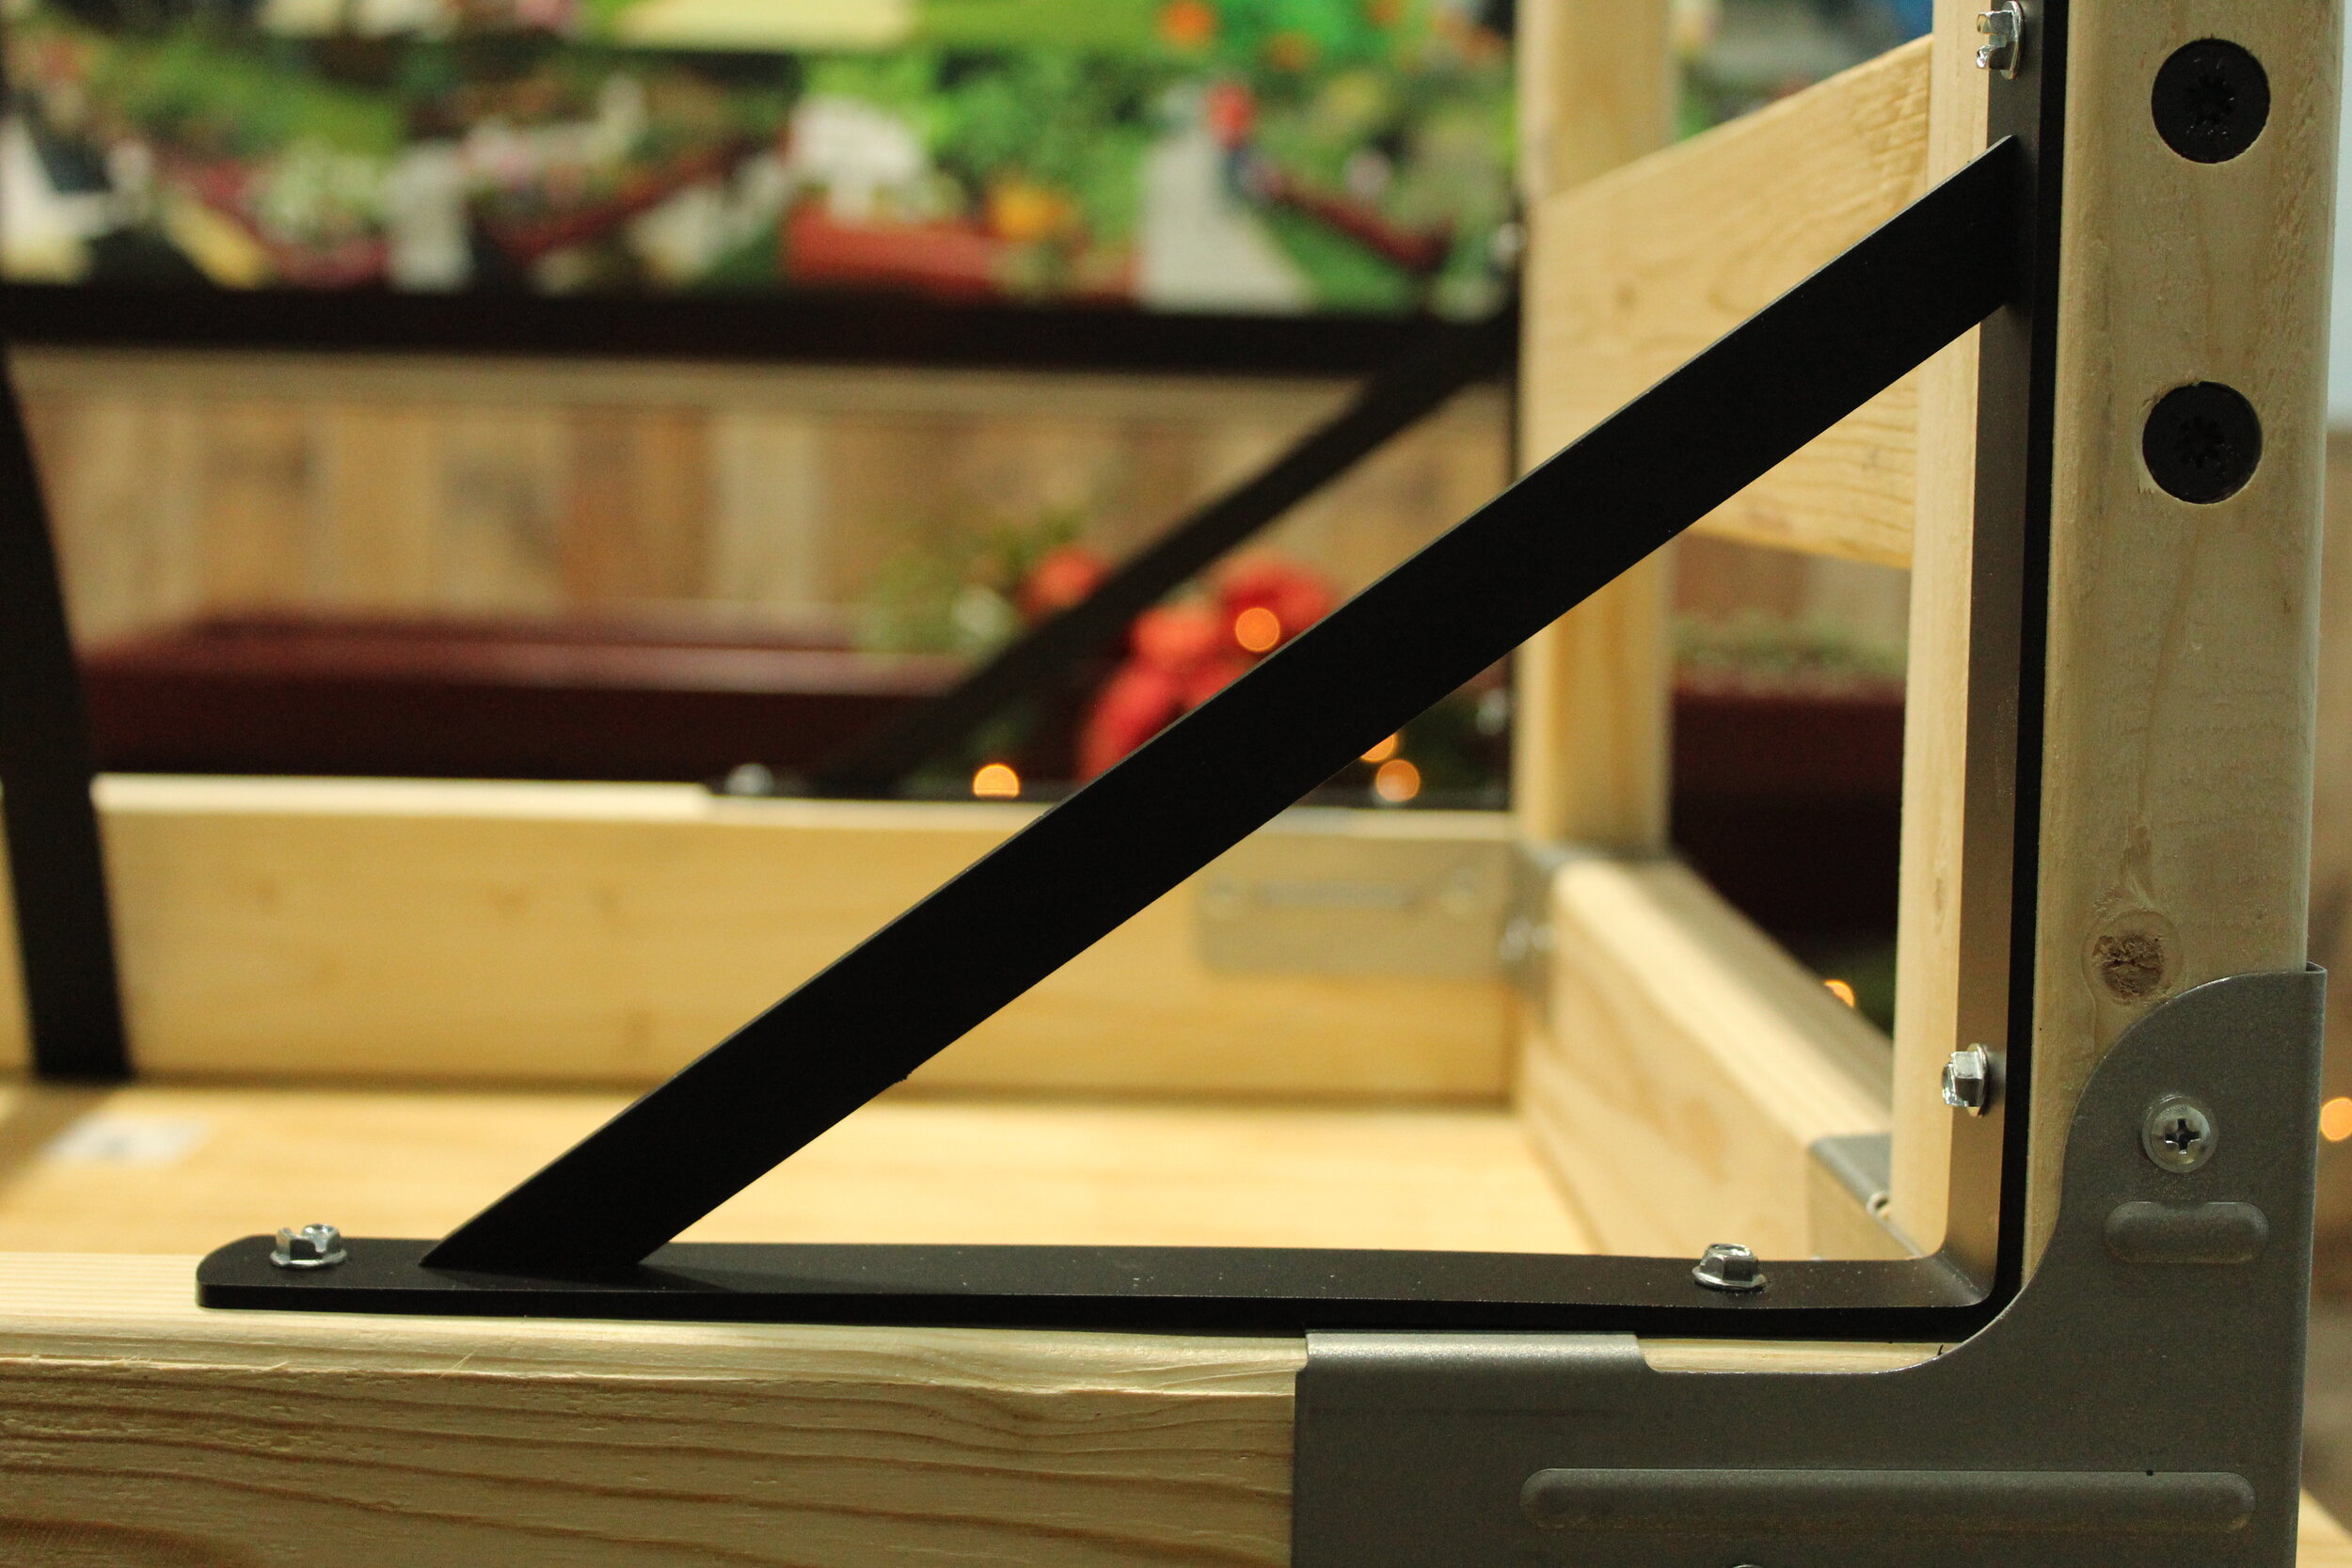
End Braces (4)
End Brackets (4)
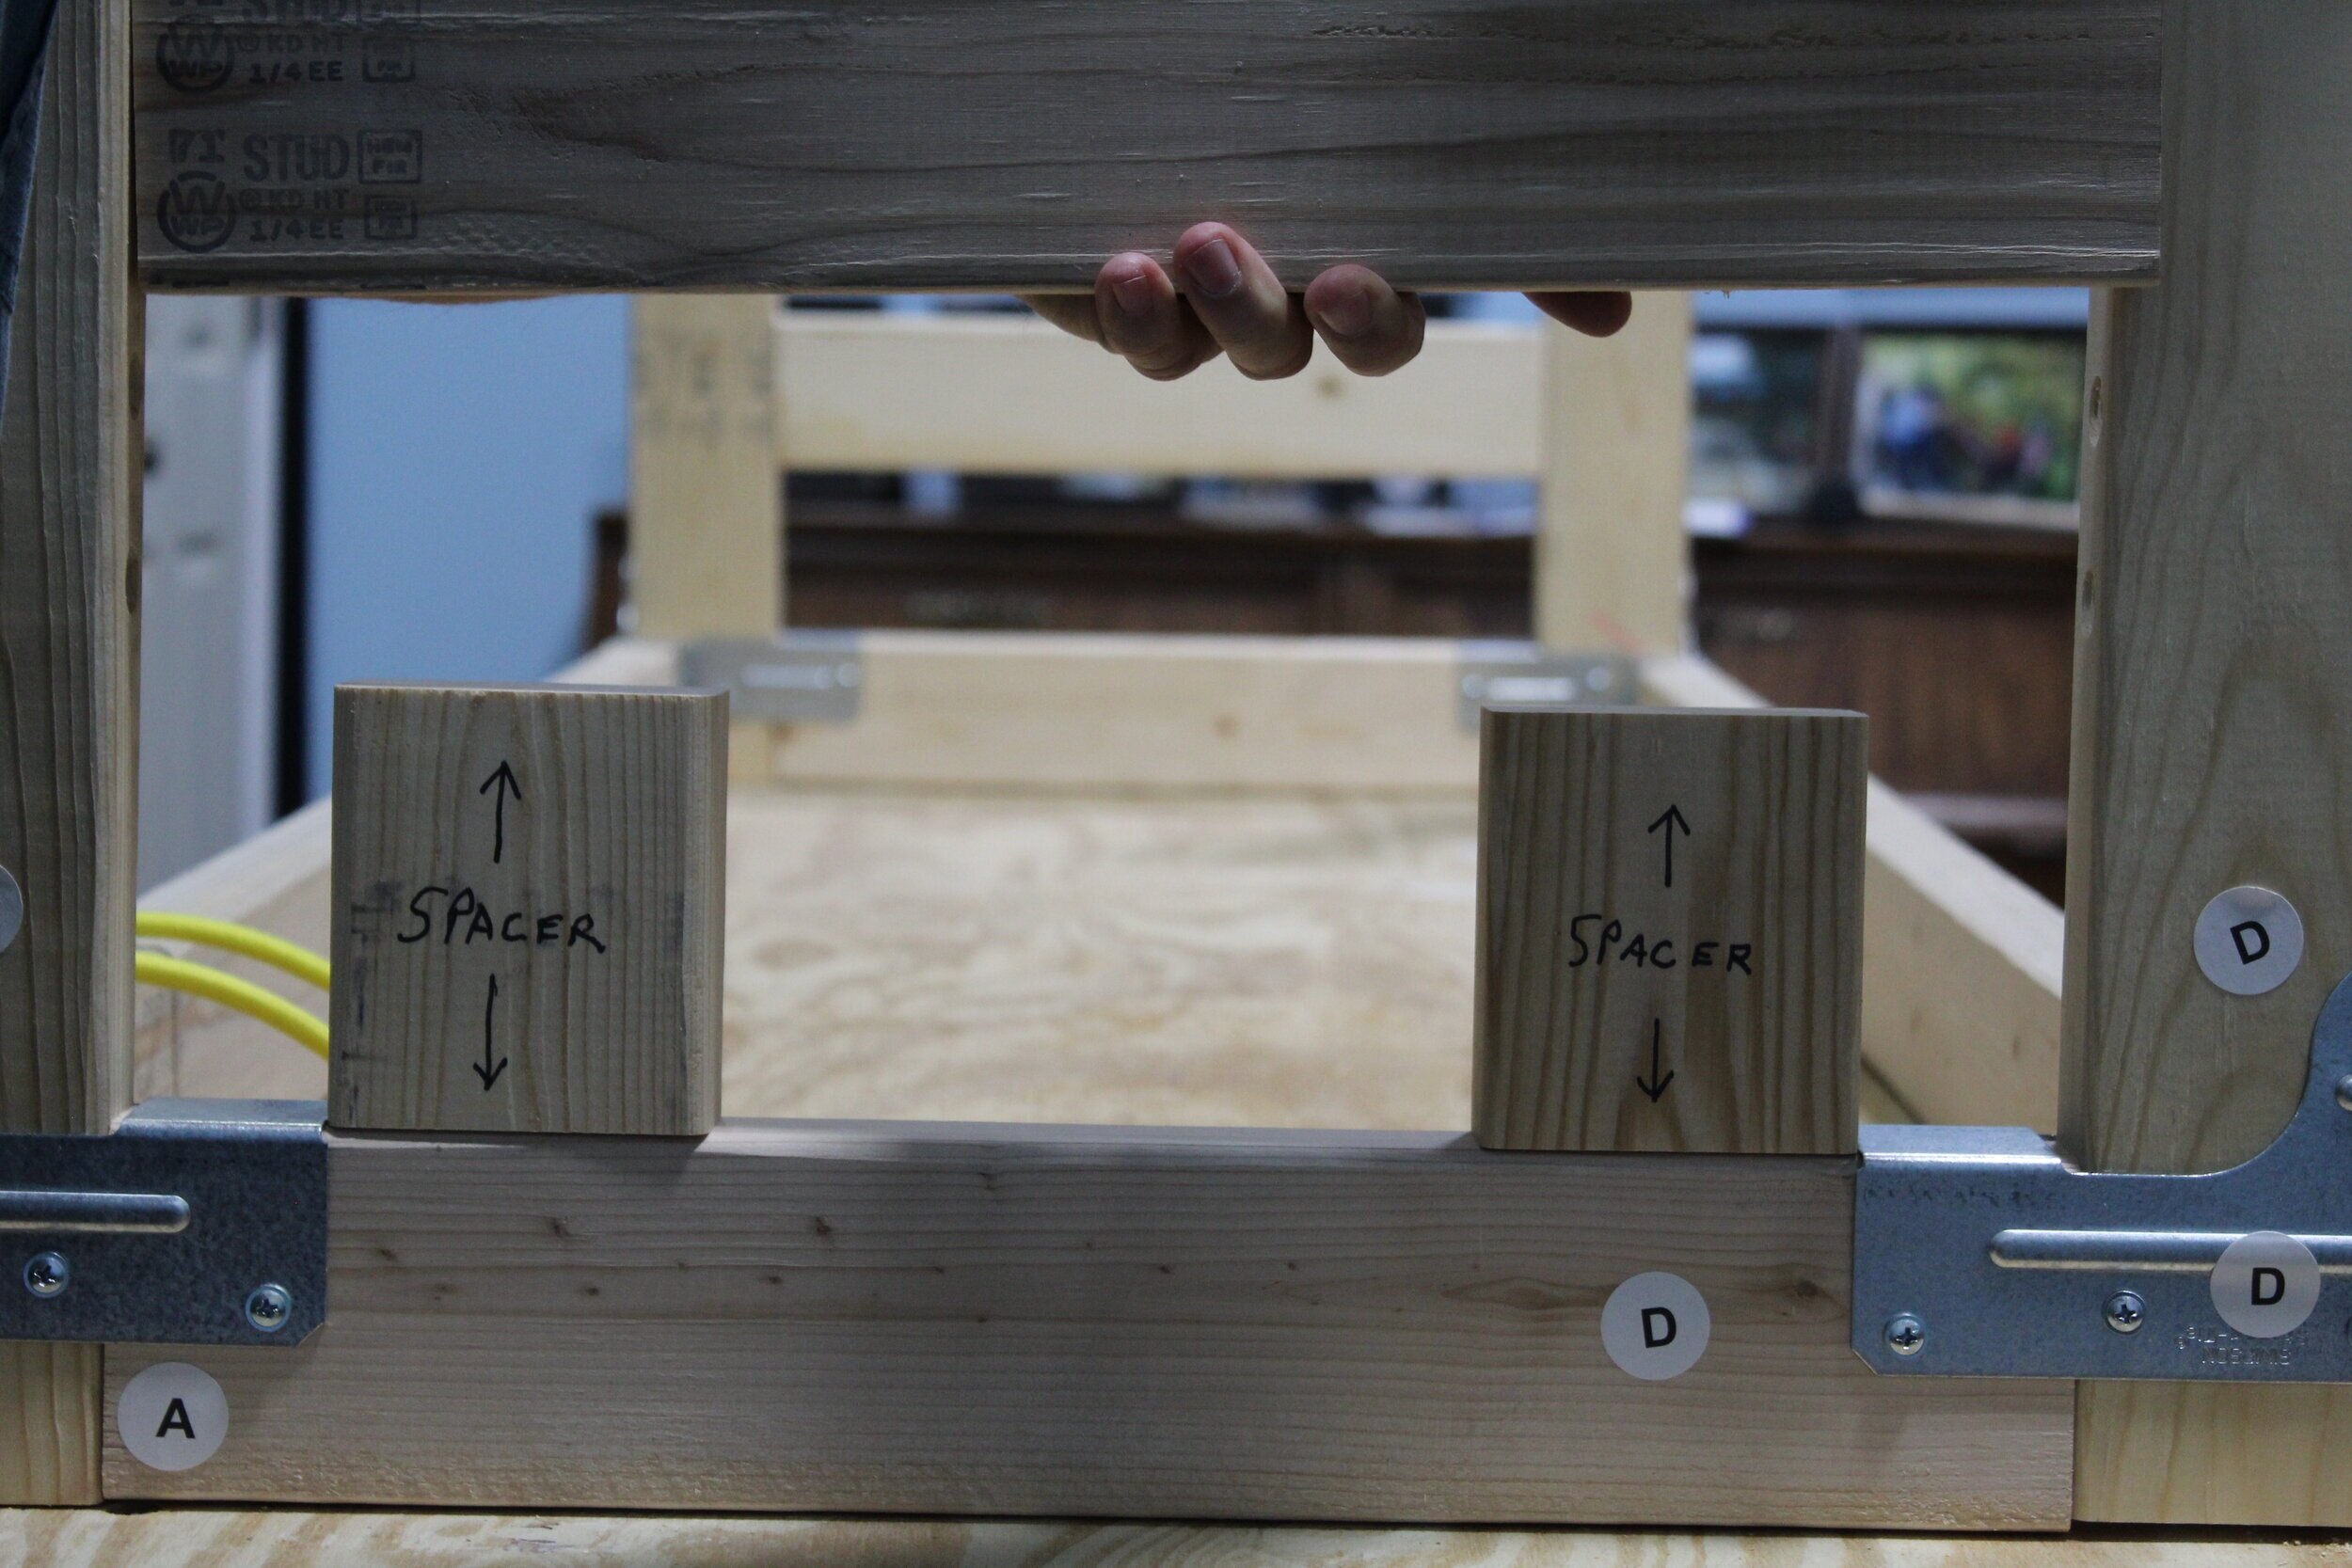
Top Side Beams (2)
Support Beams (2)
Top Beams (2)
Legs (4)